Espresso Chocolate Fudge Cookies
These espresso chocolate fudge cookies are what I make when I need something seriously chocolatey but don’t want to spend all day in the kitchen. They’re deeply rich without being overly sweet, and the espresso powder does this amazing thing where it makes the chocolate taste more intense without making the cookies taste like coffee.
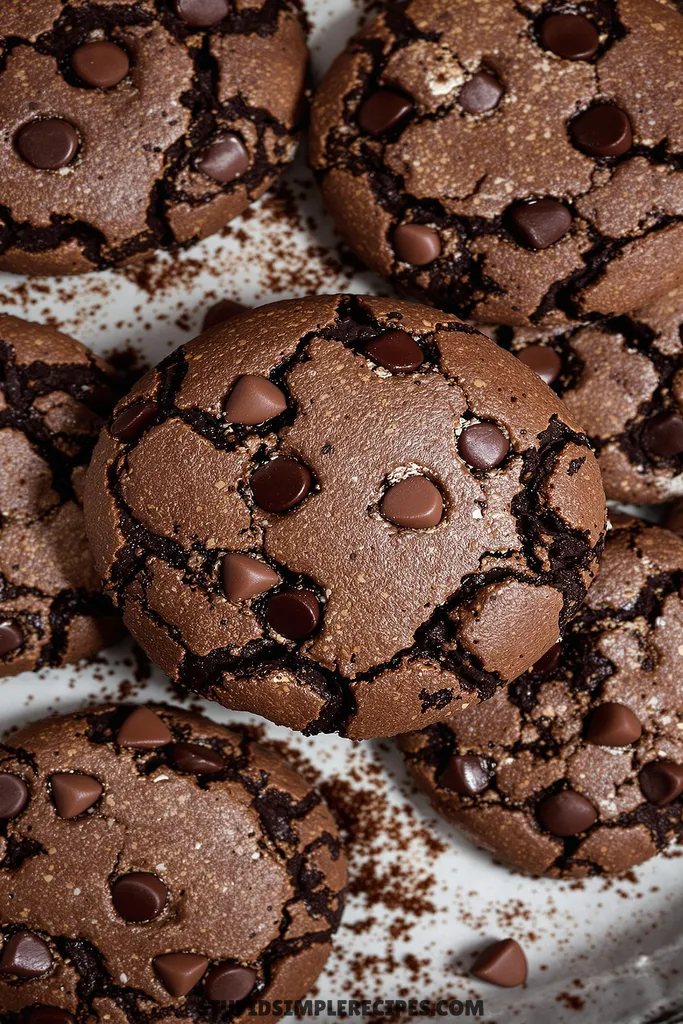
The centers stay soft and fudgy while the outside gets slightly crisp – it’s a really satisfying texture. Plus, they’re pretty foolproof as long as you don’t overbake them.
What you need for Espresso Chocolate Fudge Cookies
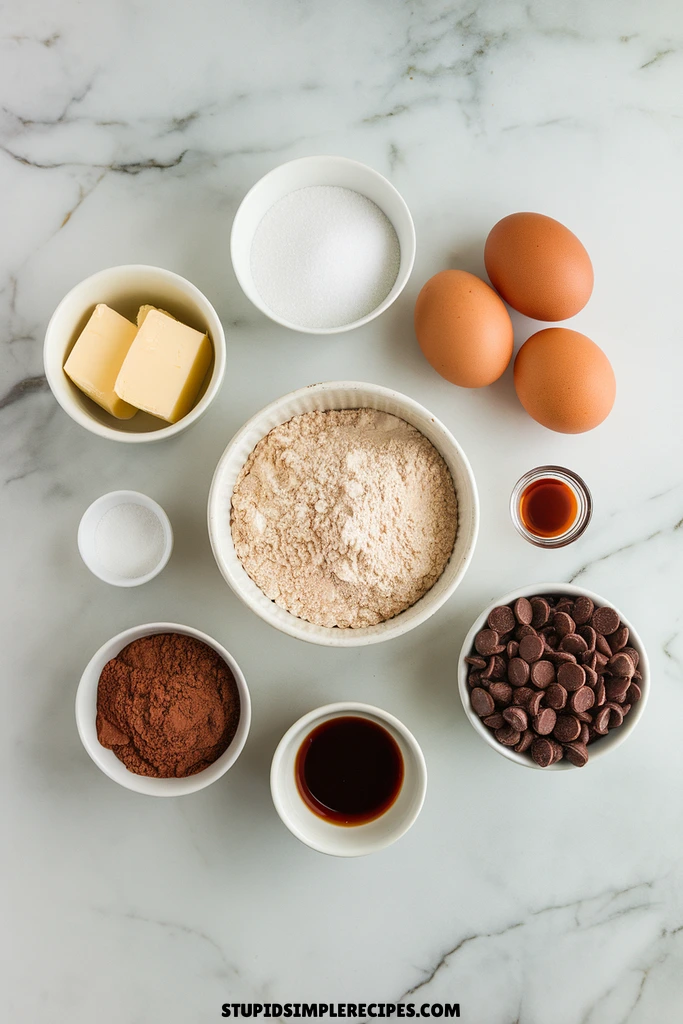
Ingredients You’ll Need For This Recipe
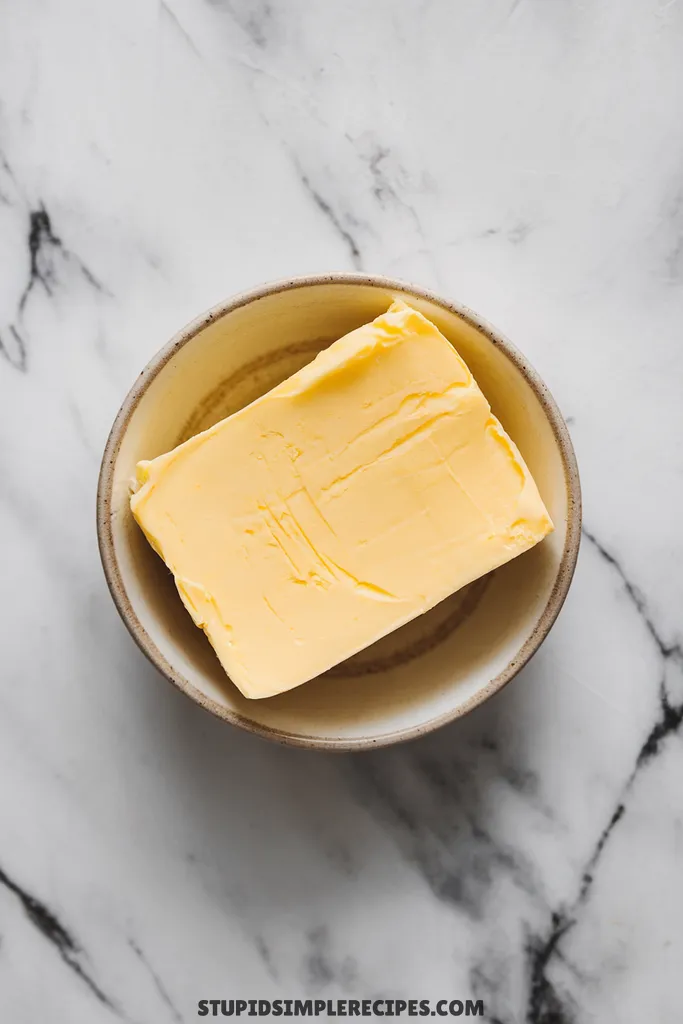
- 1 cup unsalted butter, softened
- 1 cup granulated sugar
- 1 cup brown sugar, packed
- 2 large eggs
- 2½ cups all-purpose flour
- ¾ cup unsweetened cocoa powder
- 2 tablespoons instant espresso powder
- 1 teaspoon baking soda
- 1 teaspoon salt
- 2 cups semi-sweet chocolate chips
- 1 tablespoon vanilla extract
How to make Espresso Chocolate Fudge Cookies
1. Start by taking your butter out of the fridge about an hour before baking – you want it soft enough that your finger leaves an indent when you press it, but not so warm that it’s starting to melt or look greasy.
2. Preheat your oven to 350°F and line two baking sheets with parchment paper. Trust me, parchment makes cleanup so much easier with these chocolatey cookies.
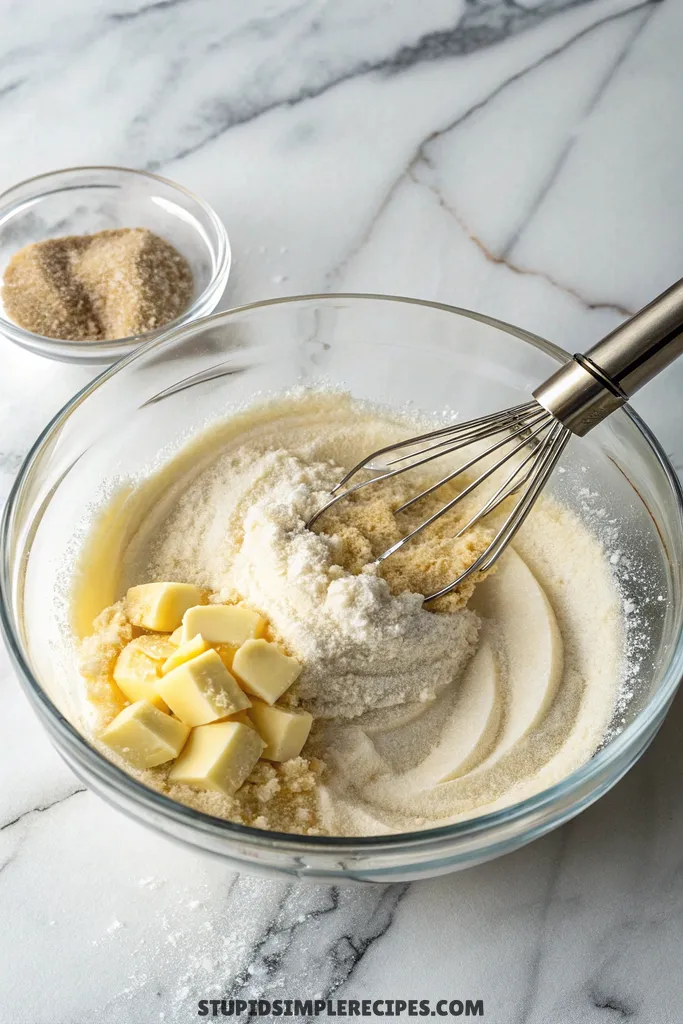
3. In a large bowl, cream together the softened butter, granulated sugar, and brown sugar. I use an electric mixer on medium speed for about 3-4 minutes until it’s really light and fluffy – you’ll see the color change to a lighter beige and the texture will look almost whipped.
4. Add the eggs one at a time, beating well after each one. Then mix in the vanilla extract. Scrape down the sides of the bowl with a spatula – this ensures everything mixes evenly.
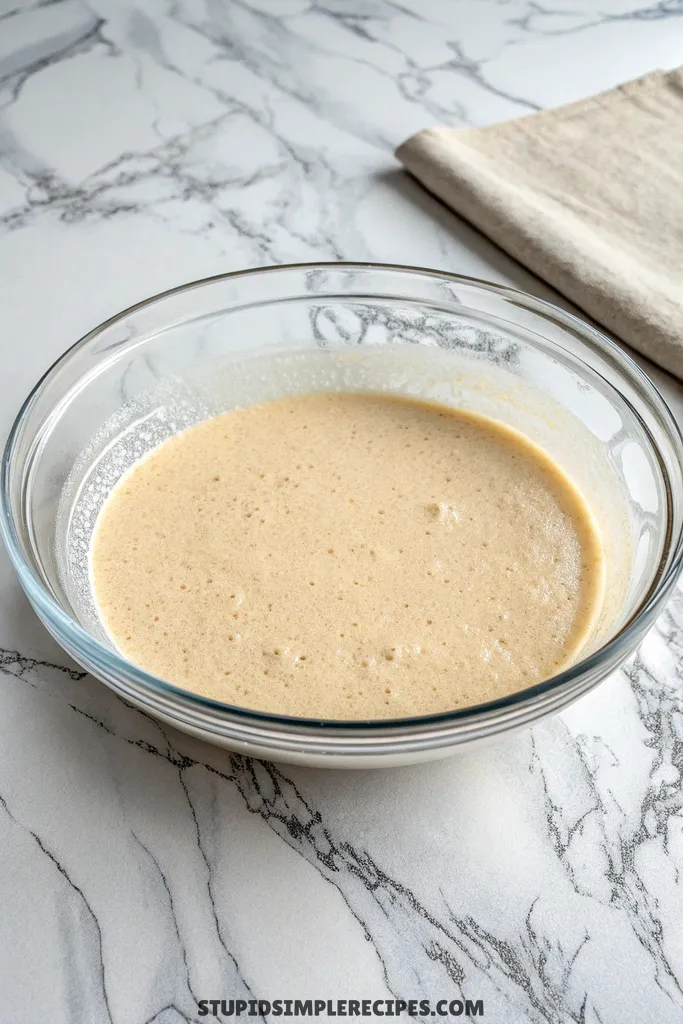
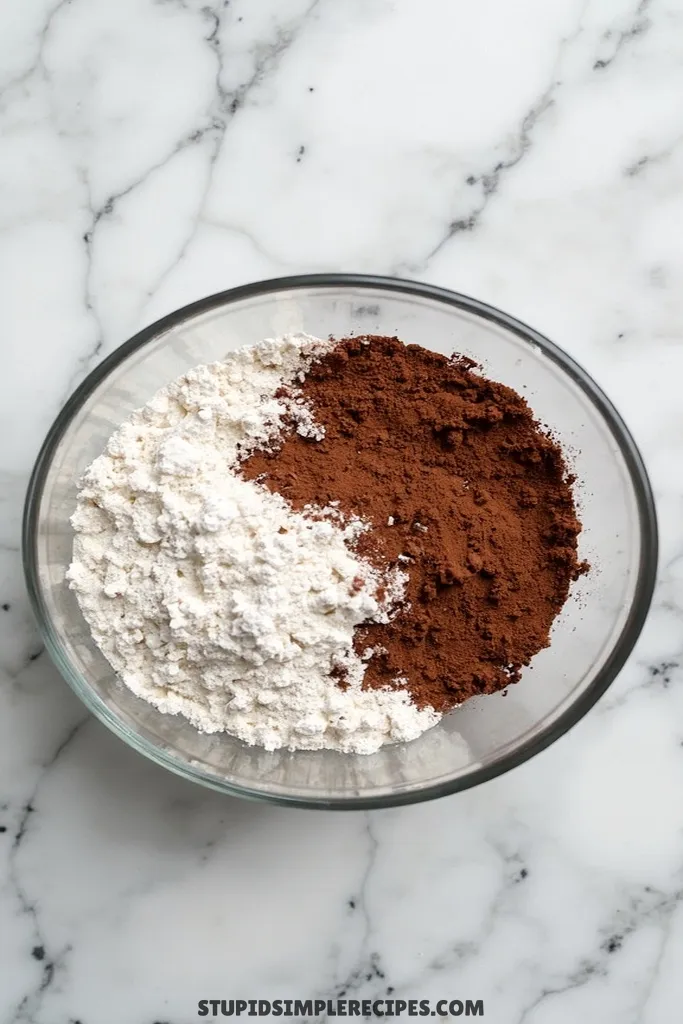
5. In a separate bowl, whisk together the flour, cocoa powder, espresso powder, baking soda, and salt. The espresso powder tends to have little clumps, so use your whisk to break these up – you don’t want bitter coffee spots in your cookies.
6. Gradually add the dry ingredients to your wet mixture, mixing on low speed just until combined. The dough will be quite thick and look almost like brownie batter. Stop mixing as soon as you don’t see any dry flour streaks.
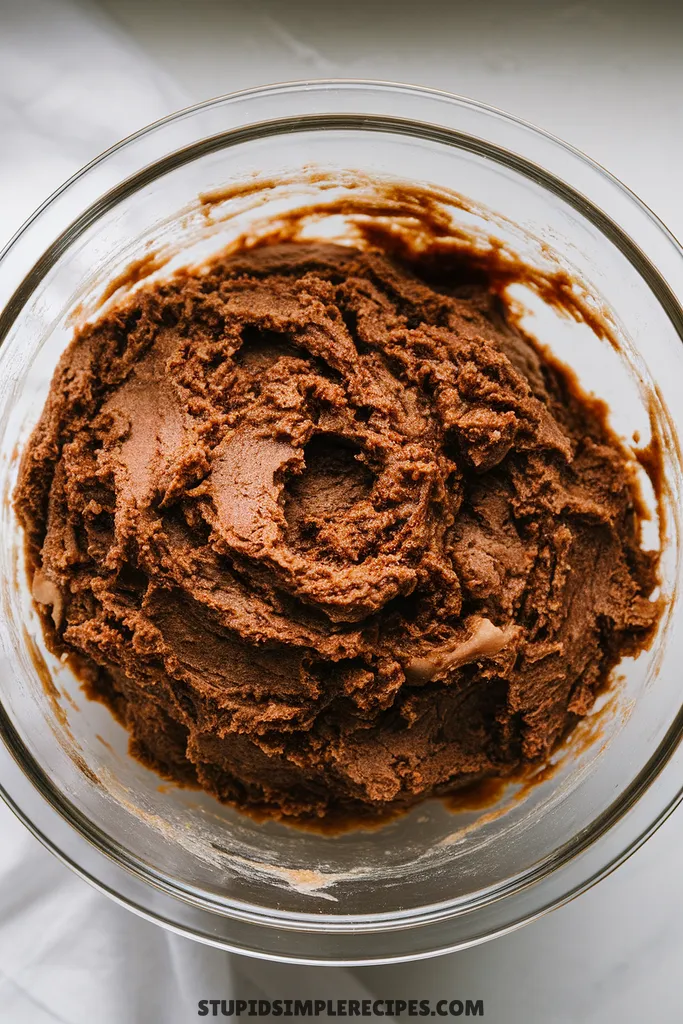
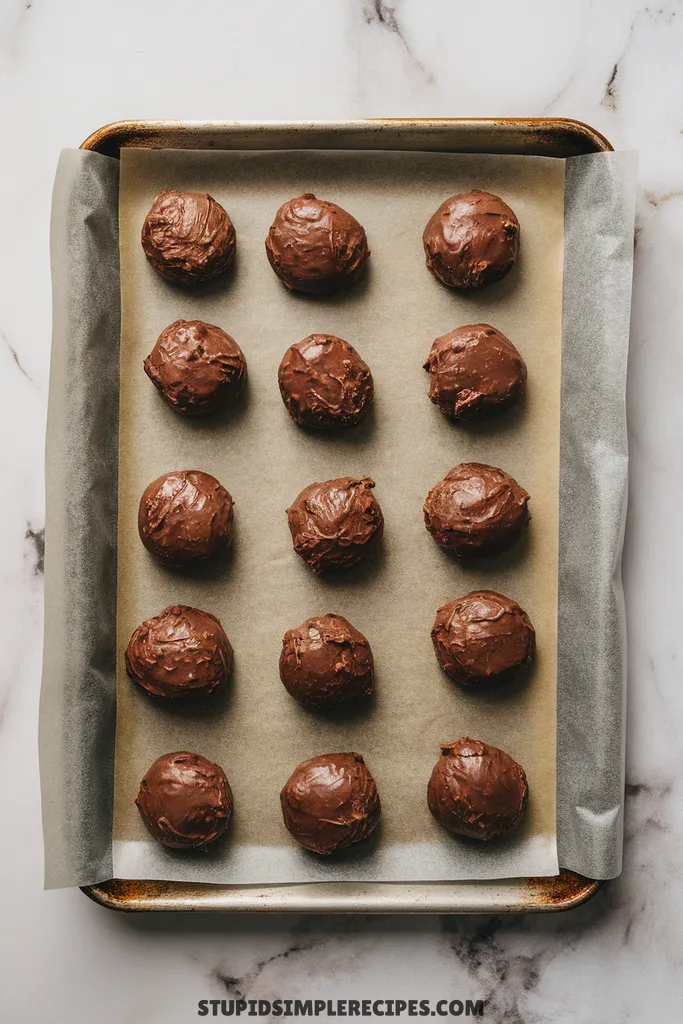
7. Stir in the chocolate chips by hand using a wooden spoon or spatula. The dough will be pretty stiff at this point – that’s exactly what you want.
8. Scoop rounded tablespoons of dough onto your lined baking sheets, leaving about 2 inches between each cookie. They’ll spread a bit while baking.
9. Bake for 11-13 minutes, rotating the pans halfway through. Here’s how to tell they’re done: the edges should be set and look slightly firm, but the centers will still look a bit soft and puffed up. Don’t wait for them to look completely done – they’ll continue baking on the hot sheet after you take them out.
10. Let them cool on the baking sheets for 5 minutes – during this time they’ll settle and get those lovely crackly tops. Then transfer them to a wire rack to cool completely.
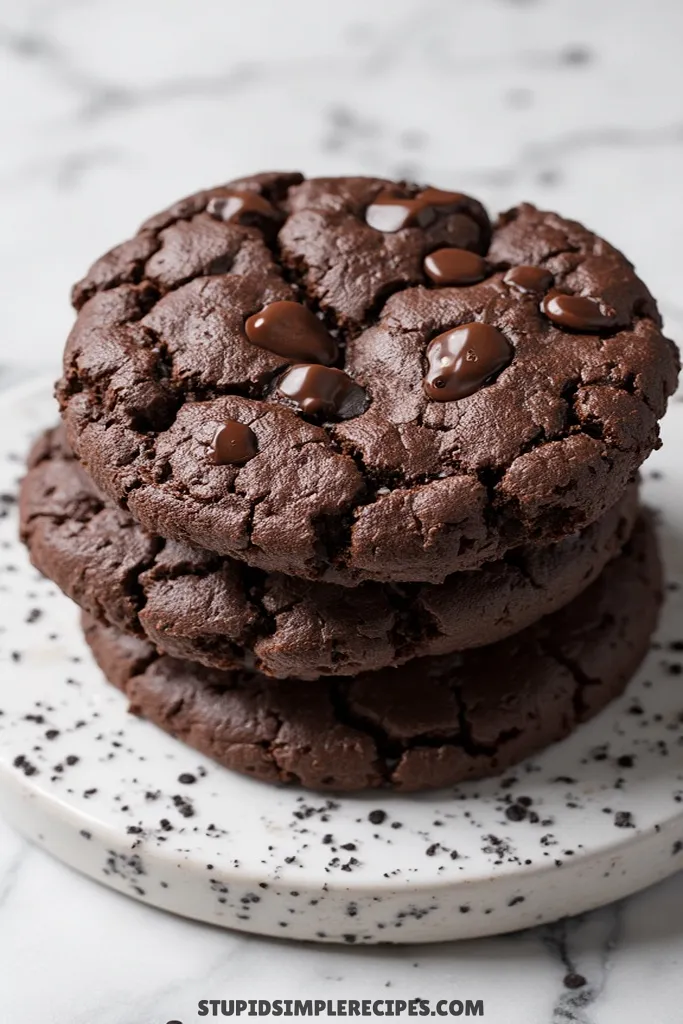
The cookies should have a slight sheen on top when they’re done, and they’ll be soft in the middle but with crispy edges. If you break one open while it’s still warm (I always do!), you’ll see melty chocolate chips and a fudgy center. They’ll firm up more as they cool but stay nice and chewy.
🔍 Recipe Notes & Tips
- Room temp eggs work best – quick hack: place in warm water for 5 mins
- Don’t skimp on creaming butter/sugar – it’s key for chewy texture
- Regular cocoa powder works fine – no need for Dutch process
- No espresso powder? Use 2 tsp instant coffee instead
- Cookie scoop = more even sizing (I use a #40 scoop)
- Dough can be made ahead and chilled – let sit 10 mins before baking
🍽️ Serving Suggestions
- Cold milk is the obvious winner here
- Hot coffee brings out the espresso flavor
- Vanilla ice cream for cookie sandwiches
- Bailey’s Irish Cream for grown-up dessert
🎯 Make it Work for
- Bake sale: Package in pairs in clear bags
- Holidays: Add red/green M&Ms on top before baking
- Potluck: Make them smaller (1 tbsp) for more servings
- Gift giving: Stack in mason jars with ribbon
- Kids party: Skip espresso powder, add more chips
📦 Storage & Leftovers
- Counter: 5 days in an airtight container
- Freeze cookies: Up to 3 months in a freezer bag
- Freeze dough balls: 2 months, bake straight from frozen (+2 mins)
- Keep with a slice of bread to stay soft
- Microwave 10 secs to refresh

Espresso Chocolate Fudge Cookies
Ingredients
- 1 cup unsalted butter softened
- 1 cup granulated sugar
- 1 cup brown sugar packed
- 2 large eggs
- 2½ cups all-purpose flour
- ¾ cup unsweetened cocoa powder
- 2 tablespoons instant espresso powder
- 1 teaspoon baking soda
- 1 teaspoon salt
- 2 cups semi-sweet chocolate chips
- 1 tablespoon vanilla extract
Instructions
- Start by taking butter out of the fridge about an hour before baking – you want it soft enough that your finger leaves an indent when you press it, but not so warm that it’s starting to melt or look greasy.
- Preheat your oven to 350°F and line two baking sheets with parchment paper.
- In a large bowl, cream together the softened butter, granulated sugar, and brown sugar. I use an electric mixer on medium speed for about 3-4 minutes until it’s really light and fluffy.
- Add the eggs one at a time, beating well after each one. Then mix in the vanilla extract.
- In a separate bowl, whisk together the flour, cocoa powder, espresso powder, baking soda, and salt.
- Gradually add the dry ingredients to your wet mixture, mixing on low speed just until combined. The dough will be quite thick and look almost like brownie batter.
- Stir in the chocolate chips by hand using a wooden spoon or spatula. The dough will be pretty stiff at this point – that’s exactly what you want.
- Scoop rounded tablespoons of dough onto your lined baking sheets, leaving about 2 inches between each cookie. They’ll spread a bit while baking.
- Bake for 11-13 minutes, rotating the pans halfway through.
- Let them cool on the baking sheets for 5 minutes – during this time they’ll settle and get those lovely crackly tops. Then transfer them to a wire rack to cool completely.