Easter Bunny Sugar Cookies
These Easter bunny sugar cookies are the kind I make when I want something that’s both cute and actually tastes good. The dough holds its shape while baking, so your bunnies won’t turn into blobs, and the cookies have a nice snap but aren’t rock-hard.
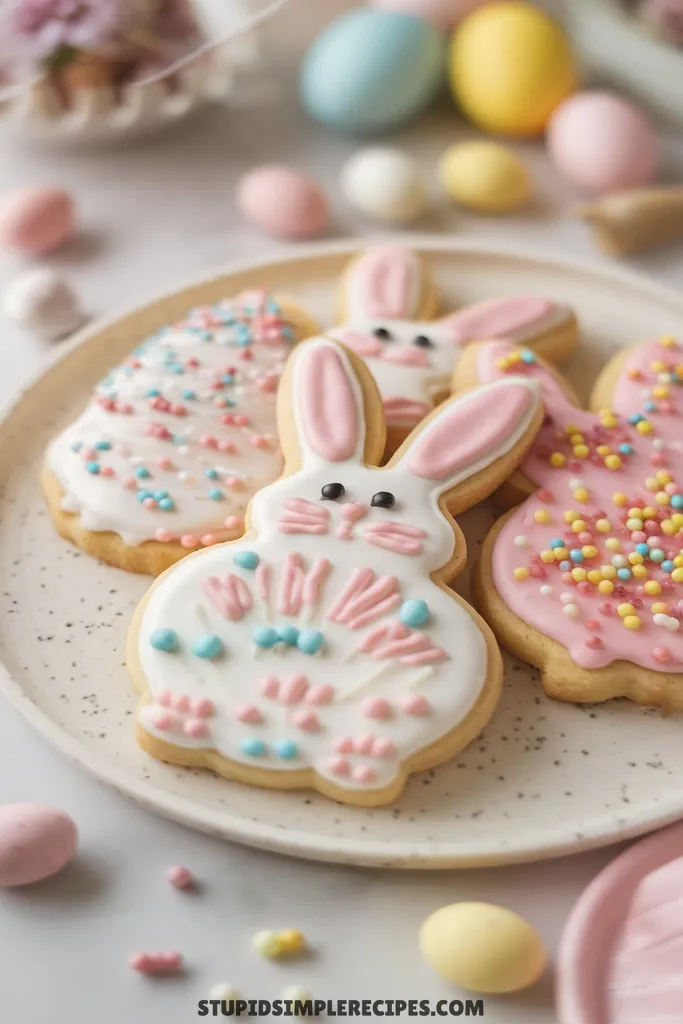
They’re buttery and not too sweet, which balances out the icing. I like making them a day or two before Easter – they keep well in an airtight container and it’s one less thing to do on the holiday. Plus, kids can help decorate them, though expect some interesting-looking bunnies.
Servings:
24-30 medium bunnies (3-inch cutter)
Time taken:
• Prep: 30 mins active
• Chill: 2 hours minimum
• Bake: 10-12 mins per batch
• Decorating: 45-60 mins
• Setting time: 4-6 hours
• Total time needed: 8 hours (including all waiting periods)
What you need for Easter Bunny Sugar Cookies
Ingredients You’ll Need For This Recipe
- 3 cups all-purpose flour
- 1 teaspoon baking powder
- 1/2 teaspoon salt
- 1 cup unsalted butter, softened
- 1 1/2 cups granulated sugar
- 2 large eggs
- 2 teaspoons vanilla extract
Ingredients You’ll Need For icing
- 3 cups powdered sugar
- 3-4 tablespoons milk
- 1 teaspoon vanilla extract
- Food coloring (pink, black)
- Decorative sprinkles (optional)
How to make Easter Bunny Sugar Cookies
1. Start by getting butter right – leave it on the counter for about an hour before baking. You want it soft enough that your finger leaves a slight indent when pressed, but not so soft it’s greasy or melting.
2. In a medium bowl, whisk together the flour, baking powder, and salt. This helps distribute the leavening evenly – no one wants a cookie with a random bitter baking powder pocket!
3. In alarge mixing bowl, beat the softened butter until it’s creamy – about 30 seconds. Add the sugar and beat until it’s light and fluffy, about 2-3 minutes. You’ll notice the color change to a pale yellow and the texture become almost cloud-like.
4. Add eggs one at a time, beating well after each. Scrape down the sides of the bowl – those sneaky butter chunks need to get mixed in! Add vanilla and mix until just combined.
5. Gradually add your flour mixture to the butter mixture, about a cup at a time. Mix on low speed just until the flour disappears – you’ll see the dough start to pull away from the sides of the bowl. Overmixing here will make tough cookies!
6. Split the dough in half, pat each into a disk, and wrap in plastic wrap. Chill for at least 2 hours or overnight. The dough needs to be cold to roll out without sticking everywhere.
7. When ready to bake, preheat your oven to 350°F and line your baking sheets with parchment paper.
8. Work with one disk at a time (keeping the other chilled). Roll the dough on a lightly floured surface to about 1/4 inch thick. You want them thin enough to be crisp but thick enough to hold their shape.
9. Cut out bunny shapes and transfer to your prepared baking sheets, leaving about 1.5 inches between cookies. They’ll spread a bit but not too much.
10. Bake for 10-12 minutes. Look for the edges to be just barely golden – the centers will still look slightly soft but shouldn’t be shiny anymore. Let them cool on the baking sheet for 5 minutes (they’ll finish setting up) before moving to a wire rack.
For the icing:
1. Mix the powdered sugar, 3 tablespoons of milk, and vanilla until smooth. Add more milk a few drops at a time until you reach the right consistency – when you lift your spoon, the icing should fall in a ribbon and disappear back into the surface within about 8-10 seconds.
2. Divide your icing and add food coloring. I usually do mostly white, some pink for the ears and nose, and a tiny bit of black for the eyes.
3. Ice the cookies once they’re completely cool – any warmth will make your icing run. Start with outlining, let it set for about 15 minutes, then fill in the centers. Add any sprinkles while the icing is still wet.
Let the icing harden completely (usually 4-6 hours) before stacking or packaging the cookies. If your kitchen is humid, it might take longer – you want the icing to feel completely dry to the touch.
🔍 Recipe Notes & Tips
- Don’t skip chilling the dough – warm dough = spread-out bunnies
- Cookie cutters work best when dipped in flour between cuts
- Roll dough between parchment sheets to prevent sticking
- If dough gets too soft while working, pop it back in fridge for 15 mins
- Rotate baking sheets halfway through for even browning
- Gel food coloring works better than liquid for icing
🍽️ Serving Suggestions
- Perfect with:
– Cold milk
– Hot chocolate with marshmallows
– Afternoon tea
– Coffee for grown-ups - Serve on pastel plates for Easter brunch
- Stack 2-3 on clear cellophane bags for gifts
🎯 Make it Work for
- Valentine’s: Add pink/red hearts to bunny tummies
- Christmas: Add scarves/bow ties with icing
- Birthday: Pipe names on bunny tummies
- Baby shower: Use pale pink/blue icing only
- Halloween: Make “ghost bunnies” all in white
📦 Storage & Leftovers
- Undecorated cookies: Airtight container 1 week
- Decorated cookies: Airtight container 5 days
- Freeze undecorated cookies up to 3 months
- Don’t stack decorated cookies until icing is 100% set
- Keep away from heat/humidity to prevent icing from getting sticky