Chocolate Hazelnut Cinnamon Rolls
These chocolate hazelnut cinnamon rolls combine everything that’s great about a classic cinnamon roll with the irresistible combo of chocolate and hazelnuts. I started making these when I wanted something different from regular cinnamon rolls but didn’t want to stray too far from what makes them good in the first place.
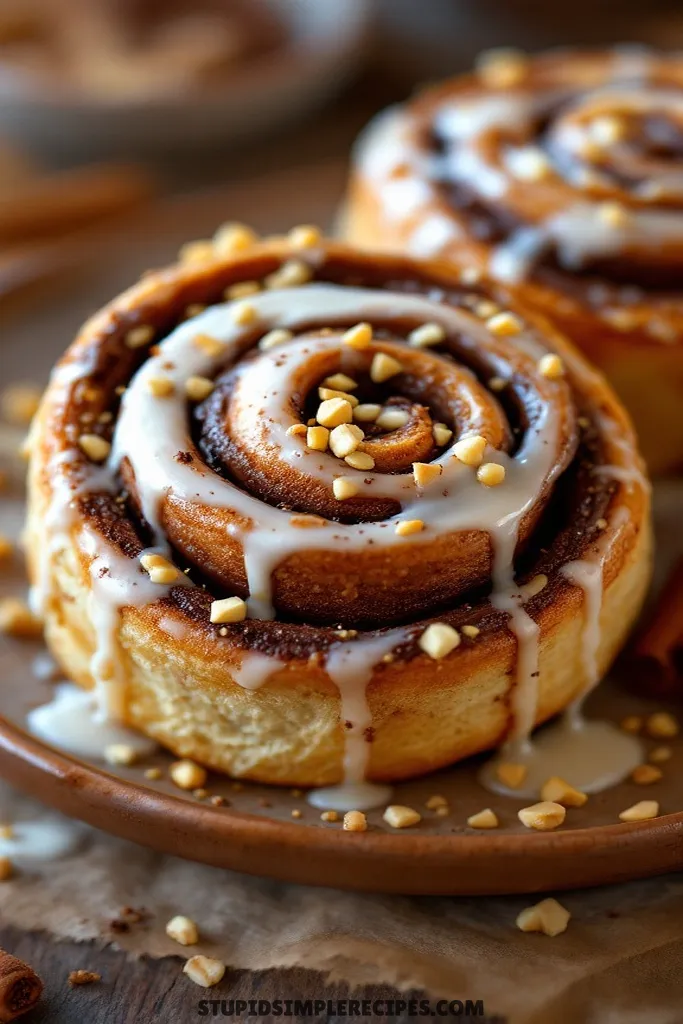
The chocolate hazelnut filling melts slightly while baking, creating pockets of gooey goodness between the layers of soft dough. They’re perfect for holiday mornings or weekends when you’ve got time to let the dough rise properly. While they take a few hours from start to finish, most of that is just waiting around. The actual work isn’t complicated, and the payoff is absolutely worth it.
What you need for Chocolate Hazelnut Cinnamon Rolls
For Dough:
- 4 cups all-purpose flour
- 1/4 cup granulated sugar
- 2 1/4 teaspoons active dry yeast
- 1 teaspoon salt
- 1 cup warm milk
- 1/3 cup unsalted butter, melted
- 2 large eggs
- 1 teaspoon vanilla extract
For Filling:
- 1 cup chocolate hazelnut spread (like Nutella)
- 1/2 cup unsalted butter, softened
- 1 cup brown sugar
- 2 tablespoons ground cinnamon
- 1 cup chopped hazelnuts
For Glaze:
- 2 cups powdered sugar
- 4 tablespoons milk
- 1 teaspoon vanilla extract
- Pinch of salt
How to make Chocolate Hazelnut Cinnamon Rolls
1. Start by getting your yeast going. Warm your milk to about body temperature – when you drop some on your wrist, it should feel neither hot nor cold. Pour it into a large bowl, sprinkle in the yeast, and about a teaspoon of the sugar. Let it sit for about 5-10 minutes until it gets foamy and smells like bread.
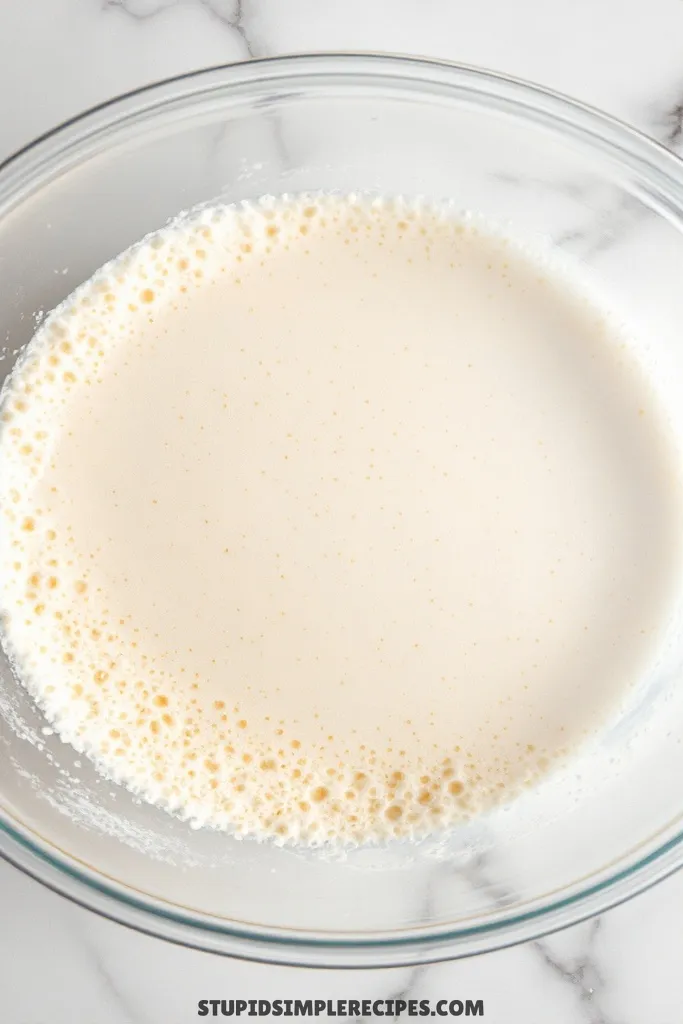
2. While the yeast is working, melt your butter and let it cool slightly – you don’t want it hot enough to cook the eggs. Mix in the eggs and vanilla with the butter.
3. In your largest bowl (trust me, you’ll want the space), mix together the flour, remaining sugar, and salt. Make a well in the center and pour in your yeast mixture and butter mixture. Start mixing with a wooden spoon until it gets too tough to stir, then get in there with your hands.
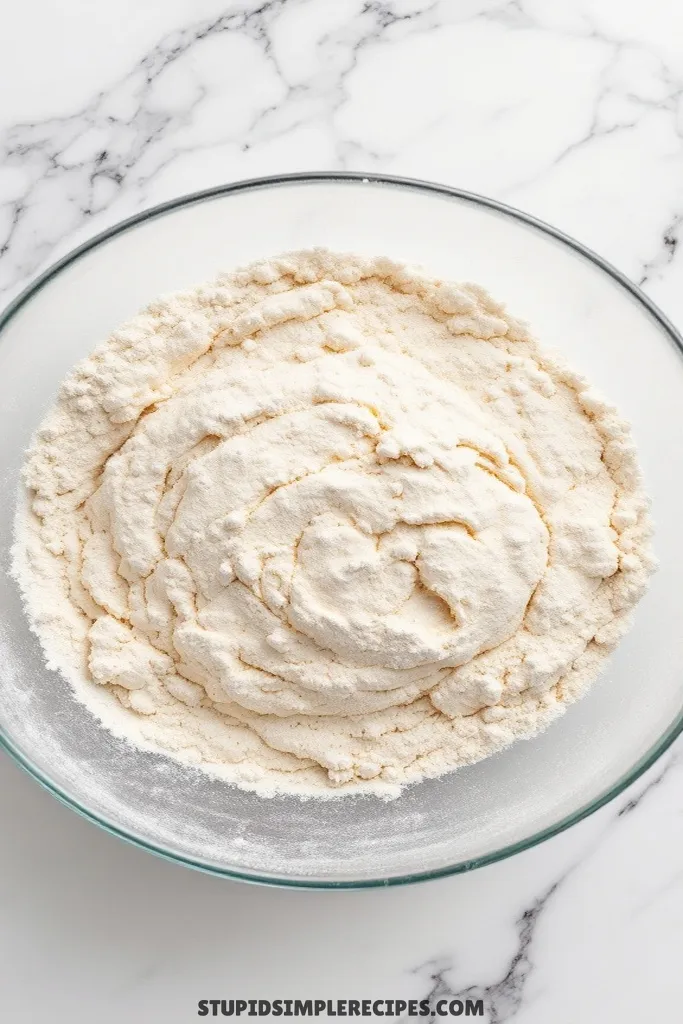
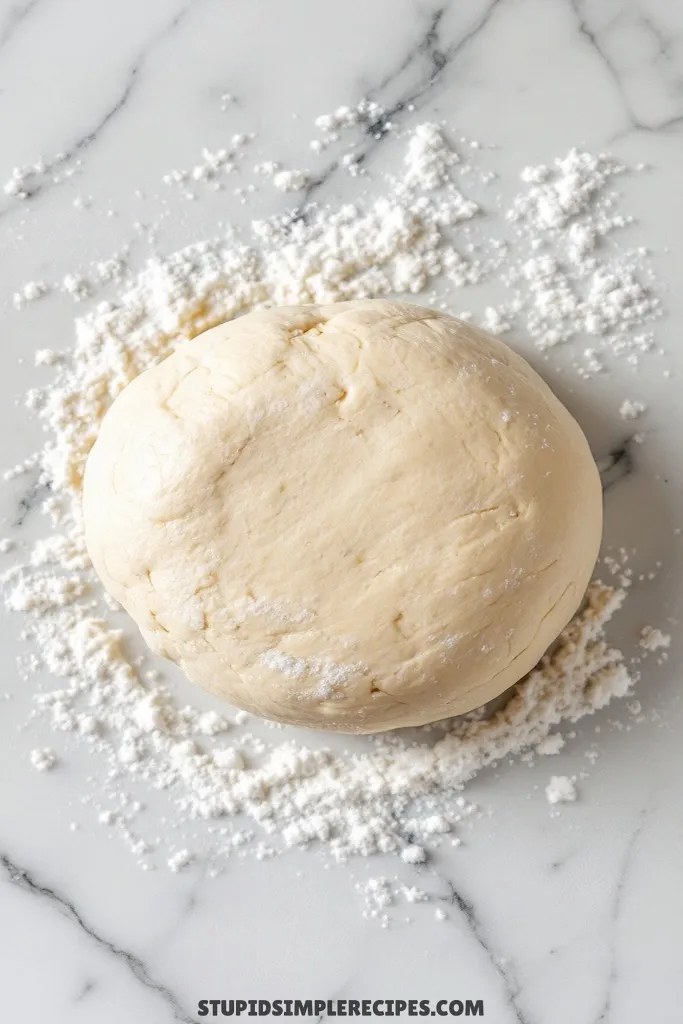
4. Knead the dough on a floured surface for about 8-10 minutes. You’ll know it’s ready when it feels smooth and springs back when you poke it – kind of like pressing on a balloon. If it’s sticking to your hands too much, add flour a tablespoon at a time.
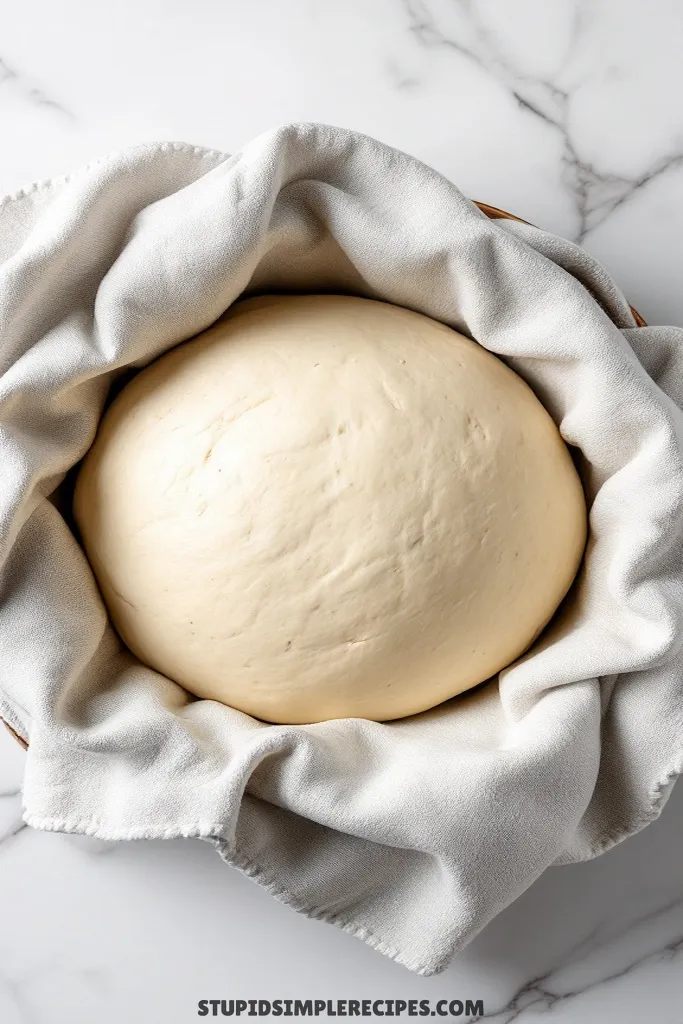
5. Place the dough in a lightly oiled bowl, cover it with a damp cloth, and let it rise somewhere warm for about an hour. I like to put it on top of my preheating oven. It should double in size and feel light and puffy when you poke it.
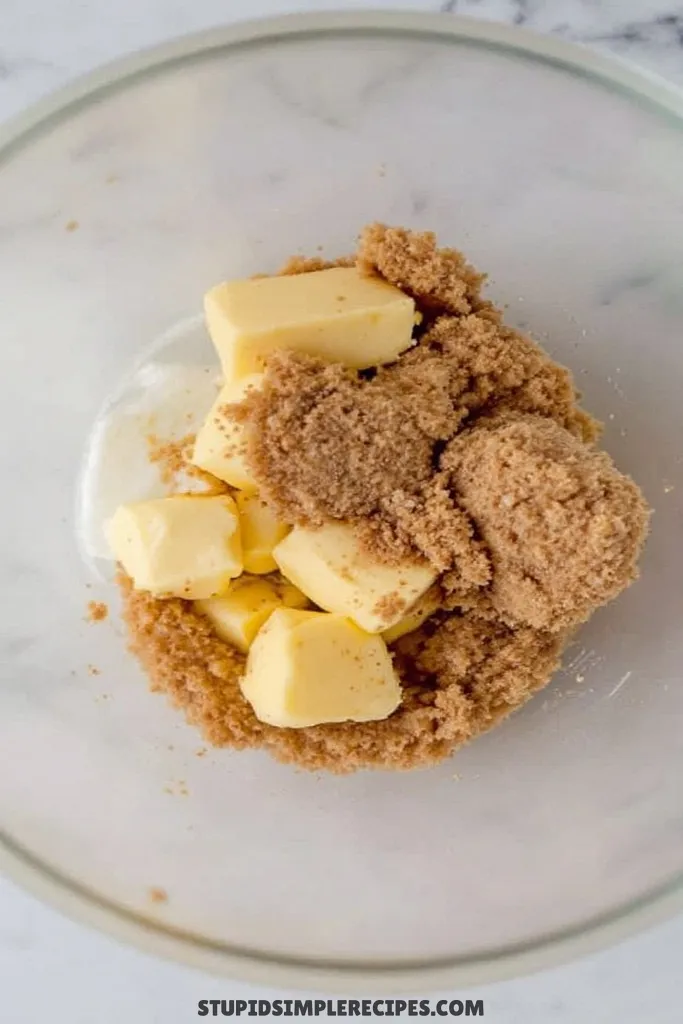
6. While it’s rising, mix your softened butter, brown sugar, and cinnamon in a bowl until it’s well combined. Have your Nutella ready – if it’s too firm, warm it slightly so it spreads easily.
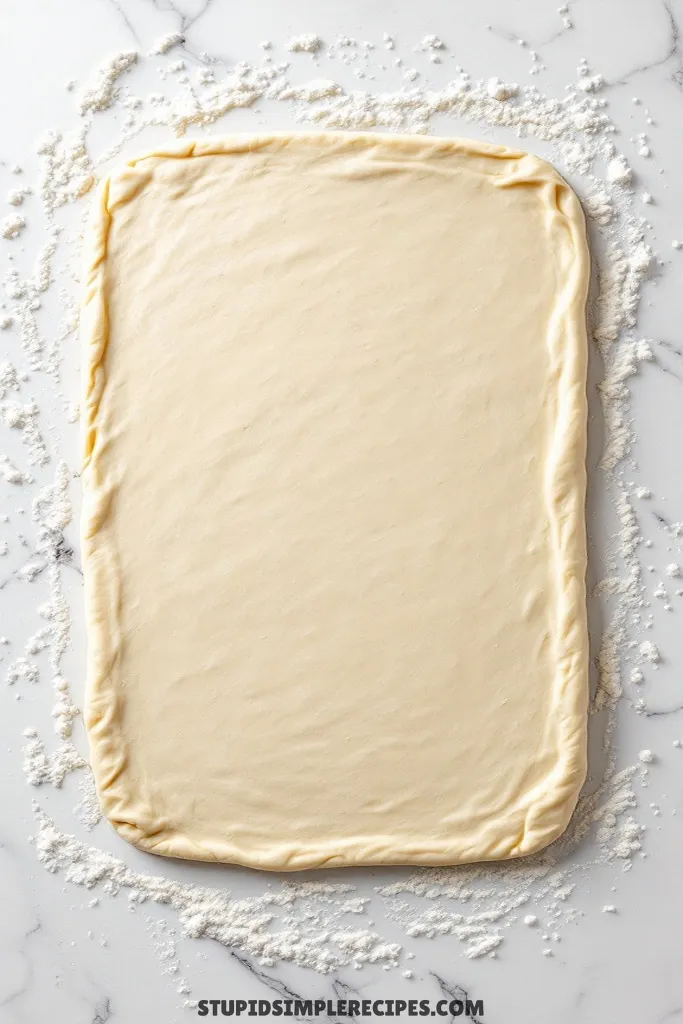
7. Once risen, punch down the dough (literally punch it – it’s satisfying!) and roll it out on a floured surface into a rectangle about 18×24 inches. The dough should be about 1/4 inch thick.
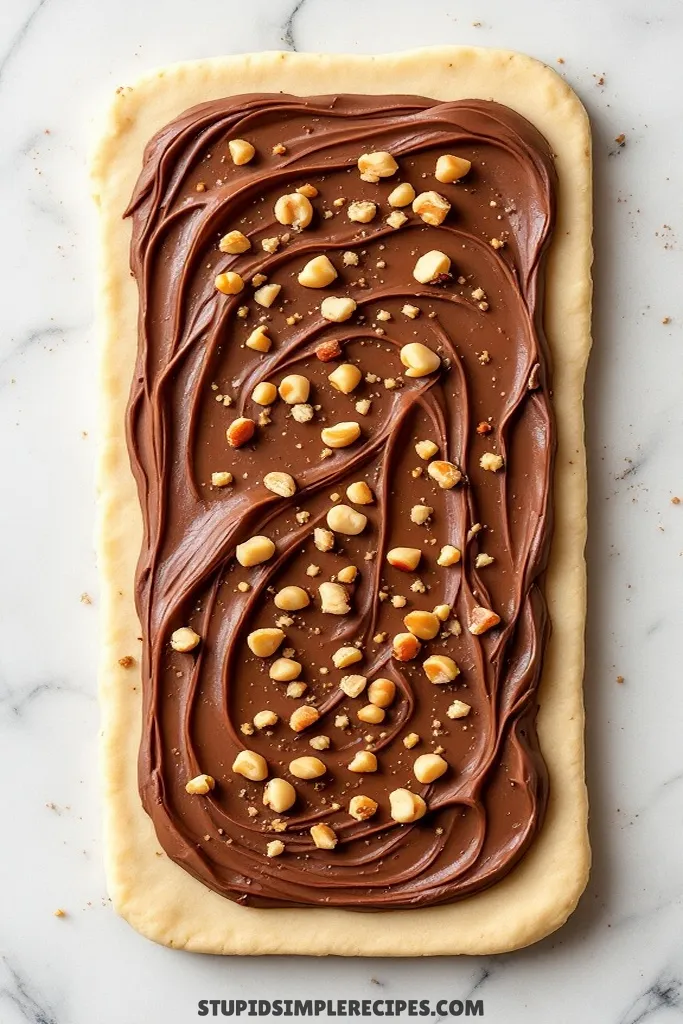
8. Spread the Nutella in an even layer, leaving about an inch bare along one long edge. Then spread your cinnamon-sugar butter mixture over the Nutella. Sprinkle the chopped hazelnuts evenly over everything.
9. Starting from the long edge with filling, roll the dough up tightly – like rolling a sleeping bag. Keep it snug but don’t pull so hard that you squeeze out the filling. Pinch the bare edge to seal.

10. Cut into 12 equal rolls using dental floss or a sharp knife (slide the floss under the roll, cross the ends over the top, and pull – this prevents squishing). Place them in a greased 9×13-inch baking pan, leaving some space between each roll.
11. Let them rise again for about 30 minutes. They should be puffy and touching each other. Meanwhile, preheat your oven to 350°F (175°C).
12. Bake for 25-30 minutes. You’ll know they’re done when the tops are golden brown and if you tap one in the middle, it sounds hollow. If they’re browning too quickly, tent with foil.
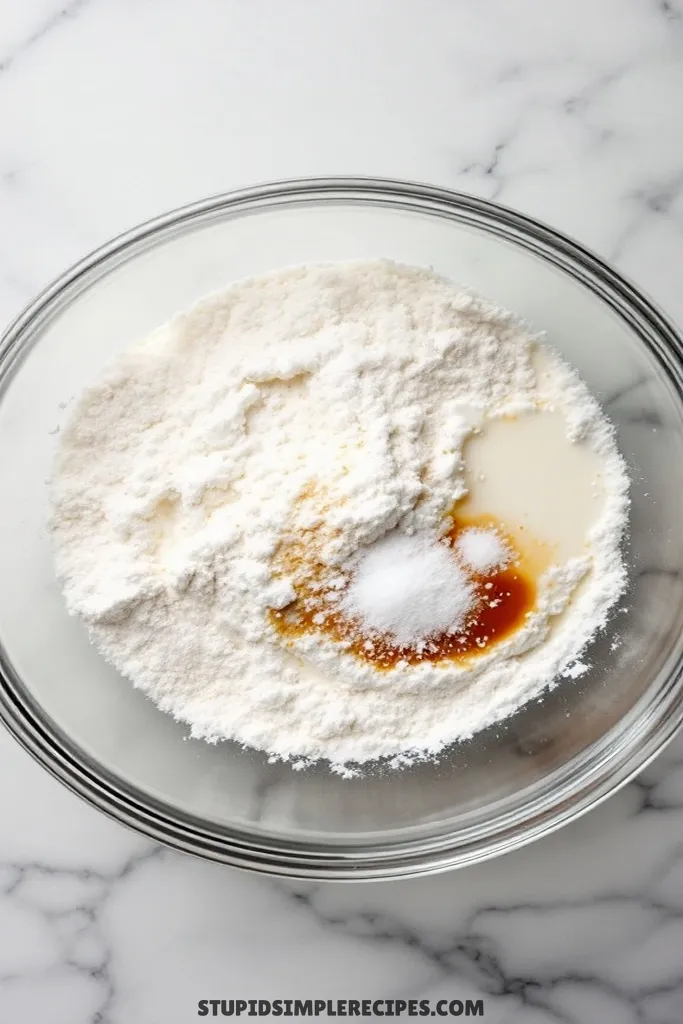
13. For the glaze, whisk together the powdered sugar, milk, vanilla, and salt until smooth. It should be thick but pourable – like honey. Add milk a teaspoon at a time if needed.
14. Let the rolls cool for about 10 minutes before glazing. The rolls should still be warm but not hot – this lets the glaze settle into all the nooks and crannies without completely melting.

These are best eaten while still warm when the Nutella is all gooey and the hazelnuts are toasty. If you have leftovers, a quick 15-second zap in the microwave brings them back to life beautifully.
🔍 Recipe Notes & Tips
- Make ahead: Prep rolls the night before – cover with plastic wrap & refrigerate after arranging them in a pan. Let come to room temp 1 hour before baking
- No stand mixer needed – hands work great & you can feel the dough better
- Room temp eggs mix easier – pop them in warm water for 5 mins
- Quick warm spot for dough: microwave 1 cup water for 2 mins, remove water, put dough in there
- The dental floss trick is clutch – way cleaner cuts than a knife
- If Nutella’s stiff, microwave for 15 seconds max
🍽️ Serving Suggestions
- Coffee pairing is a must – dark roast cuts the sweetness perfectly
- Hot chocolate for kids (or grown-ups, no judgment)
- A glass of cold milk = a classic move
- Fancy it up with a cappuccino for brunch
🎯 Make it Work for
- Weekend brunch star – prep night before
- Holiday breakfast – double batch for a crowd
- Bake sale winner – individually wrapped
- New neighbor welcome gift – deliver warm
- Potluck – transport unbaked, bake there
📦 Storage & Leftovers
- Counter: 2 days in an airtight container
- Fridge: 5 days, reheat 15 secs in microwave
- Freezer: 2 months wrapped well
- Best reheated with a pat of butter on top
- Pro tip: separate rolls before storing to avoid soggy sides

Chocolate Hazelnut Cinnamon Rolls
Ingredients
Dough:
- 4 cups all-purpose flour
- 1/4 cup granulated sugar
- 2 1/4 teaspoons active dry yeast
- 1 teaspoon salt
- 1 cup warm milk
- 1/3 cup unsalted butter melted
- 2 large eggs
- 1 teaspoon vanilla extract
Filling:
- 1 cup chocolate hazelnut spread like Nutella
- 1/2 cup unsalted butter softened
- 1 cup brown sugar
- 2 tablespoons ground cinnamon
- 1 cup chopped hazelnuts
Glaze:
- 2 cups powdered sugar
- 4 tablespoons milk
- 1 teaspoon vanilla extract
- Pinch of salt
Instructions
- Warm the milk to body temperature—when dropped on your wrist, it should feel neutral. Pour into a large bowl, sprinkle in the yeast and 1 teaspoon of sugar, and let sit for 5-10 minutes until foamy.
- Melt the butter and let it cool slightly. Mix in the eggs and vanilla.
- In a large bowl, whisk together the flour, remaining sugar, and salt. Make a well in the center and add the yeast mixture and butter mixture. Stir with a wooden spoon, then knead by hand when it becomes too thick to stir.
- Knead on a floured surface for 8-10 minutes until smooth and springy. If sticky, add flour 1 tablespoon at a time.
- Place the dough in a lightly oiled bowl, cover with a damp cloth, and let rise in a warm spot for 1 hour until doubled.
- While rising, mix softened butter, brown sugar, and cinnamon in a bowl. Slightly warm the Nutella if needed for easy spreading.
- Punch down the dough and roll it into an 18×24-inch rectangle about ¼ inch thick.
- Spread Nutella evenly, leaving a 1-inch border along one long edge. Spread the cinnamon-sugar butter mixture on top, then sprinkle chopped hazelnuts.
- Roll the dough tightly from the filled long edge, then pinch the seam to seal.
- Cut into 12 equal rolls using dental floss or a sharp knife. Place in a greased 9×13-inch baking pan with space between each roll.
- Let rise for another 30 minutes until puffy. Preheat oven to 350°F.
- Bake for 25-30 minutes until golden brown. If browning too fast, tent with foil.
- Whisk together powdered sugar, milk, vanilla, and salt for the glaze. It should be thick but pourable.
- Let rolls cool for 10 minutes before glazing so it settles without completely melting.