Breakfast Taquitos
Breakfast taquitos are my go-to when I need something that works for both lazy weekend mornings and busy weekdays. They’re basically rolled-up breakfast burritos, but the tortillas get crispy in the oven, which makes them easier to handle and adds a satisfying crunch.
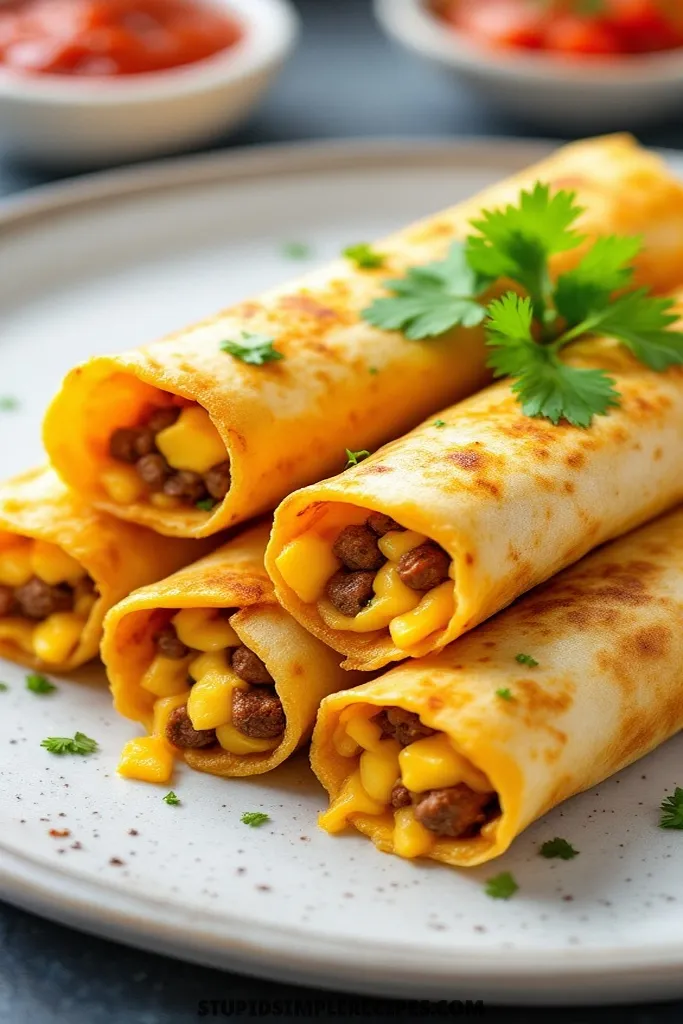
I fill mine with scrambled eggs, cheese, and whatever breakfast meat I have around – usually bacon or breakfast sausage. What’s great is you can make a batch ahead and reheat them in a few minutes. They’re perfect for feeding a crowd at brunch or grabbing on your way out the door. My kids love eating them in the car on school mornings since they don’t fall apart like regular breakfast burritos.
What you need for Breakfast Taquitos
Ingredients You’ll Need For This Recipe
- 12 corn tortillas
- 8 large eggs
- 1 pound breakfast sausage
- 2 cups shredded cheddar cheese
- 1 cup diced onion
- 2 tablespoons vegetable oil
- 1/2 teaspoon salt
- 1/4 teaspoon black pepper
- 1/4 cup milk
- Cooking spray
How to make Breakfast Taquitos
Here’s how I make these crispy breakfast taquitos that are perfect for meal prep or feeding a crowd:
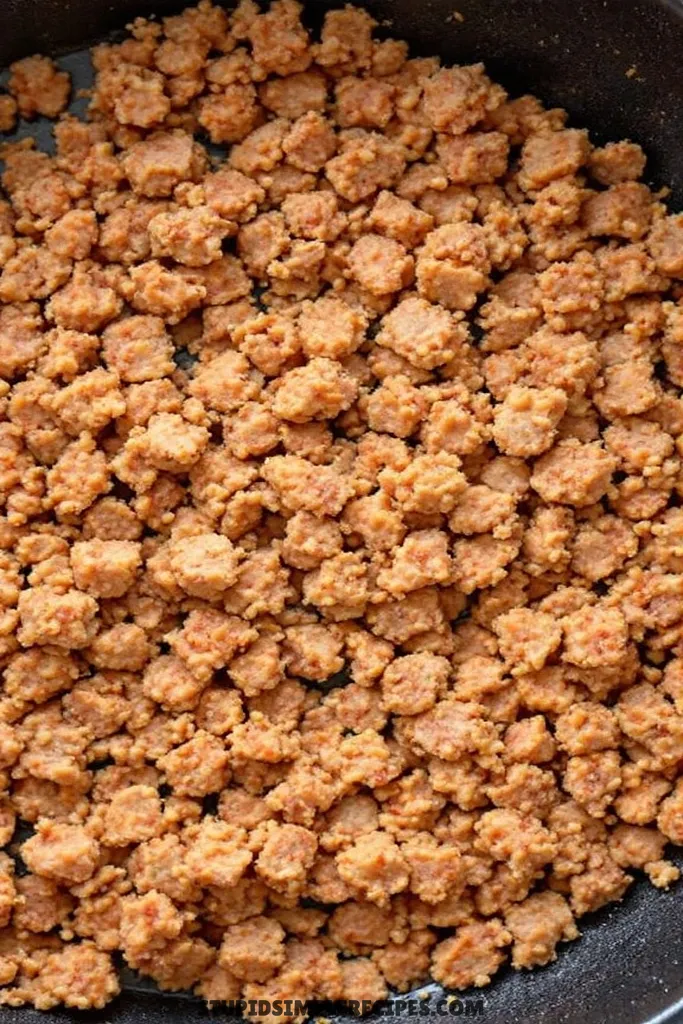
1. Start by warming a large skillet over medium heat. Add the breakfast sausage and break it up into small crumbles with a wooden spoon. Let it cook for about 7-8 minutes, stirring occasionally, until it’s nicely browned and no pink remains.
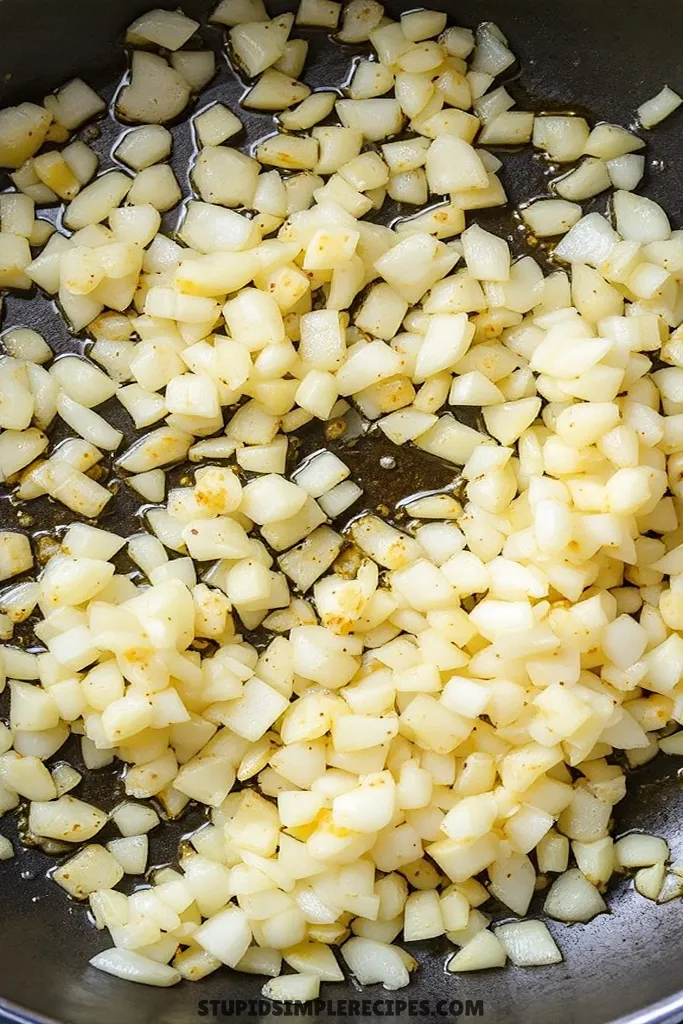
2. While the sausage cooks, dice your onion and push it to one side of your cutting board. In a large bowl, whisk together the eggs, milk, salt, and pepper until well combined and slightly frothy – this will take about 30 seconds of vigorous whisking.
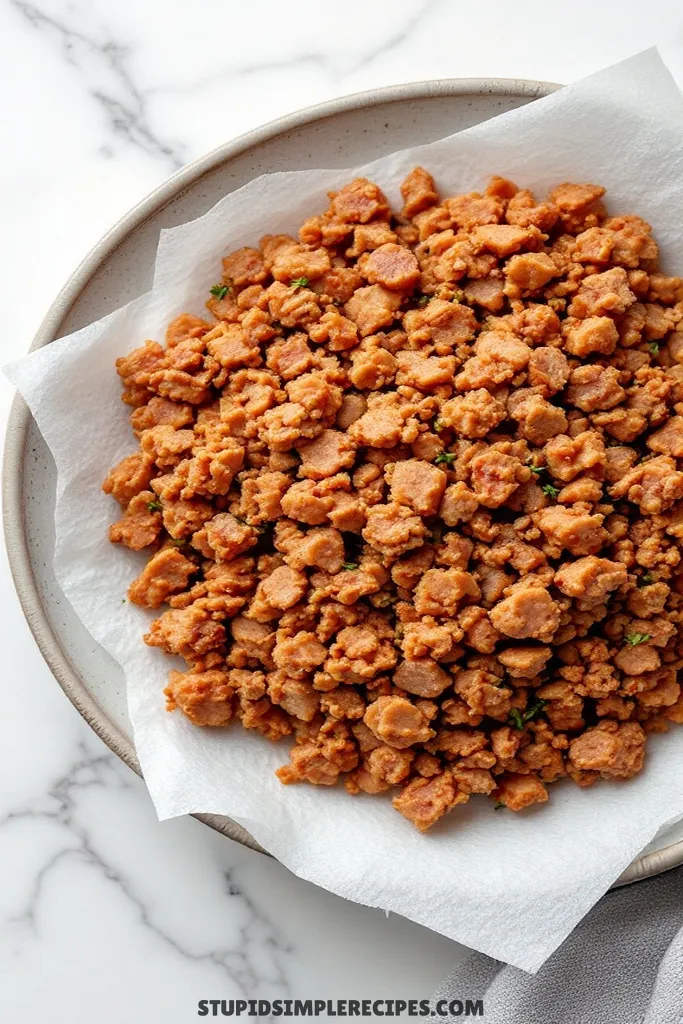
3. Once the sausage is done, transfer it to a paper towel-lined plate, leaving about 1 tablespoon of fat in the pan. Add your diced onion to the same skillet and cook until it becomes soft and translucent, about 4-5 minutes. You’ll know they’re ready when they start to look glossy and slightly golden at the edges.
4. Pour your egg mixture into the skillet with the onions. Let it sit for about 30 seconds until the edges start to set, then use a rubber spatula to gently push the eggs from the edges to the center, tilting the pan to let the raw egg flow to the sides. Keep doing this until the eggs are just barely set – they should look slightly wet on top but not runny. Remove from heat and fold in the cooked sausage.
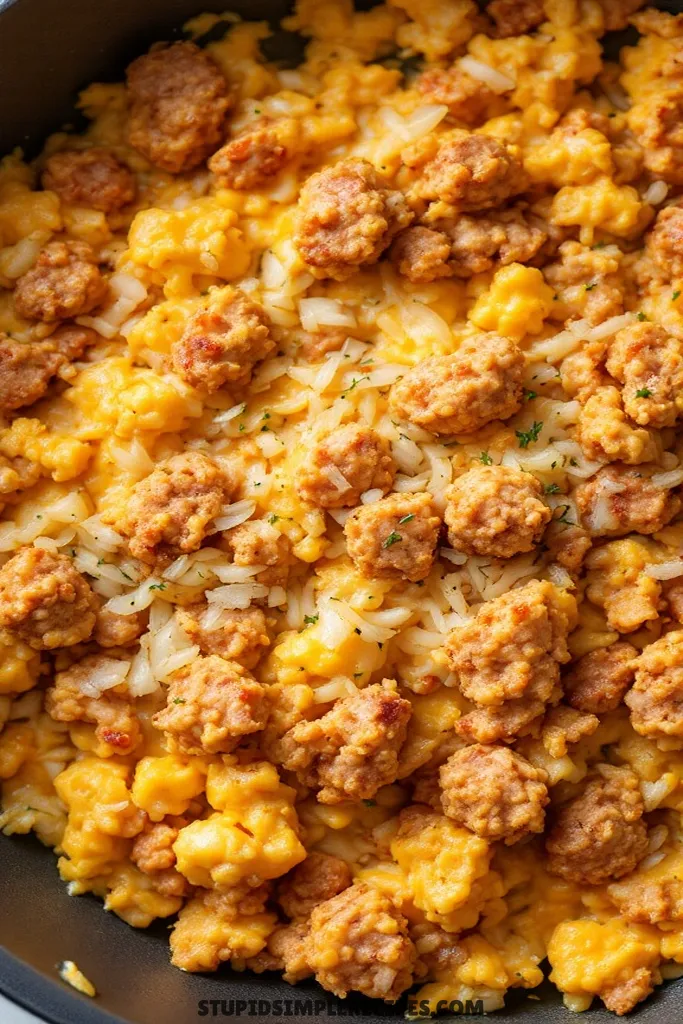
5. Here’s a crucial step: Warm your corn tortillas before rolling. I like to wrap 6 at a time in damp paper towels and microwave them for 30-40 seconds. This makes them pliable and prevents cracking when you roll them.
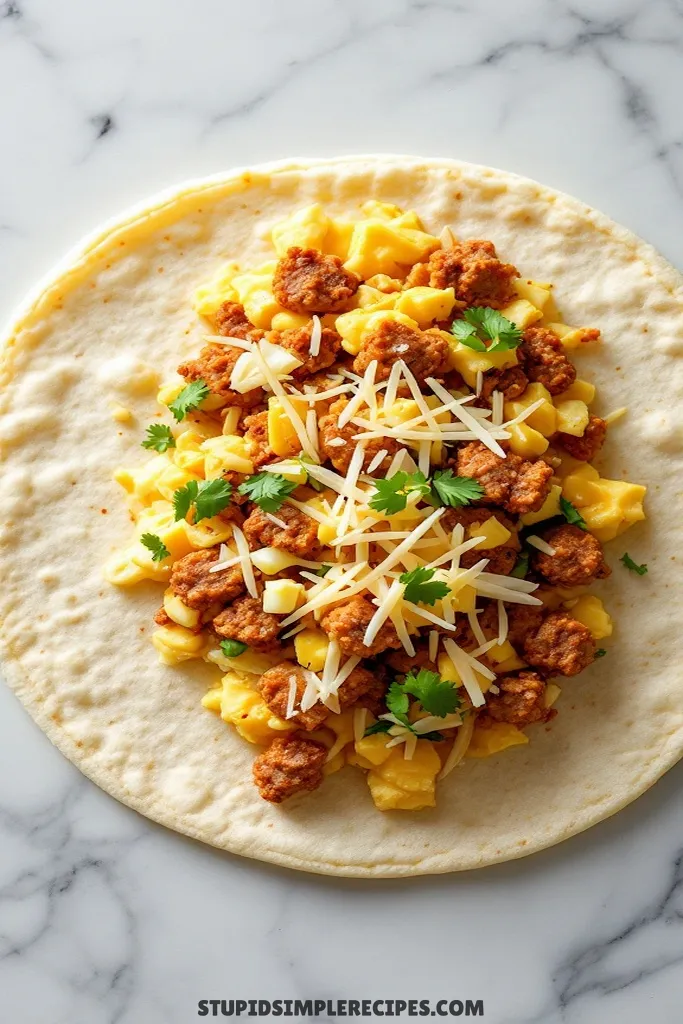
6. Working quickly while the tortillas are still warm, lay them flat and spoon about 3 tablespoons of the egg mixture slightly off-center on each tortilla. Add a generous pinch of shredded cheese. Roll them up tightly, starting from the filled side, and place them seam-side down on a baking sheet lined with parchment paper.
7. Lightly spray the taquitos with cooking spray – this helps them get golden and crispy. Brush or drizzle the vegetable oil over the tops.
8. Bake at 400°F for 15-20 minutes, rotating the pan halfway through. You’ll know they’re done when the edges are golden brown and crispy, and you can hear a slight crackle when you tap them with your spatula.
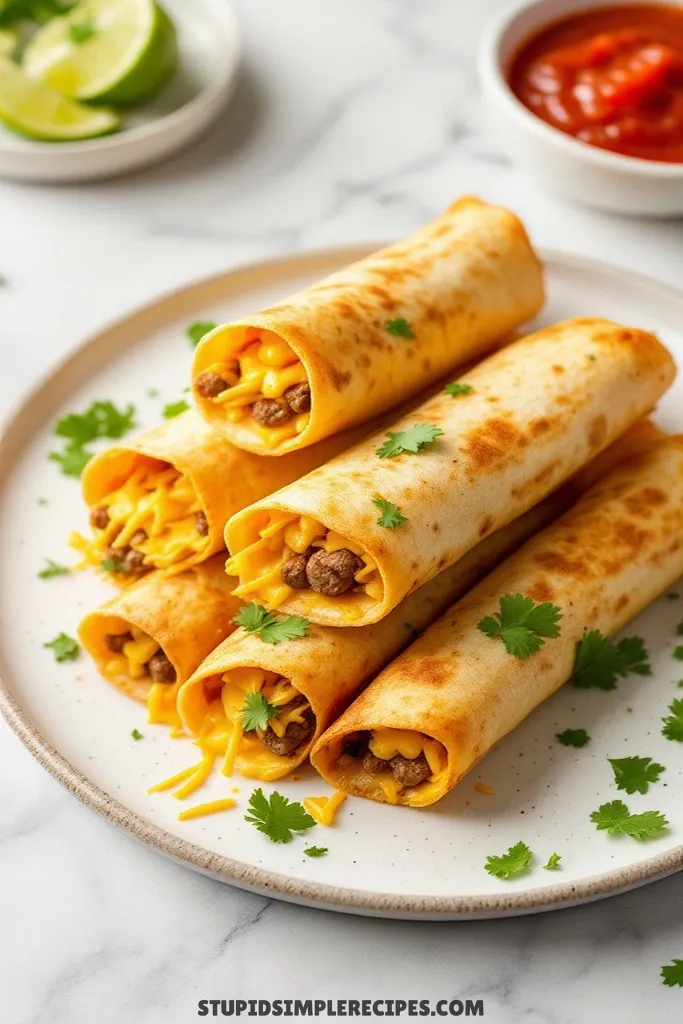
The finished taquitos should be crispy on the outside but still tender inside. Let them cool for about 3 minutes before serving – the filling will be extremely hot! If any filling escapes during baking, just scoop it up and sprinkle it back over the top of the taquitos when serving.
🔍 Recipe Notes & Tips
- Corn tortillas work better than flour – they get crispier
- Don’t overfill! 3 tbsp is perfect, more will burst
- If tortillas crack when rolling, they aren’t warm enough
- Prep assembly line style – way faster
- Can prep filling the night before, but roll fresh
- Shred your own cheese – melts better than pre-shredded
🍽️ Serving Suggestions
- Hot sauce or salsa is a must
- Mexican-style coffee (cinnamon + brown sugar)
- Fresh fruit on the side
- Quick guac: mashed avocado + lime + salt
- Cold brew for meal prep portions
- Pickled jalapeños for heat lovers
🎯 Make it Work for
- Brunch party: Set up a DIY toppings bar
- Meal prep: Make double batch, freeze extras
- Game day: Serve room temp, they stay crispy
- Kids: Cut in half, less messy to eat
- Potluck: Transport in foil, reheat on arrival
📦 Storage & Leftovers
- Fridge: 3-4 days in airtight container
- Freeze: Up to 2 months, wrapped individually
- Reheat: 350°F oven for 10-12 mins (don’t microwave!)
- To crisp up: Quick blast under broiler
- Separate layers with parchment if stacking
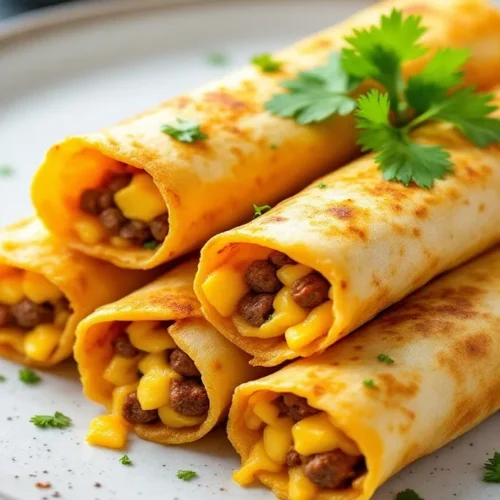
Breakfast Taquitos
Ingredients
- 12 corn tortillas
- 8 large eggs
- 1 pound breakfast sausage
- 2 cups shredded cheddar cheese
- 1 cup diced onion
- 2 tablespoons vegetable oil
- 1/2 teaspoon salt
- 1/4 teaspoon black pepper
- 1/4 cup milk
- Cooking spray
Instructions
- Start by warming a large skillet over medium heat. Add the breakfast sausage and break it up into small crumbles with a wooden spoon. Let it cook for about 7-8 minutes, stirring occasionally.
- While the sausage cooks, dice your onion and push it to one side of your cutting board. In a large bowl, whisk together the eggs, milk, salt, and pepper until well combined and slightly frothy – this will take about 30 seconds of vigorous whisking.
- Once the sausage is done, transfer it to a paper towel-lined plate, leaving about 1 tablespoon of fat in the pan. Add your diced onion to the same skillet and cook until it becomes soft and translucent, about 4-5 minutes.
- Pour your egg mixture into the skillet with the onions. Let it sit for about 30 seconds until the edges start to set, then use a rubber spatula to gently push the eggs from the edges to the center, tilting the pan to let the raw egg flow to the sides. Remove from heat and fold in the cooked sausage.
- Here’s a crucial step: Warm your corn tortillas before rolling. I like to wrap 6 at a time in damp paper towels and microwave them for 30-40 seconds.
- Working quickly while the tortillas are still warm, lay them flat and spoon about 3 tablespoons of the egg mixture slightly off-center on each tortilla. Add a generous pinch of shredded cheese. Roll them up tightly, starting from the filled side, and place them seam-side down on a baking sheet lined with parchment paper.
- Lightly spray the taquitos with cooking spray – this helps them get golden and crispy. Brush or drizzle the vegetable oil over the tops.
- Bake at 400°F for 15-20 minutes, rotating the pan halfway through. You’ll know they’re done when the edges are golden brown and crispy.