Nutella Babka Buns
These Nutella babka buns take the best parts of a chocolate babka – those swirly layers of chocolate hazelnut goodness – and reshape them into individual rolls. They’re rich without being heavy, and the twisted dough creates these gorgeous layers that people can’t help but pull apart.
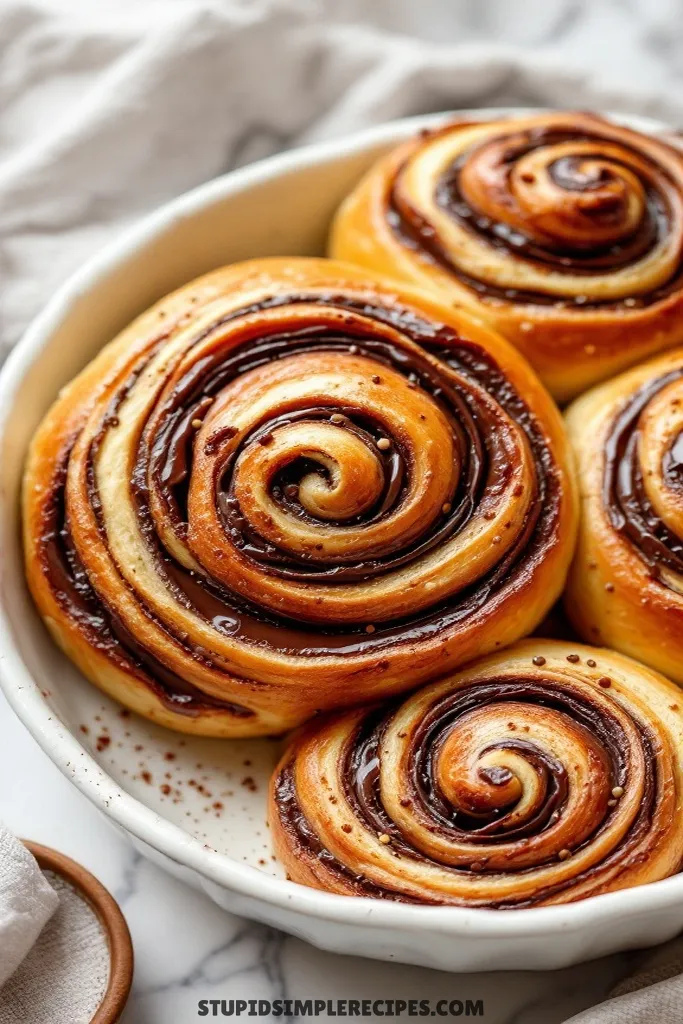
The dough needs time to rise overnight, but that actually makes morning assembly easier. They’re perfect when you’ve got family visiting or want to impress at brunch since you can do most of the work the day before. Plus, they make the whole house smell like warm chocolate and bread – always a win in my book.
What you need for Nutella Babka Buns
For DOUGH:
- 3¼ cups all-purpose flour
- ¼ cup granulated sugar
- 2¼ teaspoons active dry yeast (1 packet)
- ½ teaspoon salt
- 3 large eggs, room temperature
- ½ cup warm milk
- ½ cup unsalted butter, softened
- 1 teaspoon vanilla extract
For FILLING:
- 1 cup Nutella
- ¼ cup unsalted butter, melted
For SUGAR SYRUP:
- ⅓ cup water
- ⅓ cup granulated sugar
How to make Nutella Babka Buns
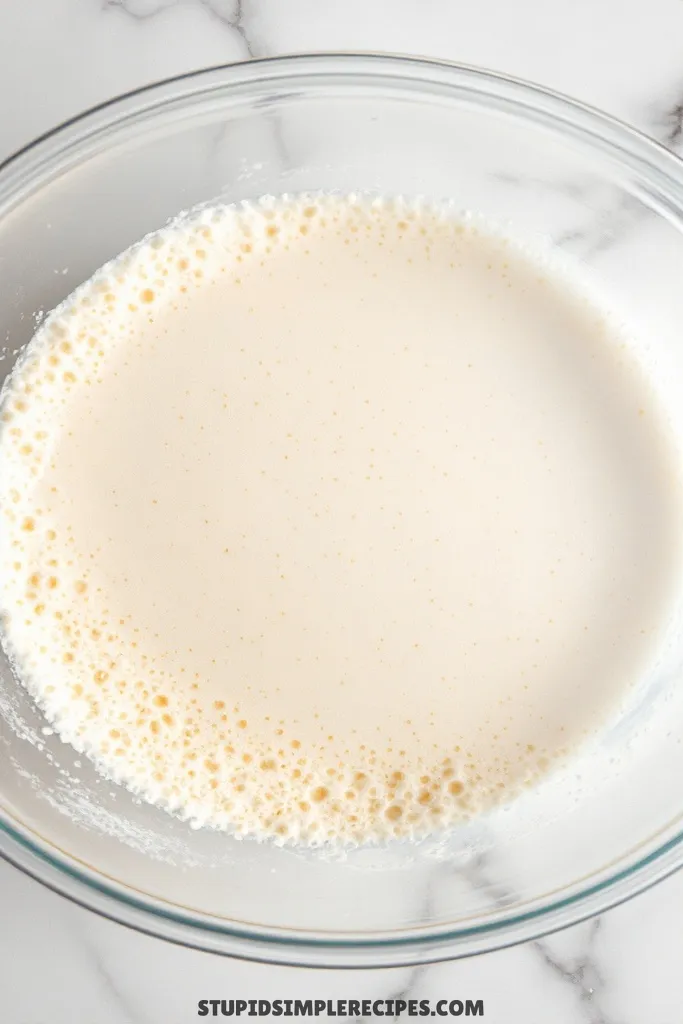
1. Start by warming your milk until it’s just warm to the touch – about like bath water (110°F if you want to be precise). Pour it into a large mixing bowl and sprinkle the yeast over top. Let it sit for about 5 minutes until it gets foamy – this tells you your yeast is alive and ready to work.
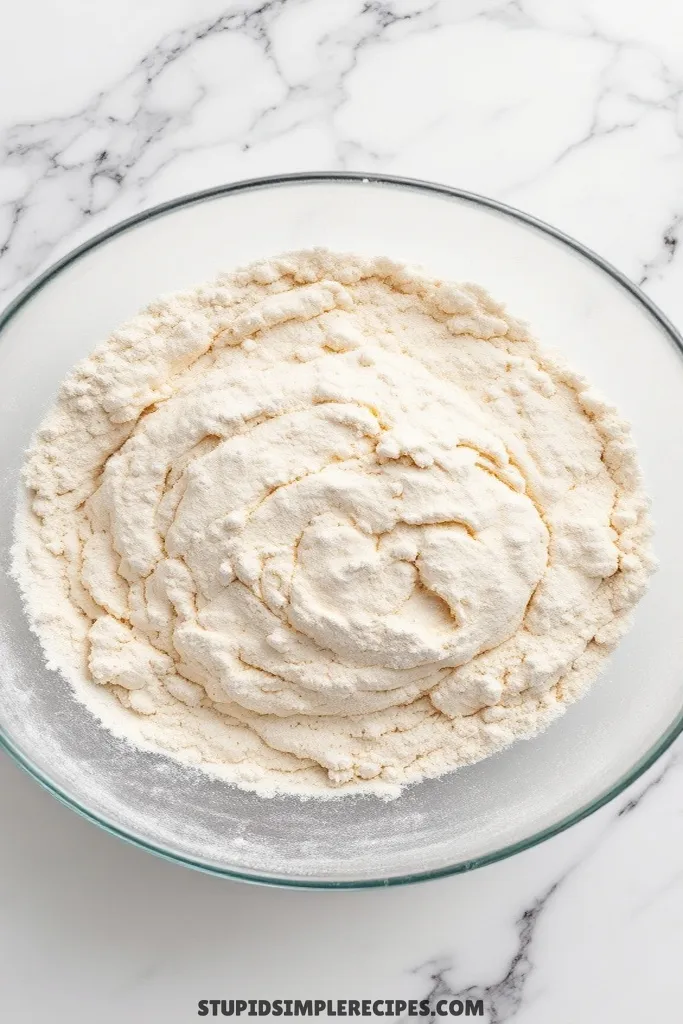
2. While the yeast is blooming, whisk together 3 cups of the flour (save that last ¼ cup for later), sugar, and salt in a separate bowl. Once the yeast mixture is foamy, add your eggs, softened butter (which should be soft enough to easily leave an indent when pressed), and vanilla.

3. Add the dry ingredients to your wet ingredients and mix until a shaggy dough forms. Now’s when the real work starts – knead the dough for about 8-10 minutes. At first, it’ll be sticky and messy, but keep going! You’ll feel it transform under your hands into a smooth, elastic dough that springs back when you poke it. If it’s still super sticky after 5 minutes of kneading, work in some of that reserved flour, a tablespoon at a time.
4. Place your dough in a lightly greased bowl, cover it with plastic wrap or a damp towel, and let it rise in a warm spot until doubled in size – usually about 1½ hours. You’ll know it’s ready when you poke it with your finger and the indent stays.
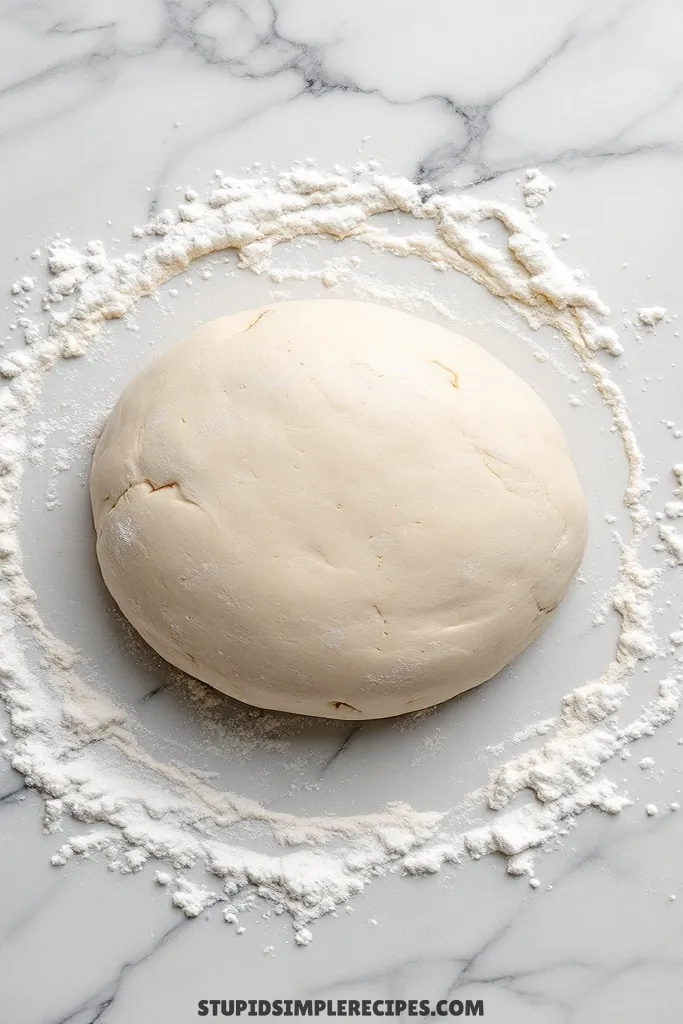
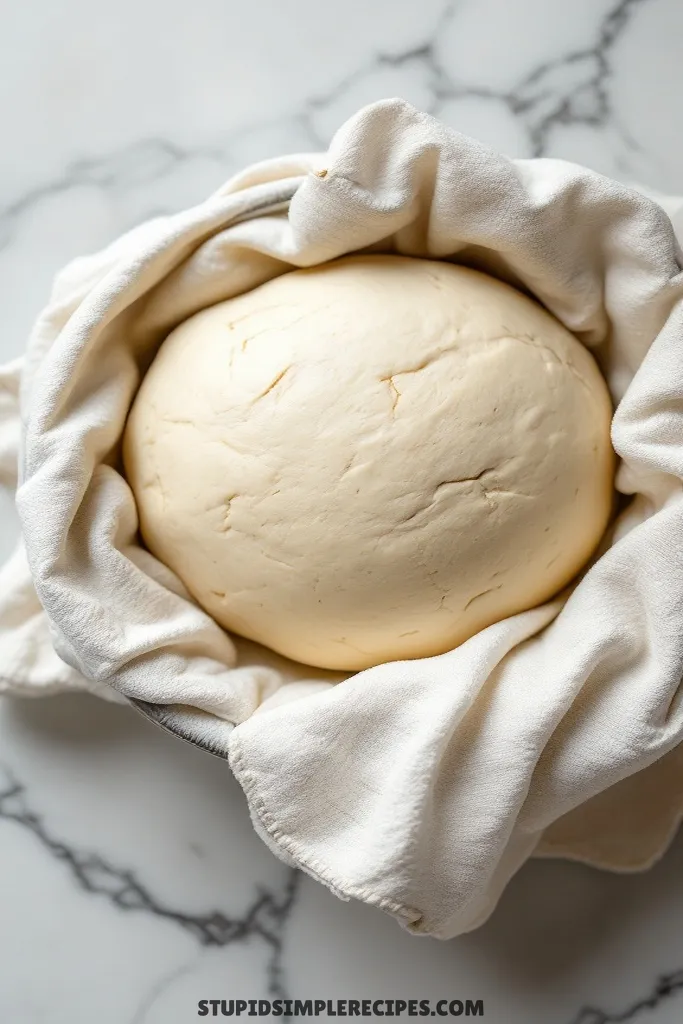
5. Once risen, punch down the dough (literally, punch it – it’s satisfying!) and roll it out on a floured surface into a large rectangle, about 18×12 inches. The dough should be about ¼ inch thick.
6. Here’s where it gets good – mix your melted butter and Nutella until smooth. Spread this mixture evenly over your dough, leaving about a ½-inch border around the edges. Try to get it as even as possible – I like using an offset spatula for this.
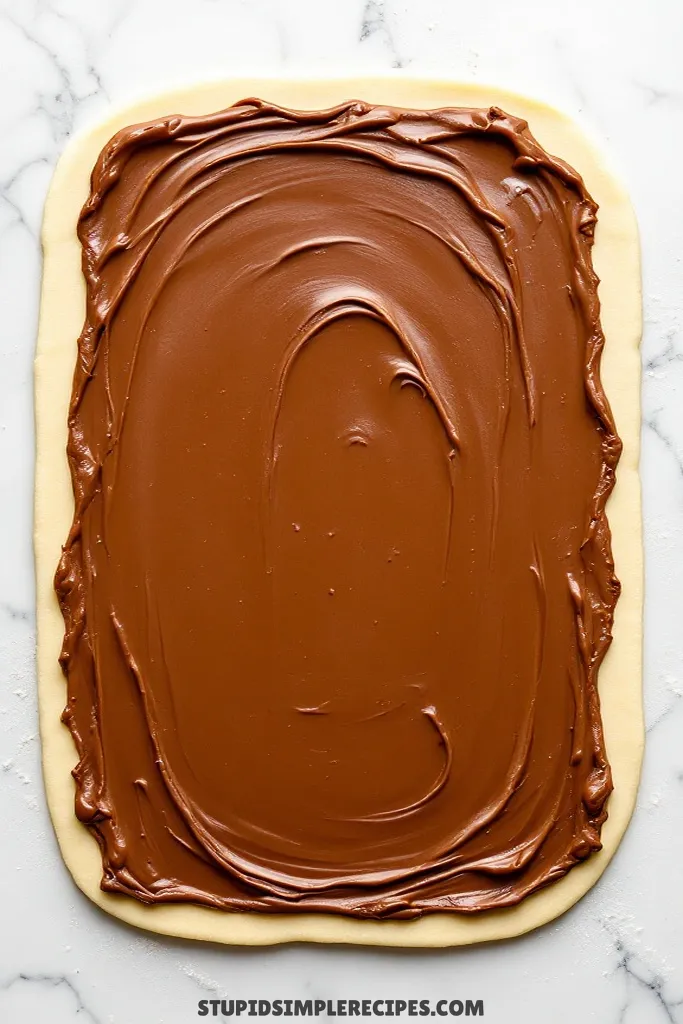
7. Starting from the long edge, roll the dough up tightly into a log like you’re making cinnamon rolls. Place the log seam-side down and cut it into 12 even pieces. I find it easiest to cut the log in half, then each half in half, and then each piece into thirds.
8. Place each bun into a greased 9×13-inch baking pan, leaving some space between them for rising. Cover and let rise again for about 45 minutes, until they’re puffy and touching each other.
9. While they’re rising, preheat your oven to 350°F. Once the buns are ready, bake for 25-30 minutes. You’re looking for a deep golden brown color on top, and if you tap one, it should sound hollow.
10. While they’re baking, make your sugar syrup. Combine water and sugar in a small saucepan and bring to a boil, stirring until the sugar dissolves completely. Let it simmer for 2 minutes until it’s slightly thickened.
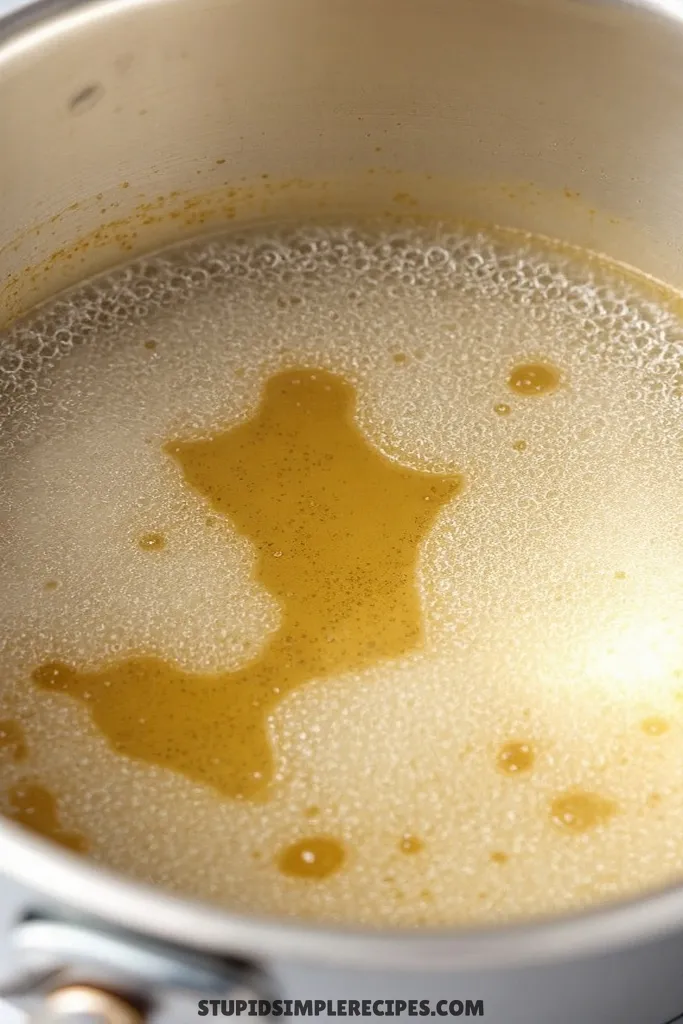
11. As soon as the buns come out of the oven, brush them generously with the warm sugar syrup. It’ll look like a lot, but trust me – this gives them that professional bakery shine and keeps them moist.
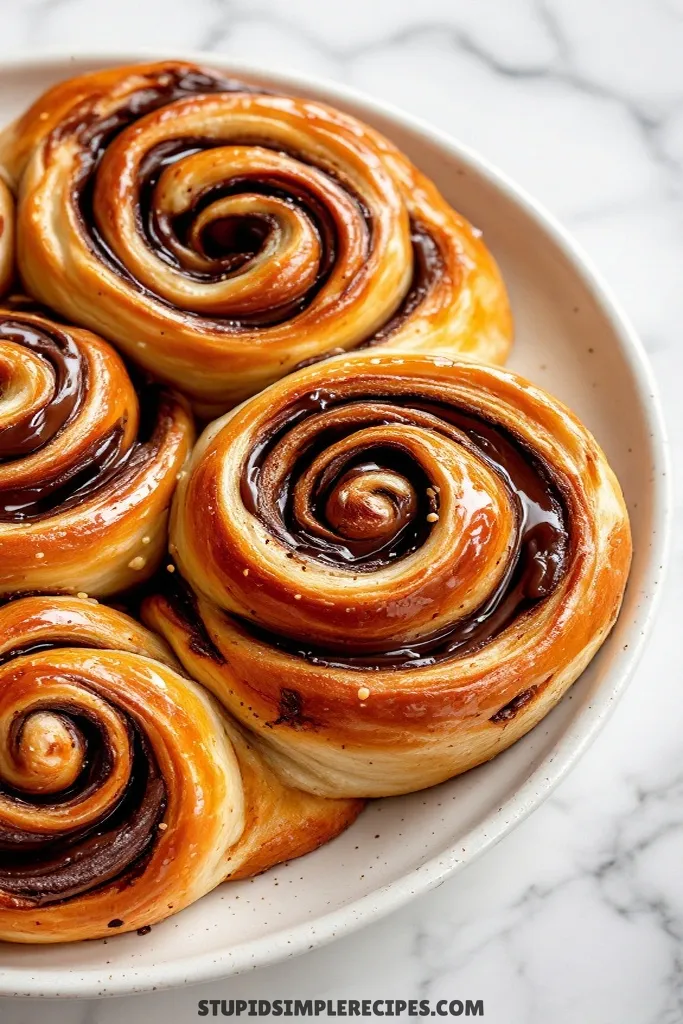
Let them cool for about 15 minutes before serving. They’re absolutely incredible while still warm when the Nutella is all melty and gooey. If you have leftovers (big if!), store them covered at room temperature for up to 2 days, though they’re definitely best on day one.
🔍 Recipe Notes & Tips
- Use room temp eggs – cold eggs will make your butter clump up
- Don’t skimp on kneading time – proper gluten development is key
- No stand mixer? Hand kneading works great, just add 2-3 extra minutes
- Check the yeast expiration date before starting
- If your kitchen’s cold, turn the oven on lowest setting for 1 min, turn it off, and then use it for rising
- Cut buns with dental floss instead of knife for cleaner slices
- Microwave Nutella for 20 seconds to make it easier to spread
🍽️ Serving Suggestions
- Perfect with coffee or hot chocolate
- Extra indulgent with cold milk
- Great for brunch with fresh fruit on the side
- Add whipped cream for dessert
- Pairs well with cappuccino or latte
🎯 Make it Work for
- Brunch gatherings – make ahead, reheat briefly
- Holiday mornings – prep dough the night before, do the final rise in the morning
- Bake sale winner – individually wrapped portions
- Weekend treat – perfect project for a lazy Sunday
- House guests – impressive but doable breakfast option
📦 Storage & Leftovers
- Best eaten the same day
- Store room temp 2 days max in an airtight container
- Freeze-baked buns for up to 1 month
- Reheat individual buns for 15 seconds in the microwave
- Can prep dough the night before – refrigerate after the first rise
- Don’t store them in the fridge – makes them go stale faster
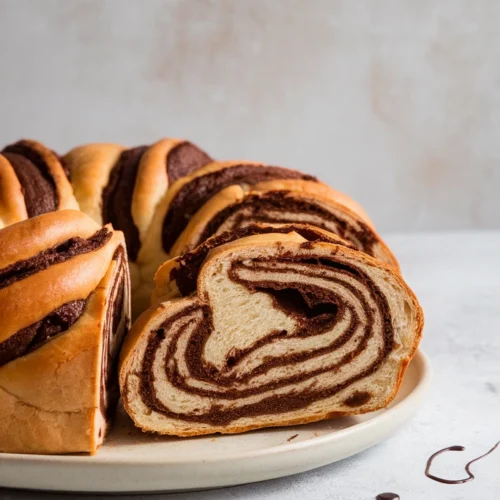
Nutella Babka Buns
Ingredients
DOUGH:
- 3¼ cups all-purpose flour
- ¼ cup granulated sugar
- 2¼ teaspoons active dry yeast 1 packet
- ½ teaspoon salt
- 3 large eggs room temperature
- ½ cup warm milk
- ½ cup unsalted butter softened
- 1 teaspoon vanilla extract
FILLING:
- 1 cup Nutella
- ¼ cup unsalted butter melted
SUGAR SYRUP:
- ⅓ cup water
- ⅓ cup granulated sugar
Instructions
- Start by warming your milk until it’s just warm to the touch – about like bath water. Pour it into a large mixing bowl and sprinkle the yeast over top. Let it sit for about 5 minutes until it gets foamy – this tells you your yeast is alive and ready to work.
- While the yeast is blooming, whisk together 3 cups of the flour (save that last ¼ cup for later), sugar, and salt in a separate bowl. Once the yeast mixture is foamy, add your eggs, softened butter, and vanilla.
- Add the dry ingredients to your wet ingredients and mix until a shaggy dough forms. Now’s when the real work starts – knead the dough for about 8-10 minutes. At first, it’ll be sticky and messy, but keep going! You’ll feel it transform under your hands into a smooth, elastic dough that springs back when you poke it. If it’s still super sticky after 5 minutes of kneading, work in some of that reserved flour, a tablespoon at a time.
- Place your dough in a lightly greased bowl, cover with plastic wrap or a damp towel, and let it rise in a warm spot until doubled in size – usually about 1½ hours. You’ll know it’s ready when you poke it with your finger and the indent stays.
- Once risen, punch down the dough and roll it out on a floured surface into a large rectangle, about 18×12 inches. The dough should be about ¼ inch thick.
- Mix your melted butter and Nutella until smooth. Spread this mixture evenly over your dough, leaving about a ½-inch border around the edges. Try to get it as even as possible.
- Starting from the long edge, roll the dough up tightly into a log, like you’re making cinnamon rolls. Place the log seam-side down and cut it into 12 even pieces. I find it easiest to cut the log in half, then each half in half, then each piece into thirds.
- Place each bun into a greased 9×13 inch baking pan, leaving some space between them for rising. Cover and let rise again for about 45 minutes, until they’re puffy and touching each other.
- While they’re rising, preheat your oven to 350°F. Once the buns are ready, bake for 25-30 minutes. You’re looking for a deep golden brown color on top, and if you tap one, it should sound hollow.
- While they’re baking, make your sugar syrup. Combine water and sugar in a small saucepan and bring to a boil, stirring until the sugar dissolves completely. Let it simmer for 2 minutes until it’s slightly thickened.
- As soon as the buns come out of the oven, brush them generously with the warm sugar syrup.