Raspberry Chocolate Chunk Ice Cream
This raspberry chocolate chunk ice cream hits all the right notes – tart berries, rich chocolate, and smooth cream. I started making it after getting tired of store-bought versions that tasted artificial or had tiny, unsatisfying chocolate pieces.
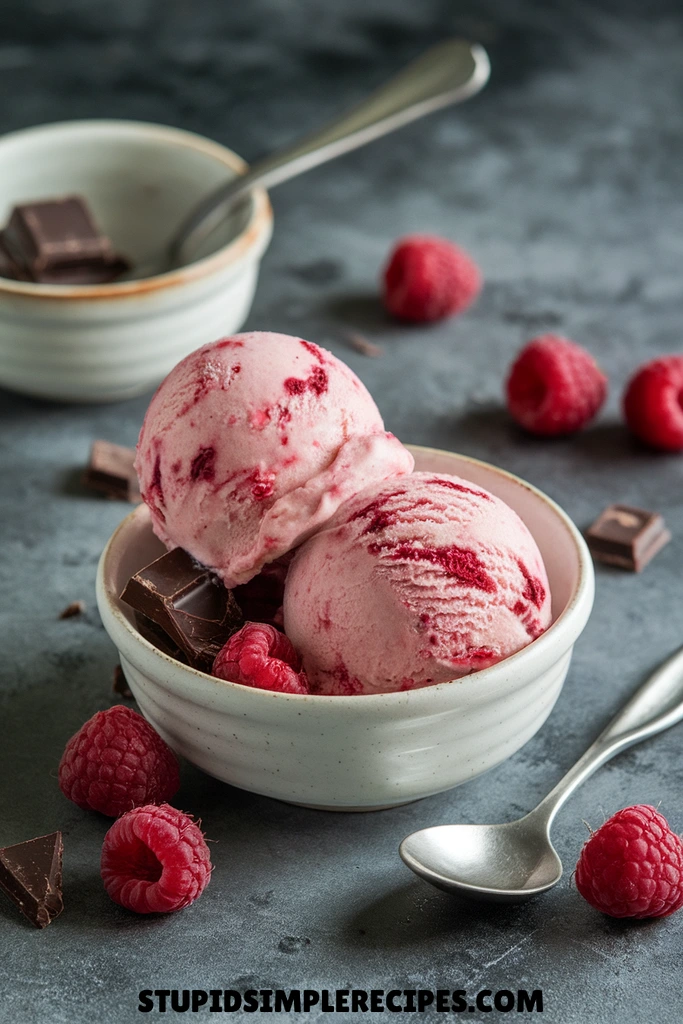
The secret is using both fresh raspberries and raspberry jam, which gives you bright flavor and keeps the ice cream scoopable even after freezing. And instead of chocolate chips, I chop up good dark chocolate into uneven chunks – some tiny flecks that melt on your tongue, some bigger pieces for satisfying bites.
It’s perfect for summer parties since you can make it days ahead, and the berry-chocolate combo pleases pretty much everyone.
What you need for Raspberry Chocolate Chunk Ice Cream
Ingredients You’ll Need For This Recipe
- 2 cups heavy cream
- 1 cup whole milk
- 3/4 cup granulated sugar
- 1/4 teaspoon salt
- 4 large egg yolks
- 1 teaspoon vanilla extract
- 2 cups fresh raspberries
- 8 ounces dark chocolate, roughly chopped
- 2 tablespoons light corn syrup
How to make Homemade Raspberry Chocolate Chunk Ice Cream
This is one of my favorite ice creams to make when fresh raspberries are in season. The corn syrup helps keep the texture smooth and scoopable, even after freezing.
1. Start by mashing the raspberries in a bowl with 1/4 cup of the sugar until they break down but still have some texture – you don’t want them completely pureed. Set aside to let the sugar draw out the juices while you make the base.
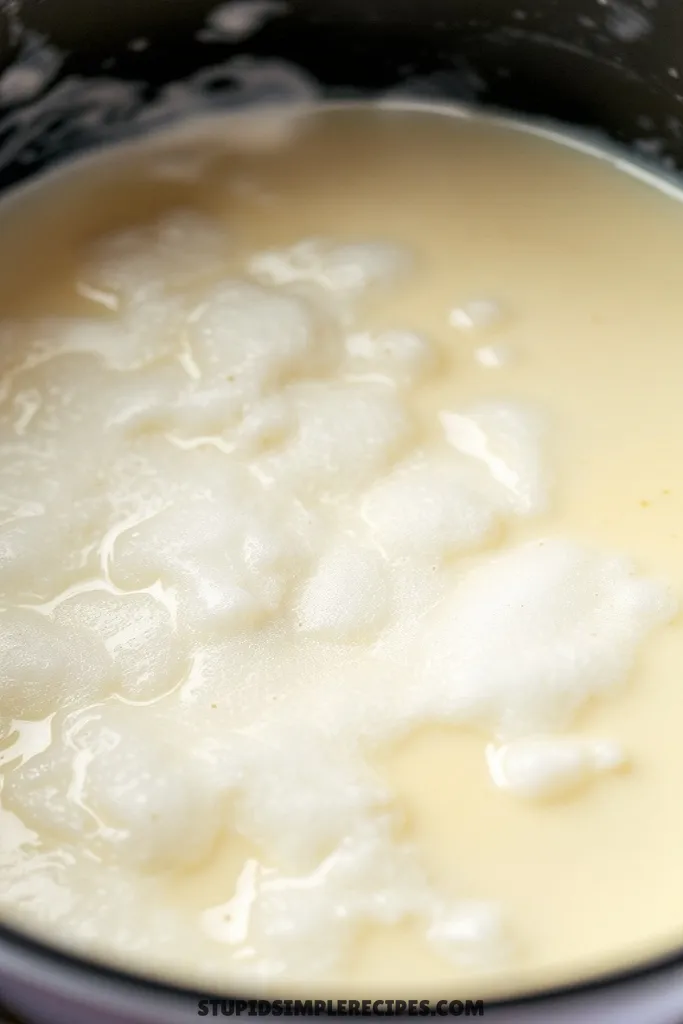
2. In a medium saucepan, combine the heavy cream, milk, remaining 1/2 cup sugar, and salt. Heat over medium, stirring occasionally to dissolve the sugar. You’ll know it’s ready when you no longer feel sugar granules when you rub a spoon against the bottom of the pan.
3. While the cream mixture heats, whisk the egg yolks in a medium bowl until they lighten in color slightly, about 30 seconds. This makes them easier to temper.
4. Once you see tiny bubbles around the edges of the cream mixture (but before it boils), remove it from the heat. Slowly ladle about 1 cup of the hot cream mixture into the egg yolks, whisking constantly. This gradual warming prevents the eggs from scrambling.
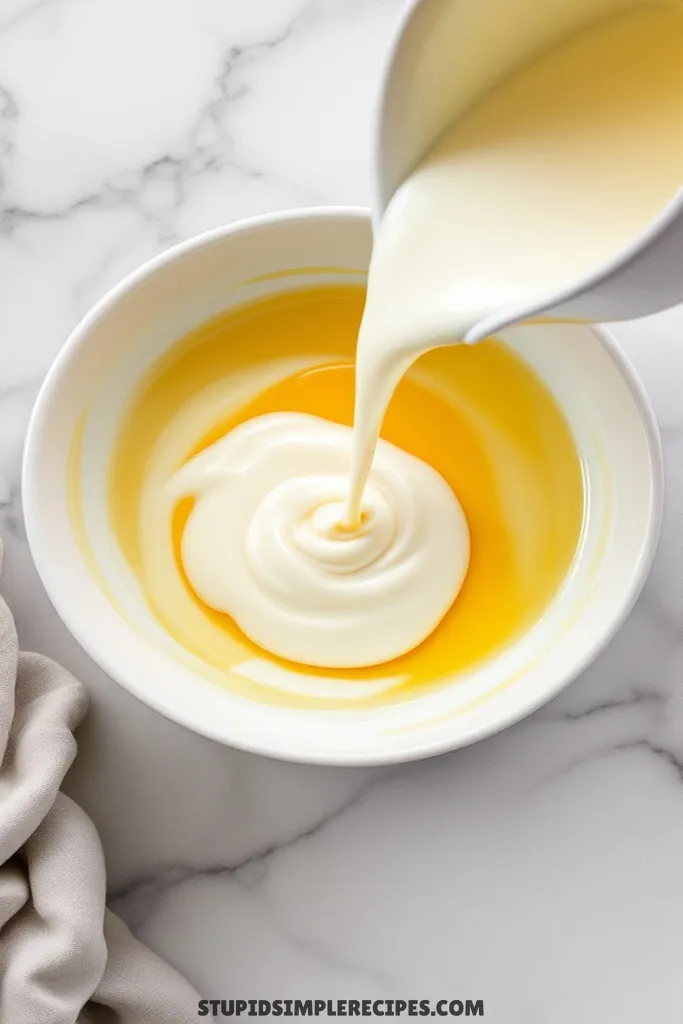
5. Pour the warmed egg mixture back into the saucepan, whisking constantly. Return to medium-low heat and cook, stirring continuously with a wooden spoon or silicone spatula. Make sure to scrape the bottom and sides of the pan as you stir.
6. The custard is ready when it thickens enough to coat the back of your spoon and hold a line when you run your finger through it – this usually takes 5-7 minutes. If you have a thermometer, it should read 170-175°F. Don’t let it boil or you’ll end up with scrambled eggs!
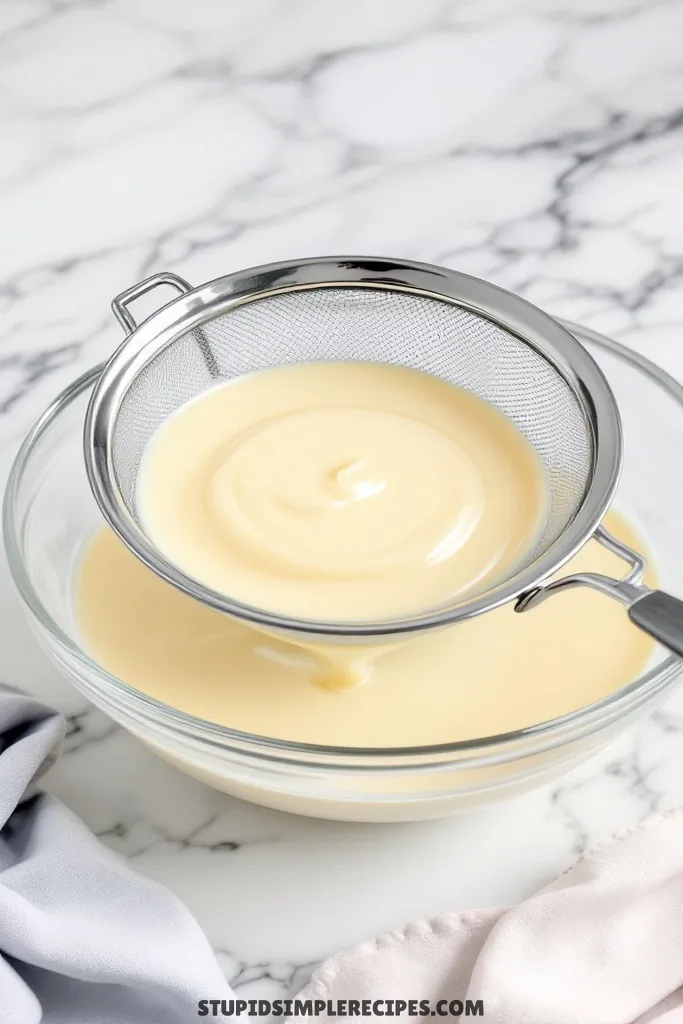
7. Strain the custard through a fine-mesh sieve into a clean bowl. Stir in the vanilla extract and corn syrup until fully incorporated. Press plastic wraps directly onto the surface (this prevents skin from forming) and refrigerate until completely cold, at least 4 hours, or overnight.
8. While the base chills, roughly chop your chocolate – I aim for a mix of sizes from tiny shards to chunks about the size of chocolate chips. The varying sizes create a nice texture throughout the ice cream.
9. When you’re ready to churn, stir the cold custard base to recombine everything. Pour into your ice cream maker and churn according to the manufacturer’s instructions – mine usually takes about 20-25 minutes.
10. In the last minute of churning, add the reserved raspberry mixture. The ice cream should be thick but still soft-serve consistency.
11. Layer about one-third of the ice cream into your storage container, and sprinkle with some chocolate chunks. Repeat twice more with remaining ice cream and chocolate, ending with chocolate on top.
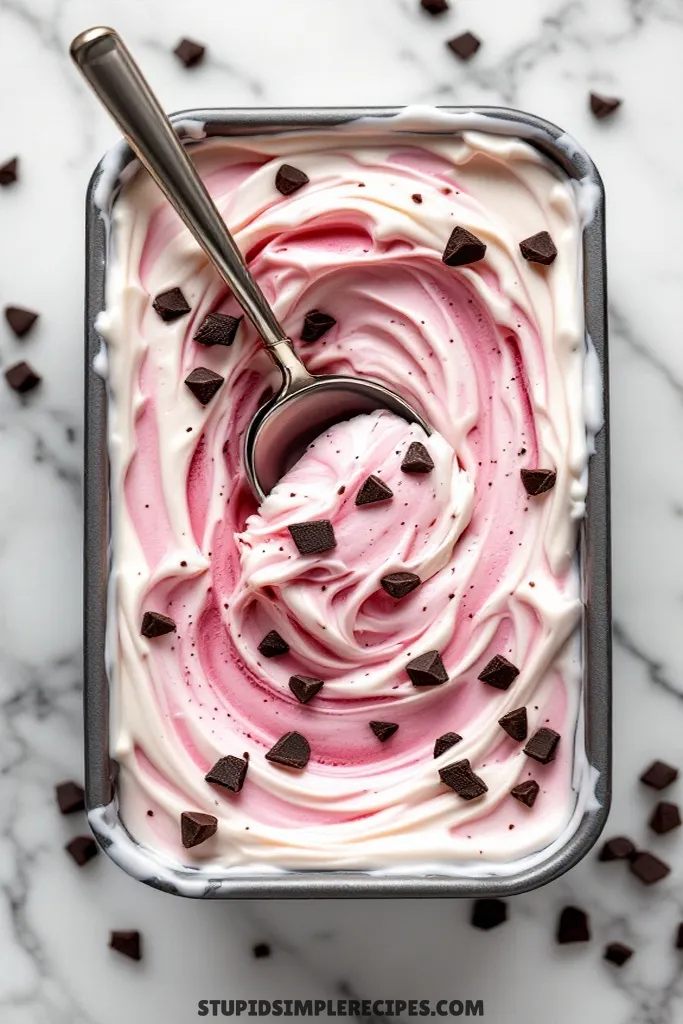
12. Press a piece of wax paper or parchment directly on the surface, cover, and freeze until firm, at least 4 hours. The ice cream will keep for about 2 weeks, but the texture is best in the first few days.
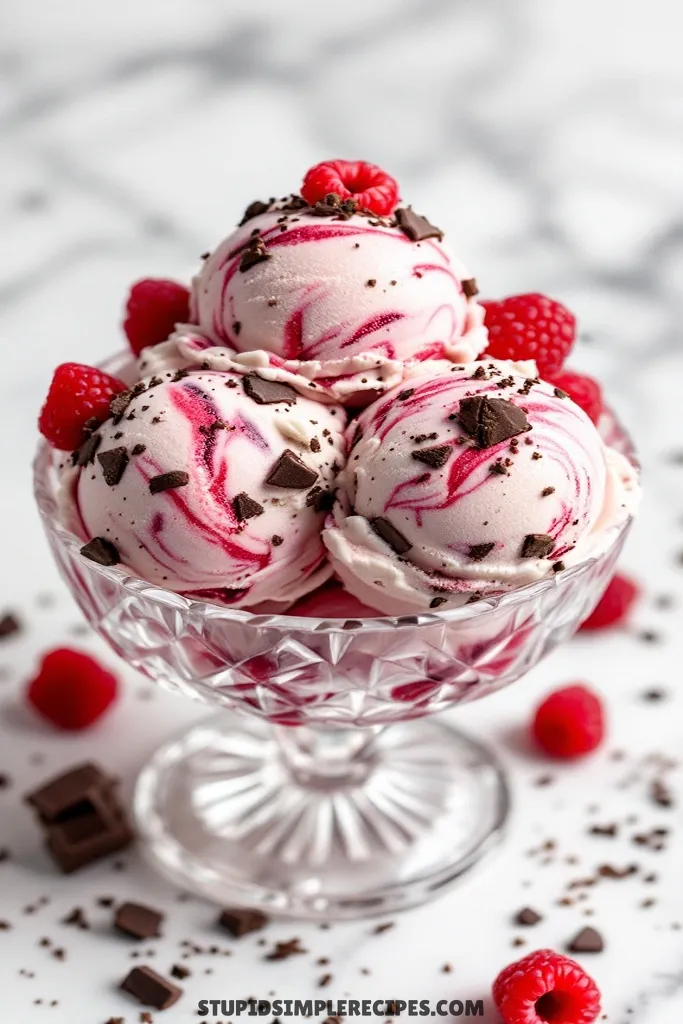
Let it sit at room temperature for about 5 minutes before scooping – this helps it soften to the perfect consistency. You’ll know it’s ready when your ice cream scoop can glide through smoothly.
🔍 Recipe Notes & Tips
- Don’t skip the corn syrup – it’s your secret weapon against iciness
- Fresh raspberries work best, but frozen work too – just thaw and drain first
- Want it extra smooth? Strain the raspberry mixture to remove the seeds
- Room temp eggs blend easier than cold ones
- No thermometer? The spoon test works great – if it coats and holds a line, you’re good
- Chop chocolate when it’s cold – less messy and better chunks
🍽️ Serving Suggestions
- Perfect with dark hot chocolate for double chocolate vibes
- Pairs beautifully with prosecco or champagne
- Try an affogato with espresso for fancy vibes
- Classic wafer cookies on the side let the ice cream shine
🎯 Make it Work for
- Dinner Party: Pre-scoop into fancy glasses, top with fresh berries
- Kid’s Party: Skip the chunks, use mini chocolate chips instead
- Date Night: Layer with brownie pieces for an epic sundae
- Summer BBQ: Pack in a cold thermos, and bring waffle cones
📦 Storage & Leftovers
- Keeps 2 weeks max in freezer
- Store in a shallow container to prevent ice crystals
- Press parchment paper on the surface before the lid
- The metal container works better than plastic
- Best eaten within first 5 days for optimal texture

Raspberry Chocolate Chunk Ice Cream
Ingredients
- 2 cups heavy cream
- 1 cup whole milk
- 3/4 cup granulated sugar
- 1/4 teaspoon salt
- 4 large egg yolks
- 1 teaspoon vanilla extract
- 2 cups fresh raspberries
- 8 ounces dark chocolate roughly chopped
- 2 tablespoons light corn syrup
Instructions
- Start by mashing the raspberries in a bowl with 1/4 cup of the sugar until they break down but still have some texture. Set aside to let the sugar draw out the juices while you make the base.
- In a medium saucepan, combine the heavy cream, milk, remaining 1/2 cup sugar, and salt. Heat over medium, stirring occasionally to dissolve the sugar.
- While the cream mixture heats, whisk the egg yolks in a medium bowl until they lighten in color slightly, about 30 seconds. This makes them easier to temper.
- Once you see tiny bubbles around the edges of the cream mixture, remove it from the heat. Slowly ladle about 1 cup of the hot cream mixture into the egg yolks, whisking constantly. This gradual warming prevents the eggs from scrambling.
- Pour the warmed egg mixture back into the saucepan, whisking constantly. Return to medium-low heat and cook, stirring continuously with a wooden spoon or silicone spatula. Make sure to scrape the bottom and sides of the pan as you stir.
- The custard is ready when it thickens enough to coat the back of your spoon and hold a line when you run your finger through it – this usually takes 5-7 minutes.
- Strain the custard through a fine-mesh sieve into a clean bowl. Stir in the vanilla extract and corn syrup until fully incorporated. Press plastic wrap directly onto the surface (this prevents a skin from forming) and refrigerate until completely cold, at least 4 hours or overnight.
- While the base chills, roughly chop your chocolate. The varying sizes create nice texture throughout the ice cream.
- When you’re ready to churn, stir the cold custard base to recombine everything. Pour into your ice cream maker and churn according to the manufacturer’s instructions.
- In the last minute of churning, add the reserved raspberry mixture. The ice cream should be thick but still soft-serve consistency.
- Layer about one-third of the ice cream into your storage container, sprinkle with some chocolate chunks. Repeat twice more with remaining ice cream and chocolate, ending with chocolate on top.
- Press a piece of wax paper or parchment directly on the surface, cover, and freeze until firm, at least 4 hours. The ice cream will keep for about 2 weeks, but the texture is best in the first few days.