Peanut Butter S’mores Bars
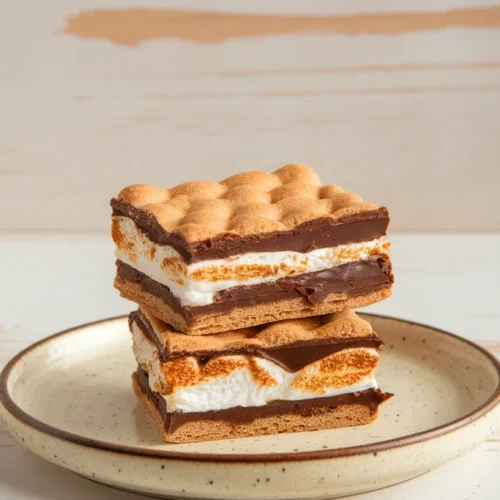
These peanut butter s’mores bars solve the classic campfire problem – trying to eat a melty, messy s’more without wearing half of it. By layering graham cracker crust, peanut butter, chocolate, and marshmallow into neat squares, you get all that s’mores magic in a much more manageable form. The peanut butter adds a salty-sweet element that regular s’mores are missing.

They’re perfect for summer potlucks or after-school treats. The bars hold together well and you can make them a day ahead – though good luck keeping people away from them that long. Just expect requests for the recipe.
What you need for Peanut Butter S’mores Bars
Ingredients You’ll Need For This Recipe
- 1½ cups graham cracker crumbs
- ½ cup melted butter
- ¼ cup granulated sugar
- 1 cup creamy peanut butter
- 1 cup milk chocolate chips
- 2 cups mini marshmallows
- ¼ cup semi-sweet chocolate chips (for drizzling)
How to make Peanut Butter S’mores Bars
Hey there! Let me walk you through making these irresistible bars that combine everything we love about s’mores with creamy peanut butter. Here’s how I make them:
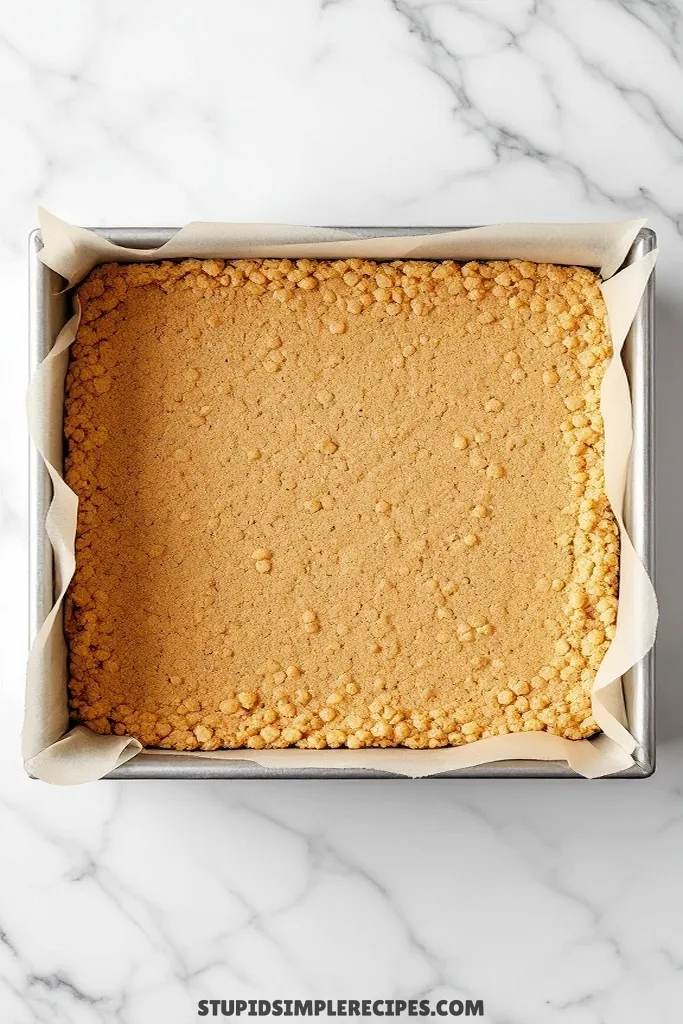
1. Start by preheating your oven to 350°F. Line an 8×8 inch baking pan with parchment paper, leaving some overhang on the sides – this will make it super easy to lift the bars out later.
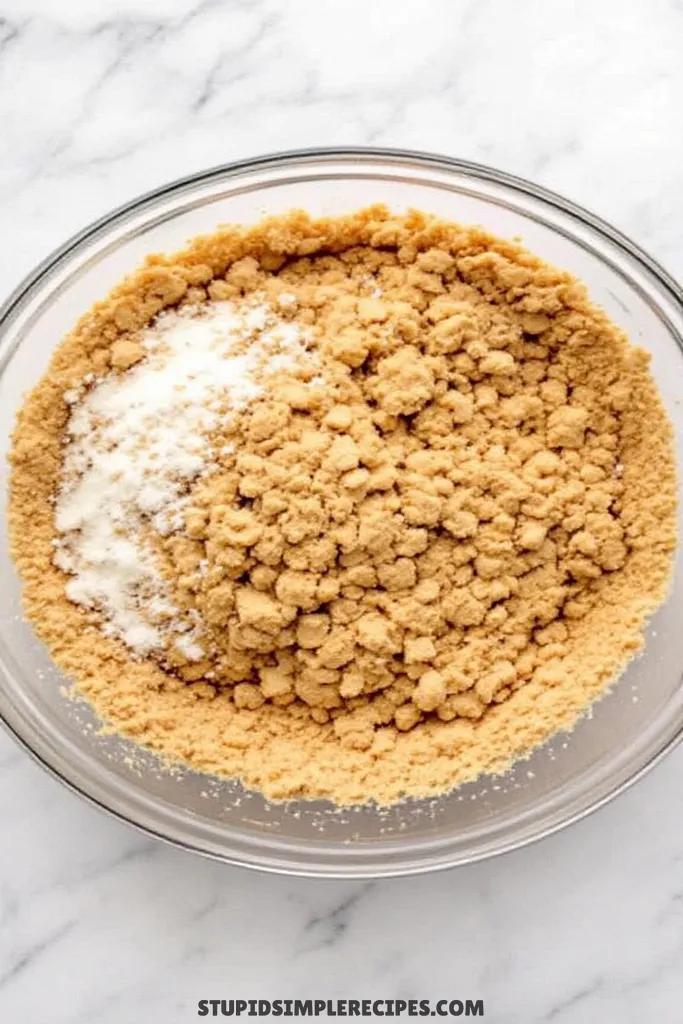
2. In a medium bowl, mix the graham cracker crumbs, melted butter, and granulated sugar until it looks like wet sand. Press this mixture firmly into your prepared pan using the bottom of a measuring cup (it helps create an even layer and really compacts the crust). You want it pretty firmly packed or it’ll crumble when you cut the bars.

3. Pop the crust in the oven for about 8-10 minutes, just until it starts to smell toasty and turns a slightly deeper golden color. This short bake helps the crust hold together better.

4. While the crust is still hot, dollop the peanut butter all over the surface. Give it about 2 minutes to start melting from the heat of the crust, then use an offset spatula or the back of a spoon to spread it into an even layer. The warm crust makes this so much easier!
5. Sprinkle the milk chocolate chips evenly over the peanut butter layer, then top with mini marshmallows. Try to get the marshmallows in a single layer – they’ll expand as they toast.
6. Switch your oven to broil and position a rack about 6 inches from the heat. This is where you’ll need to be super attentive! Place the pan under the broiler for about 1-2 minutes, watching constantly. You’re looking for the marshmallows to puff up and turn golden brown. They can go from perfect to burnt in seconds, so don’t walk away!
7. Once the marshmallows are toasted, take the pan out and let it cool on a wire rack for about 30 minutes. The chocolate chips will be fully melted underneath those marshmallows.
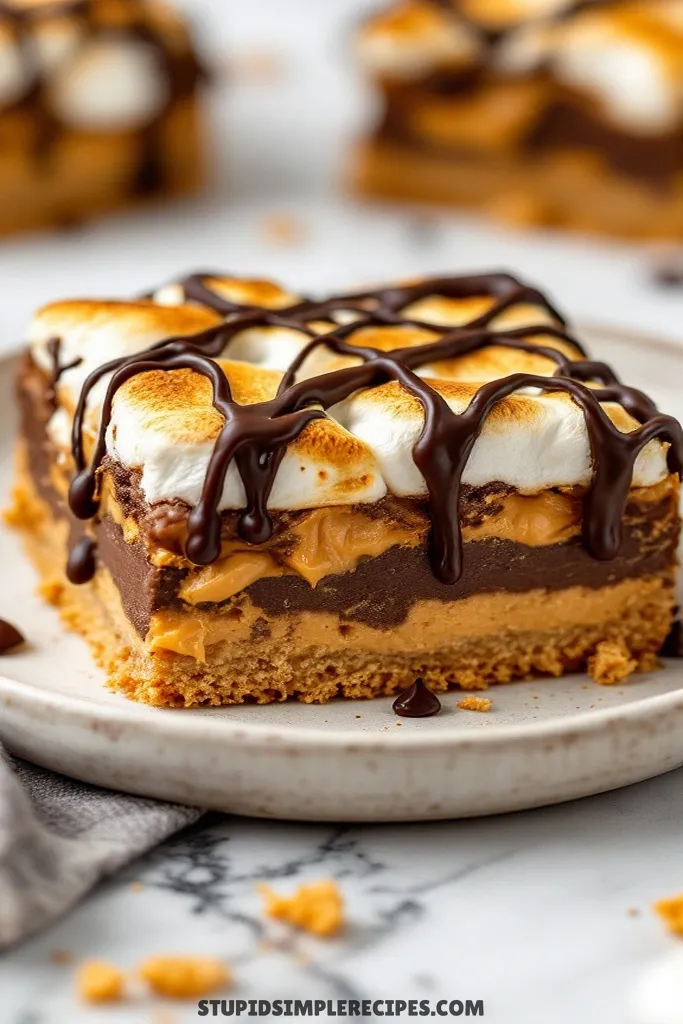
8. For the finishing touch, melt the semi-sweet chocolate chips in the microwave in 20-second bursts, stirring between each burst until smooth. Using a spoon, drizzle the melted chocolate over the marshmallow layer in a zigzag pattern.
9. Pop the whole thing in the fridge for at least 2 hours or until completely set. The bars will be much easier to cut when chilled. Use the parchment overhang to lift the entire block out, then cut into squares with a sharp knife. If the knife gets sticky, run it under hot water and dry it between cuts.

These bars are best stored in an airtight container in the fridge for up to 5 days, though good luck getting them to last that long!
🔍 Recipe Notes & Tips
- Use regular creamy peanut butter (like Jif or Skippy) – natural PB can separate and get oily
- Crushing graham crackers? 12 full sheets = about 1.5 cups crumbs
- Room temp PB spreads easier if your crust has cooled too much
- No broiler? A kitchen torch works great for toasting marshmallows
- Cut bars with a hot knife for clean edges – rinse under hot water, dry, slice, repeat
🍽️ Serving Suggestions
- Pair with cold milk or hot coffee
- Great with vanilla ice cream for an over-the-top dessert
- Hot chocolate makes it a cozy winter treat
- Milk stout beer pairs surprisingly well for grown-ups
🎯 Make it Work for
- Bake sales: Cut into smaller squares, and package individually
- Camping trips: Travel well when fully chilled
- Game day: Cut into bite-sized pieces
- Kids’ parties: Skip the chocolate drizzle to reduce mess
- Potlucks: Easy to transport and serve at room temp
📦 Storage & Leftovers
- Keep refrigerated in an airtight container for up to 5 days
- Freeze for up to 3 months – layer with wax paper
- Let frozen bars thaw in the fridge overnight
- Don’t stack unless separated by parchment
- Best served slightly chilled – gets messy at room temp

Peanut Butter S’mores Bars
Ingredients
- 1½ cups graham cracker crumbs
- ½ cup melted butter
- ¼ cup granulated sugar
- 1 cup creamy peanut butter
- 1 cup milk chocolate chips
- 2 cups mini marshmallows
- ¼ cup semi-sweet chocolate chips for drizzling
Instructions
- Start by preheating your oven to 350°F. Line an 8×8 inch baking pan with parchment paper, leaving some overhang on the sides.
- In a medium bowl, mix the graham cracker crumbs, melted butter, and granulated sugar until it looks like wet sand. Press this mixture firmly into your prepared pan using the bottom of a measuring cup. You want it pretty firmly packed or it’ll crumble when you cut the bars.
- Pop the crust in the oven for about 8-10 minutes, just until it starts to smell toasty and turns a slightly deeper golden color. This short bake helps the crust hold together better.
- While the crust is still hot, dollop the peanut butter all over the surface. Give it about 2 minutes to start melting from the heat of the crust, then use an offset spatula or the back of a spoon to spread it into an even layer.
- Sprinkle the milk chocolate chips evenly over the peanut butter layer, then top with mini marshmallows. Try to get the marshmallows in a single layer – they’ll expand as they toast.
- Switch your oven to broil and position a rack about 6 inches from the heat. Place the pan under the broiler for about 1-2 minutes, watching constantly. You’re looking for the marshmallows to puff up and turn golden brown.
- Once the marshmallows are toasted, take the pan out and let it cool on a wire rack for about 30 minutes. The chocolate chips will be fully melted underneath those marshmallows.
- For the finishing touch, melt the semi-sweet chocolate chips in the microwave in 20-second bursts, stirring between each burst until smooth. Using a spoon, drizzle the melted chocolate over the marshmallow layer in a zigzag pattern.
- Pop the whole thing in the fridge for at least 2 hours or until completely set. The bars will be much easier to cut when chilled. Use the parchment overhang to lift the entire block out, then cut into squares with a sharp knife.