Peanut Butter Filled Brownie Cookies Recipe
These peanut butter filled brownie cookies hit that perfect spot between showing off and actually being doable. They look fancy thanks to the peanut butter center, but they’re basically just chocolate cookies with a surprise inside.
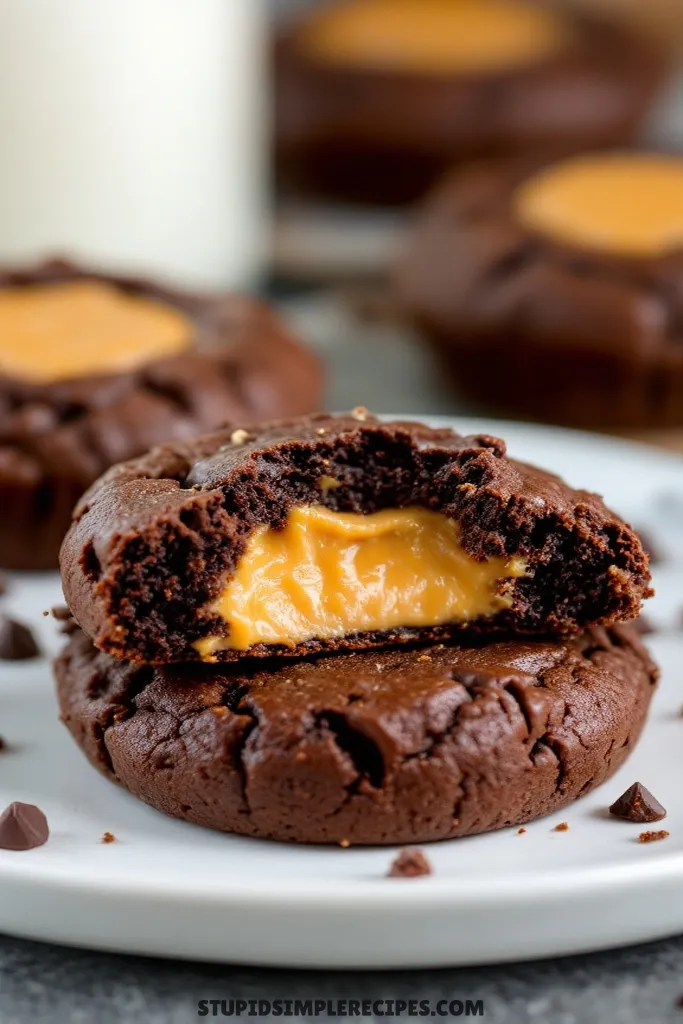
The brownie-style dough stays soft for days and has that nice crackly top you want. The peanut butter filling doesn’t ooze out everywhere since it’s mixed with powdered sugar to firm it up.
They’re great for bake sales or parties since they travel well and people always get excited about the filling when they bite in.
What you need for Peanut Butter Filled Brownie Cookies
Ingredients You’ll Need For This Recipe
- 1 cup unsalted butter, melted
- 2 cups granulated sugar
- 4 large eggs
- 2 teaspoons vanilla extract
- 1 cup unsweetened cocoa powder
- 2 cups all-purpose flour
- 1/2 teaspoon salt
- 1 teaspoon baking powder
Ingredients You’ll Need For The filling
- 1 cup creamy peanut butter
- 1 cup powdered sugar
- 2 tablespoons milk
How to make Peanut Butter Filled Brownie Cookies
Let me walk you through making these fudgy brownie cookies with a creamy peanut butter center. I’ve made these countless times, and I’ll share all the little details that make them turn out perfectly.
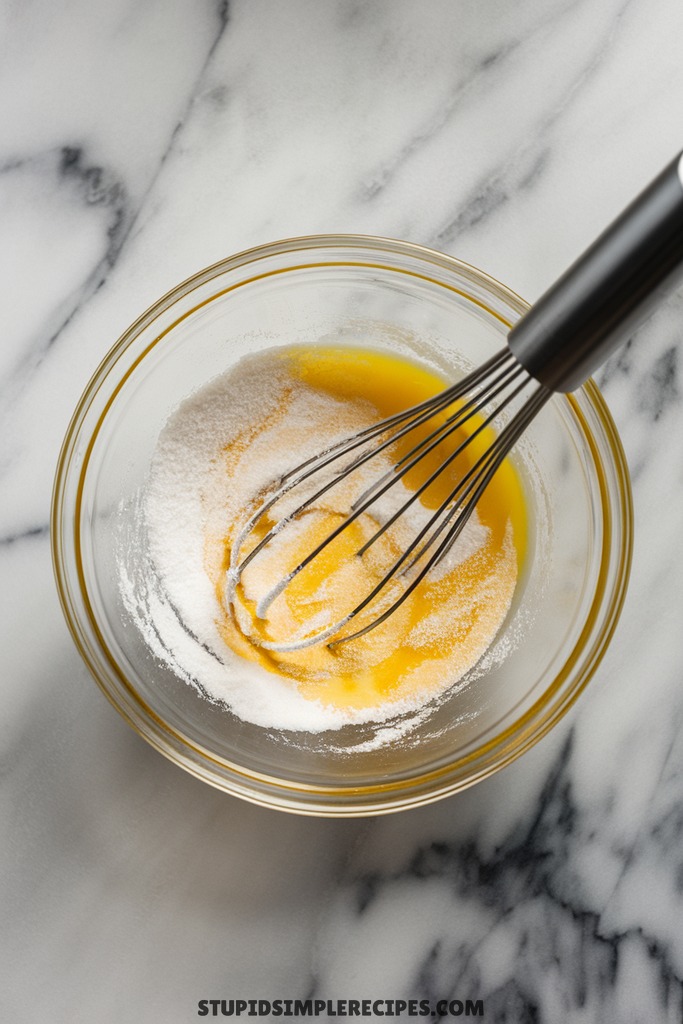
1. Start by melting your butter in a microwave-safe bowl until it’s completely liquid but not super hot – about 45 seconds, stirring halfway through. If it’s too hot, your eggs will scramble when you add them later.
2. Pour the melted butter into a large mixing bowl and add the granulated sugar. Whisk them together until well combined – the mixture will look like wet sand.
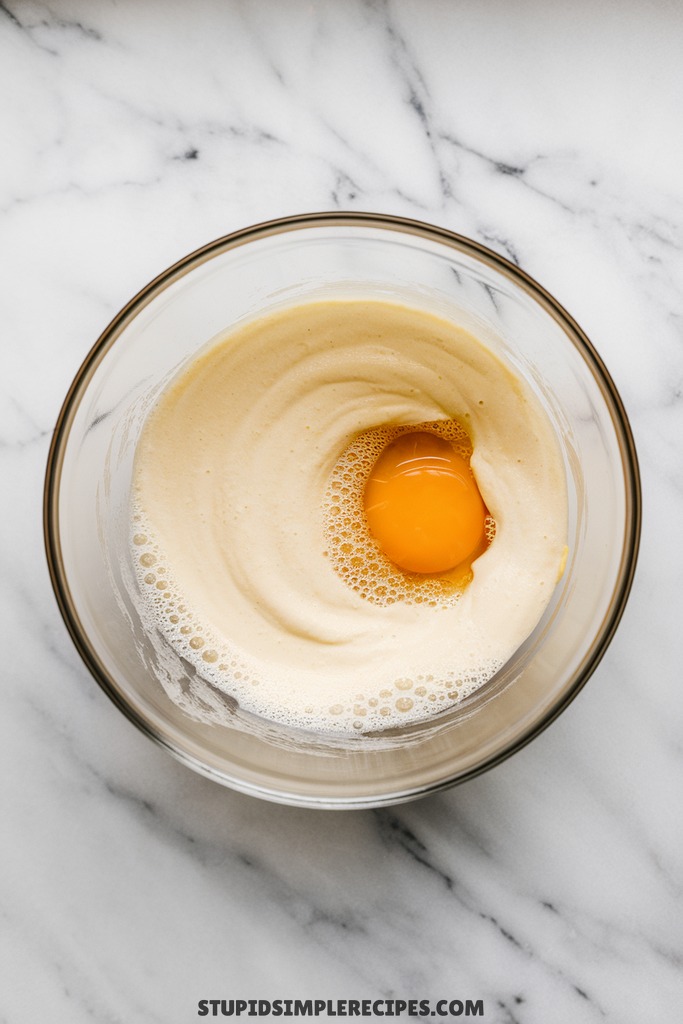
3. Add the eggs one at a time, whisking well after each addition. You want the mixture to become smooth and slightly thicker with each egg. Once all four eggs are in, add the vanilla and whisk until the mixture looks glossy – about 30 seconds.
4. In a separate bowl, whisk together cocoa powder, flour, salt, and baking powder. This prevents any cocoa powder lumps in your final cookies.

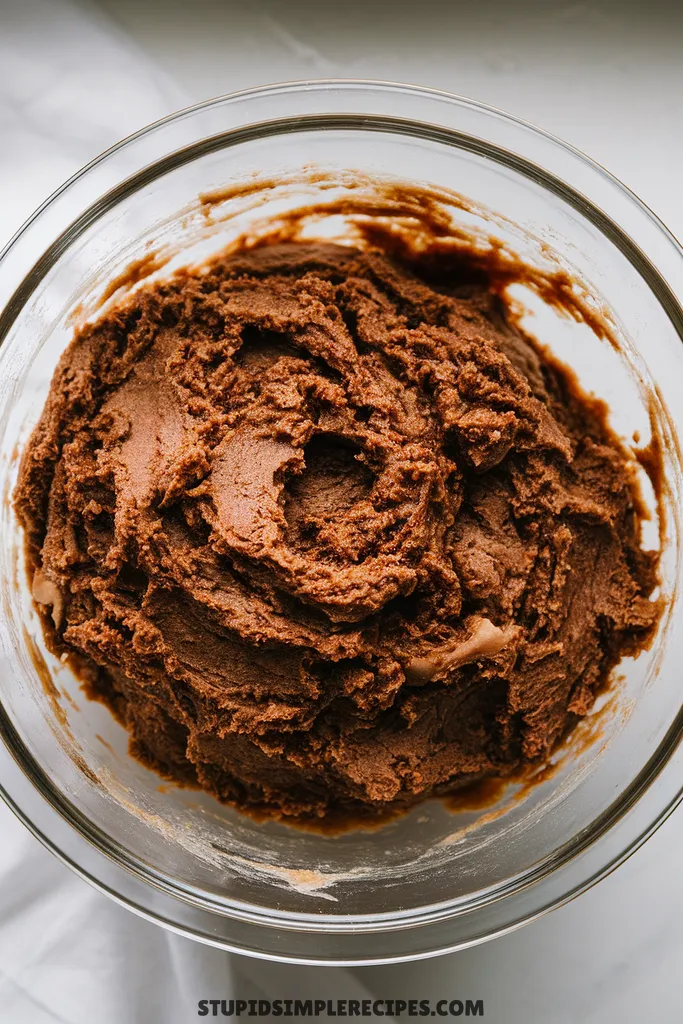
5. Gradually add the dry ingredients to wet mixture, stirring with a rubber spatula. Stop mixing as soon as you don’t see any more dry flour – overmixing will make your cookies tough. The dough will be quite soft, almost like a thick cake batter.
6. Cover the bowl with plastic wrap and refrigerate for at least 2 hours. This is crucial – the dough needs to firm up so you can roll it later.
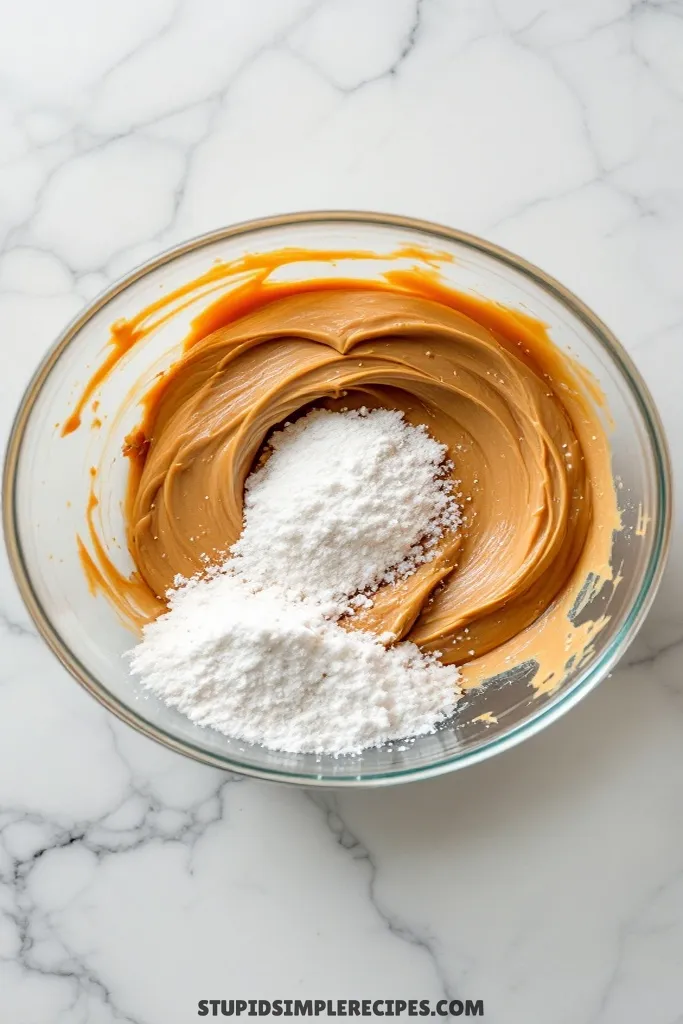
7. While the dough chills, make your filling. Mix the peanut butter, powdered sugar, and milk in a bowl until smooth. It should hold its shape when rolled but still be creamy – if it’s too stiff, add milk a few drops at a time.
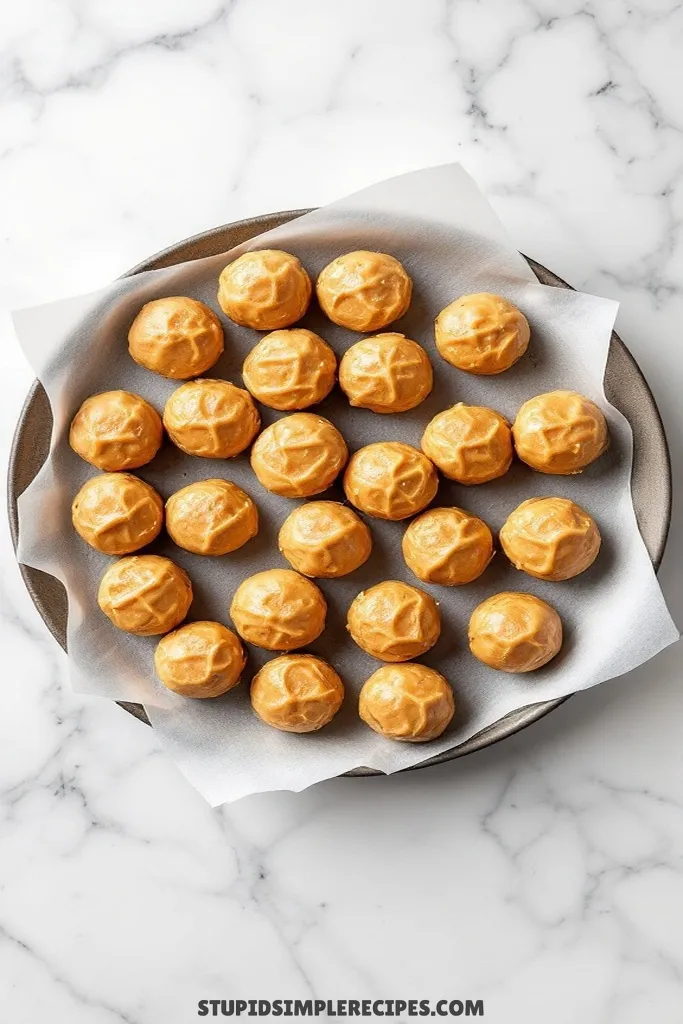
8. Roll the peanut butter mixture into 24 small balls (about 2 teaspoons each) and place them on a parchment-lined plate. Pop these in the freezer for at least 30 minutes – this makes them much easier to wrap with cookie dough.
9. When ready to bake, preheat your oven to 350°F and line baking sheets with parchment paper.
10. Scoop about 2 tablespoons of chilled cookie dough and flatten it in your palm. Place a frozen peanut butter ball in the center and wrap the dough around it, sealing completely. Roll into a ball and place on your prepared baking sheet. Leave about 2 inches between cookies – they will spread.
11. Bake for 12-14 minutes, rotating the pan halfway through. The cookies are done when the edges are set but the centers still look slightly soft – they’ll continue cooking as they cool. You should see small cracks on the surface.
12. Let them cool on the baking sheet for 5 minutes – they’re very soft right out of the oven. Then transfer to a wire rack to cool completely.
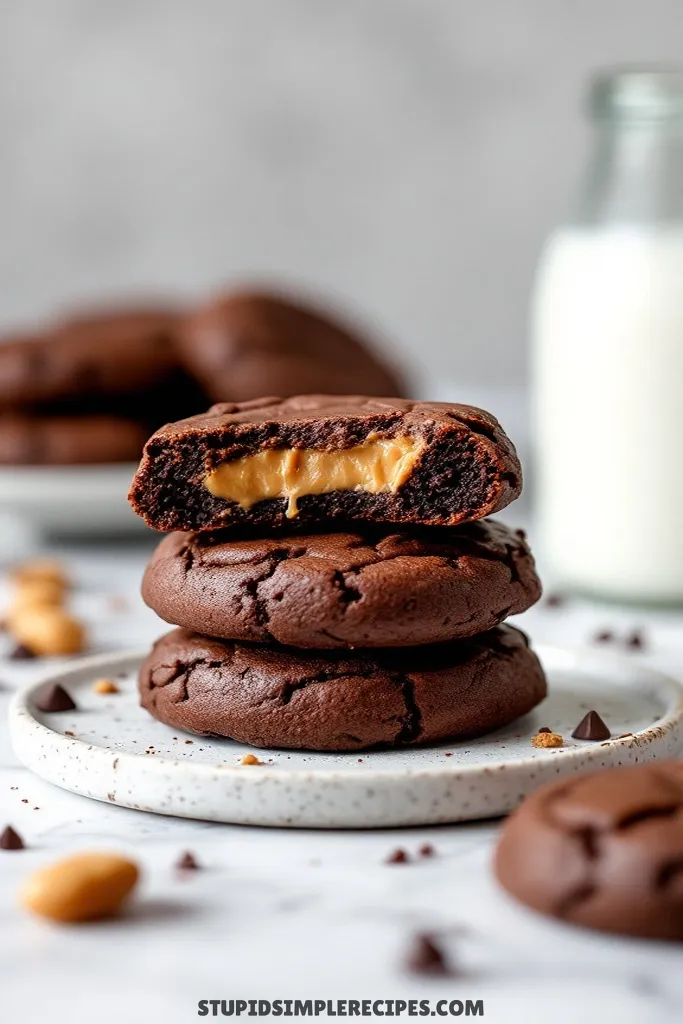
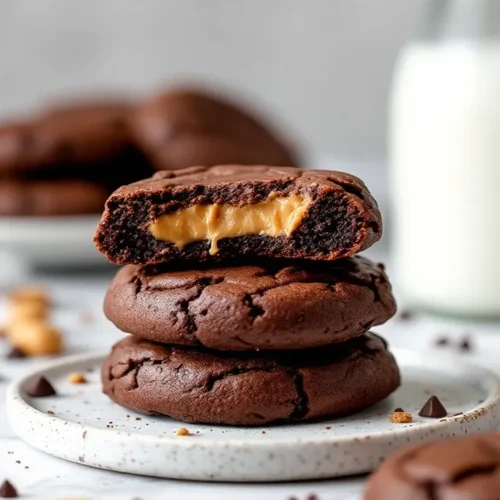
When you break one open while it’s still a bit warm, the peanut butter center should be soft and creamy, while the brownie cookie part should be fudgy with a slight crackle on top. They’ll keep in an airtight container for about 4 days, but trust me – they rarely last that long!
🔍 Recipe Notes & Tips
- Chocolate matters! Use natural cocoa powder (not Dutch process) for best rise
- Room temp eggs blend easier – quick tip: place in warm water 5 mins
- Don’t skip chilling time – dough’s too sticky otherwise
- Clean hands between rolling each cookie (dough gets messy!)
- Line baking sheets with parchment, not wax paper (wax melts)
- Cookie scoop = game changer for even portions
- Watch for overbaking – better slightly underdone than dry
🍽️ Serving Suggestions
- Cold milk is the classic pairing
- Coffee brings out chocolate flavor
- Hot chocolate for mega chocolate lovers
- Vanilla ice cream while cookies are warm
- Bourbon or whiskey for grown-up dessert night
🎯 Make it Work for
- Bake sales: Wrap individually in clear cellophane
- Holidays: Roll in red/green sugar before baking
- Parties: Make mini versions (1 tbsp dough, 1 tsp filling)
- Potlucks: Double batch – these go FAST
- Gift giving: Stack in mason jars with ribbon
📦 Storage & Leftovers
- Counter: 4 days in airtight container
- Fridge: Up to 1 week, bring to room temp before eating
- Freezer: 3 months wrapped well
- Dough balls: Freeze unbaked up to 2 months
- PB filling: Keeps 1 week in fridge
- Refresh: 10 seconds in microwave to soften
Peanut Butter Filled Brownie Cookies
Ingredients
Ingredients You’ll Need For This Recipe
- 1 cup unsalted butter melted
- 2 cups granulated sugar
- 4 large eggs
- 2 teaspoons vanilla extract
- 1 cup unsweetened cocoa powder
- 2 cups all-purpose flour
- 1/2 teaspoon salt
- 1 teaspoon baking powder
Ingredients You’ll Need For The filling
- 1 cup creamy peanut butter
- 1 cup powdered sugar
- 2 tablespoons milk
Instructions
- Start by melting butter in a microwave-safe bowl until it’s completely liquid but not super hot – about 45 seconds, stirring halfway through. If it’s too hot, your eggs will scramble when you add them later.
- Pour the melted butter into a large mixing bowl and add the granulated sugar. Whisk them together until well combined – the mixture will look like wet sand.
- Add the eggs one at a time, whisking well after each addition. You want the mixture to become smooth and slightly thicker with each egg. Once all four eggs are in, add the vanilla and whisk until the mixture looks glossy – about 30 seconds.
- In a separate bowl, whisk together cocoa powder, flour, salt, and baking powder. This prevents any cocoa powder lumps in your final cookies.
- Gradually add the dry ingredients to wet mixture, stirring with a rubber spatula. Stop mixing as soon as you don’t see any more dry flour – overmixing will make your cookies tough. The dough will be quite soft, almost like a thick cake batter.
- Cover the bowl with plastic wrap and refrigerate for at least 2 hours. This is crucial – the dough needs to firm up so you can roll it later.
- While the dough chills, make your filling. Mix the peanut butter, powdered sugar, and milk in a bowl until smooth. It should hold its shape when rolled but still be creamy – if it’s too stiff, add milk a few drops at a time.
- Roll the peanut butter mixture into 24 small balls (about 2 teaspoons each) and place them on a parchment-lined plate. Pop these in the freezer for at least 30 minutes – this makes them much easier to wrap with cookie dough.
- When ready to bake, preheat your oven to 350°F and line baking sheets with parchment paper.
- Scoop about 2 tablespoons of chilled cookie dough and flatten it in your palm. Place a frozen peanut butter ball in the center and wrap the dough around it, sealing completely. Roll into a ball and place on your prepared baking sheet. Leave about 2 inches between cookies – they will spread.
- Bake for 12-14 minutes, rotating the pan halfway through. The cookies are done when the edges are set but the centers still look slightly soft – they’ll continue cooking as they cool. You should see small cracks on the surface.
- Let them cool on the baking sheet for 5 minutes – they’re very soft right out of the oven. Then transfer to a wire rack to cool completely.