Oreo Dirt Cake
Oreo dirt cake is the most requested dessert at our family gatherings. It’s basically a no-bake layered pudding dessert that looks like a garden pot full of dirt – complete with gummy worms if you want to get fancy.
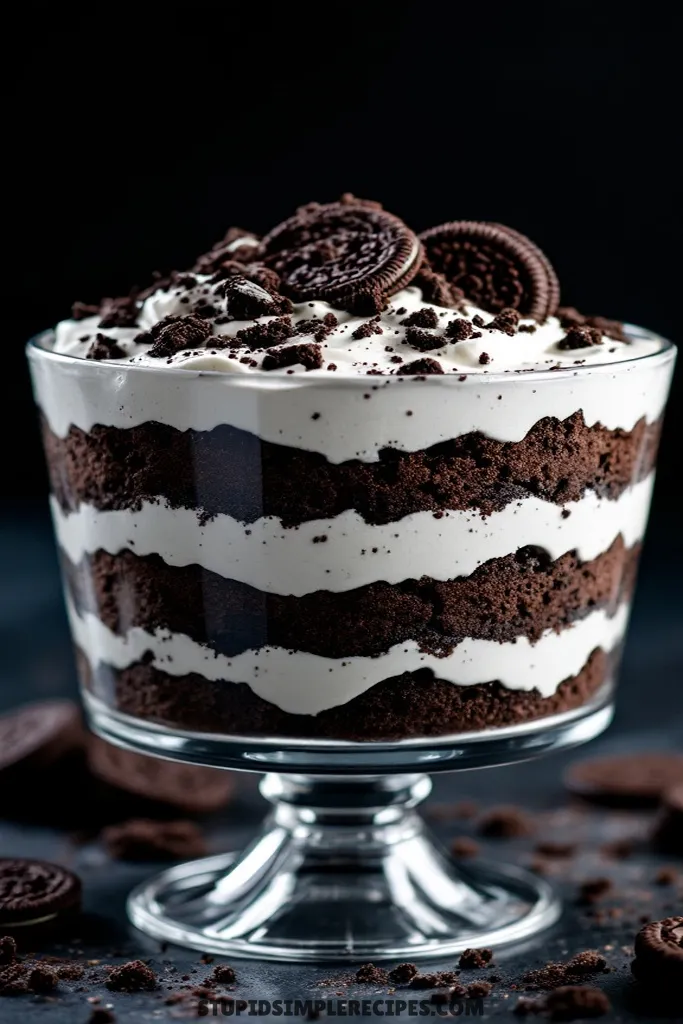
The “dirt” is crushed Oreos layered with a creamy mixture of cream cheese, butter, and pudding. What makes it work is how the cookies soften just enough to create this perfect texture, while still keeping their chocolate flavor. It’s ideal for summer parties since you make it ahead and keep it cold, and kids go nuts for it. Plus, it’s nearly impossible to mess up, which is always a win in my book.
What you need for Oreo Dirt Cake
Ingredients You’ll Need For This Recipe
- 1 package (14.3 oz) Oreo cookies
- 8 oz cream cheese, softened
- 1/4 cup butter, softened
- 1 cup powdered sugar
- 2 (3.4 oz) packages of instant vanilla pudding mix
- 3 cups cold milk
- 1 (12 oz) container Cool Whip
- Gummy worms (optional, for decoration)
How to Make a Classic Oreo Dirt Cake
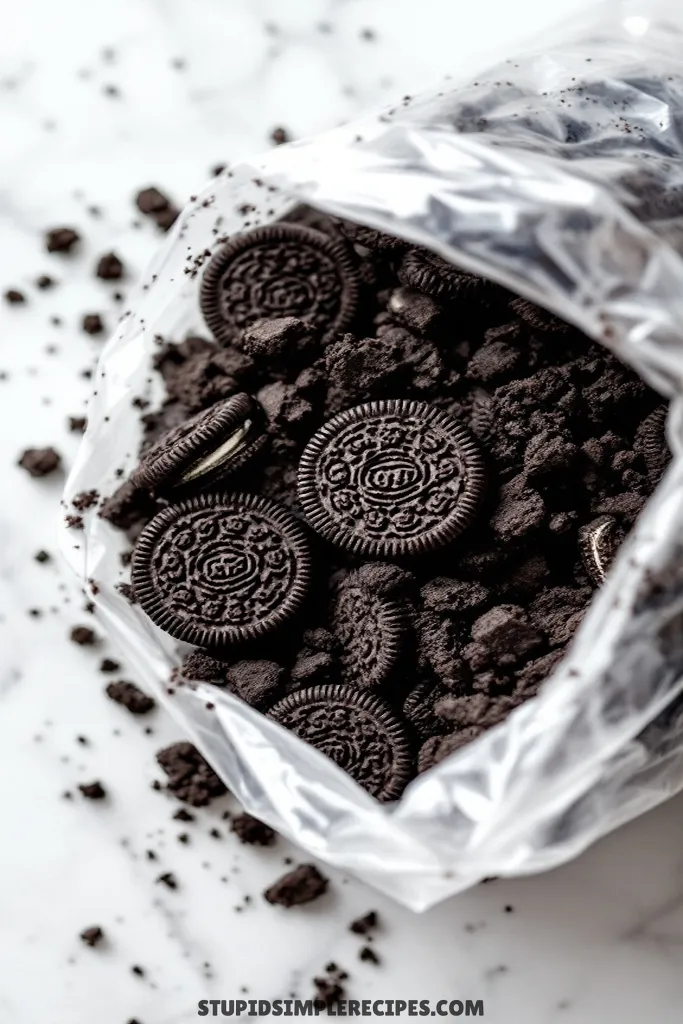
1. Start by crushing those Oreos into “dirt.” I like to place them in a ziplock bag (make sure to squeeze out the air) and crush them with a rolling pin. You want mostly fine crumbs with some small chunks for texture – about 15-20 good whacks should do it. Don’t go too crazy or you’ll end up with Oreo dust!
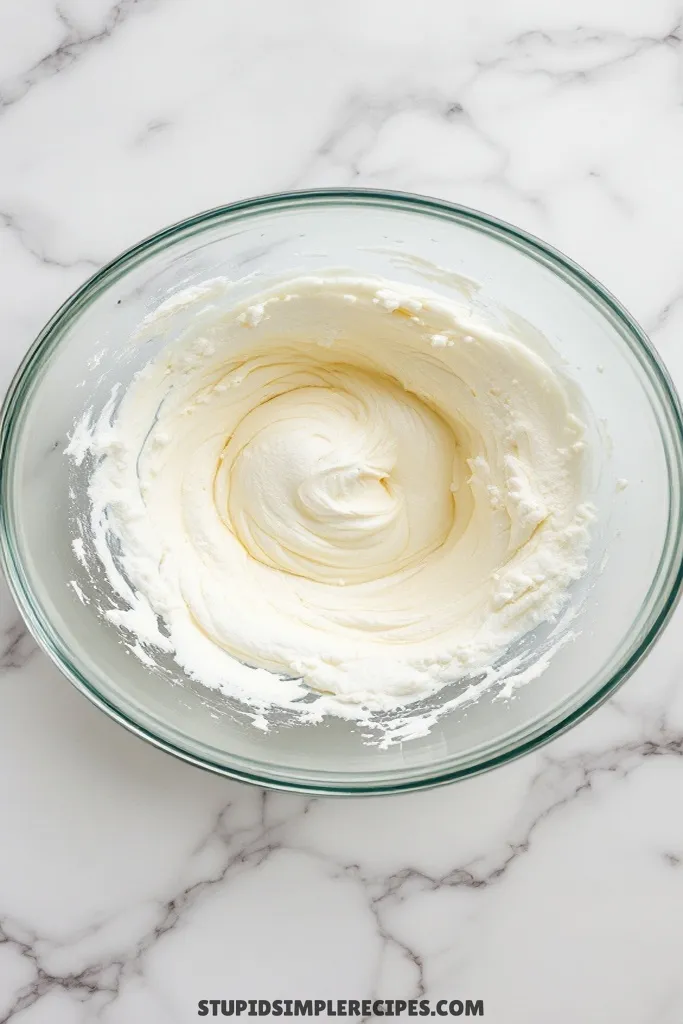
2. In a large bowl, beat the softened cream cheese and butter together until they’re completely smooth and creamy – usually takes about 2 minutes. If you spot any lumps, keep beating because those will make your cake grainy.
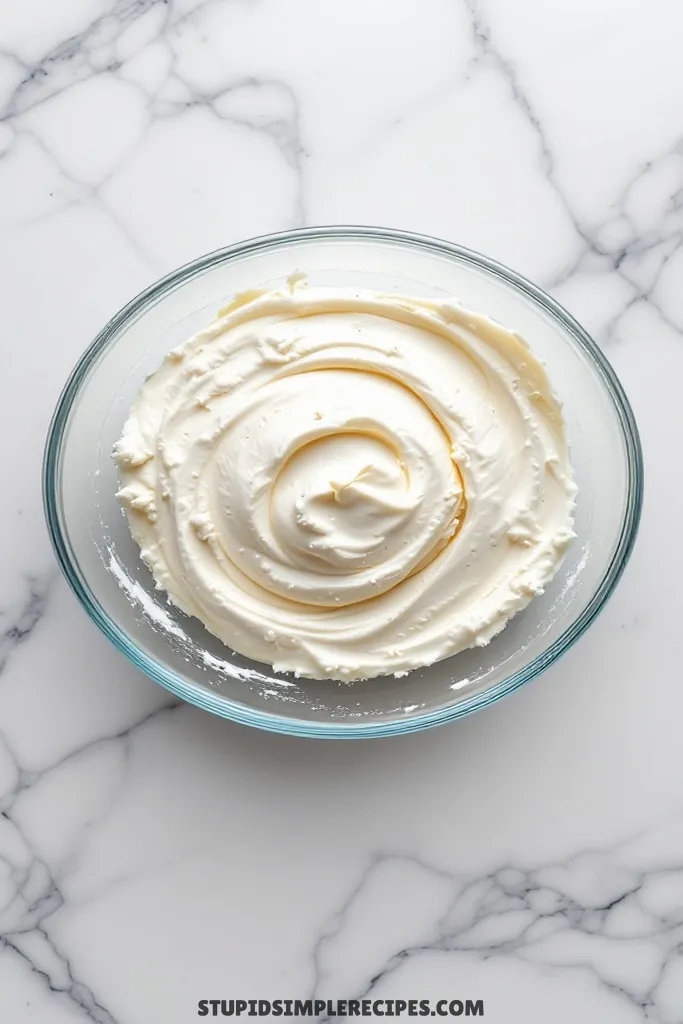
3. Add the powdered sugar to your cream cheese mixture and beat until it’s fully incorporated. It’ll look a bit like frosting at this point. Scrape down the sides of the bowl to make sure everything’s evenly mixed.
4. In another bowl, whisk together both packages of instant pudding mix with the cold milk. Keep whisking for about 2 minutes – you’ll notice it starting to thicken up. Let it sit for about 5 minutes until it’s set to a soft pudding consistency.

5. Fold the pudding mixture into your cream cheese mixture. I like to do this in two or three additions, folding gently until you see no more streaks. Then fold in the Cool Whip the same way – gently do it! You want to keep all that fluffiness.
6. Now comes the fun part – assembly! In a deep serving bowl (I use a clear one to show off the layers), start with about 1/3 of your Oreo crumbs. Top with half of your cream mixture, spreading it right to the edges. Add another third of the Oreo crumbs, then the remaining cream mixture, and finally sprinkle the last of your Oreo crumbs on top.
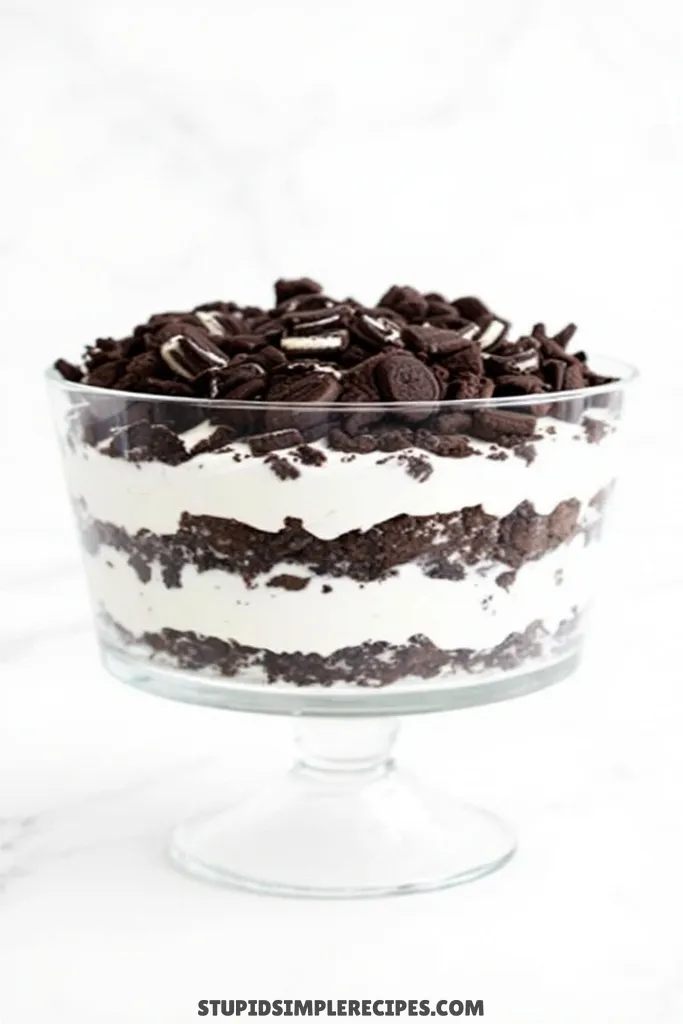
7. If you’re going for the full “dirt” effect, add some gummy worms, partially buried in the top layer of “dirt.” This always gets a laugh from the kids!
8. Cover and refrigerate for at least 4 hours, but overnight is even better – this gives everything a chance to set up properly and lets the Oreos soften just enough to give you that perfect cake-like texture when you dig in.
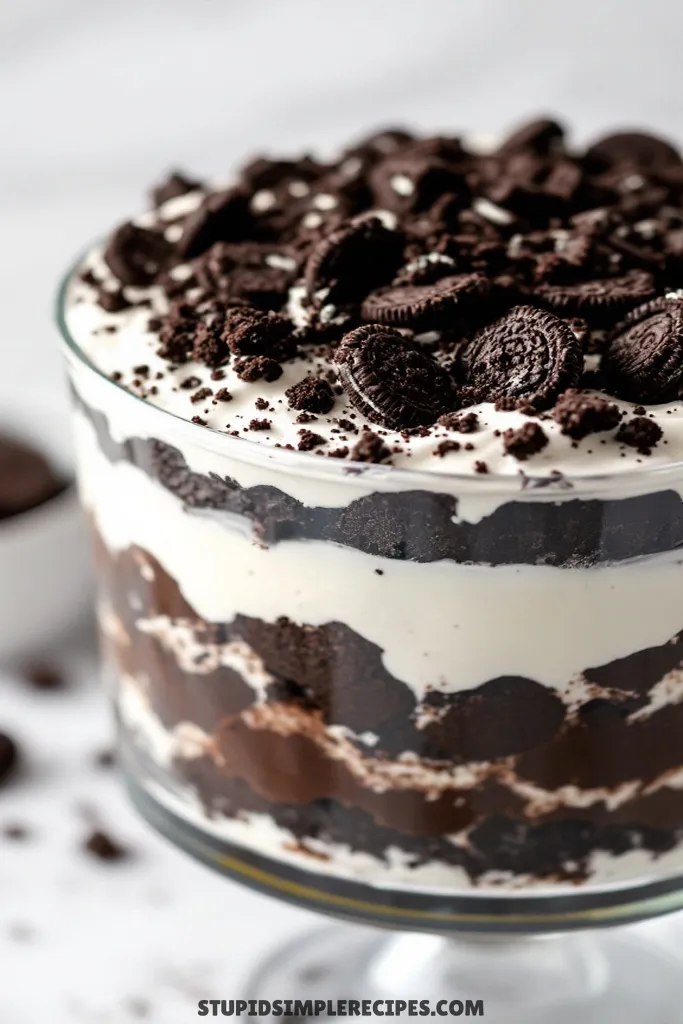
When you serve it, make sure to scoop all the way to the bottom to get all those lovely layers in each serving. The finished dessert should be creamy but firm enough to hold its shape on your plate.
🔍 Recipe Notes & Tips
- No need to remove Oreo filling – crush whole cookies
- Room temp cream cheese is crucial – 30 mins on the counter does it
- Generic sandwich cookies work fine – save a few bucks
- Use cold milk for pudding – warm milk won’t set right
- Hand-crushing > food processor (better texture control)
- Cheap plastic flowerpots work great for party presentation
🍽️ Serving Suggestions
- Cold milk is a must
- Coffee balances the sweetness perfectly
- Kids love chocolate milk with it
- For adults: spike coffee with Kahlua or Baileys
- Serve in clear glasses for a wow factor
🎯 Make it Work for
- Birthday: Add crushed chocolate candy on top
- Halloween: Use orange pudding + plastic tombstones
- Easter: Add pastel candies + chocolate eggs
- Potluck: Make in disposable foil pan for easy transport
- Wedding: Individual mason jars with ribbon trim
📦 Storage & Leftovers
- Keeps 3-4 days covered in fridge
- Don’t freeze – gets weird and grainy
- Cover tightly with plastic wrap
- Gummy worms get hard after day 2 – add fresh ones
- Best eaten within 48 hours for optimal texture
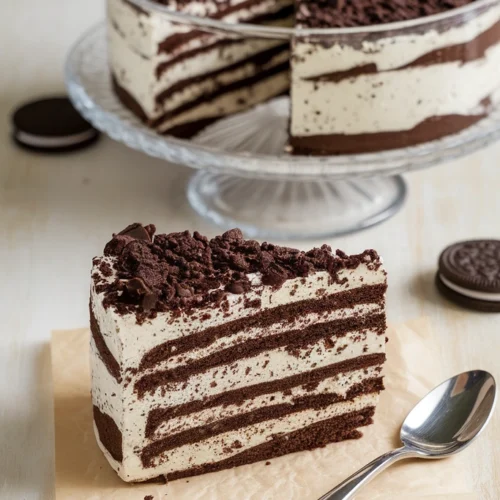
Oreo Dirt Cake
Ingredients
- 1 package 14.3 oz Oreo cookies
- 8 oz cream cheese softened
- 1/4 cup butter softened
- 1 cup powdered sugar
- 2 3.4 oz packages instant vanilla pudding mix
- 3 cups cold milk
- 1 12 oz container Cool Whip
- Gummy worms optional, for decoration
Instructions
- Crush Oreos into fine crumbs with some small chunks for texture. Place them in a ziplock bag, remove air, and crush with a rolling pin—15-20 whacks should be enough. Avoid over-crushing into dust.
- Beat softened cream cheese and butter in a large bowl until completely smooth and creamy, about 2 minutes. Continue beating if lumps remain.
- Add powdered sugar and beat until fully incorporated. Scrape down the sides to ensure even mixing.
- In a separate bowl, whisk instant pudding mix with cold milk for about 2 minutes. Let sit for 5 minutes until it thickens to a soft pudding consistency.
- Gently fold the pudding mixture into the cream cheese mixture in two or three additions until no streaks remain. Fold in Cool Whip the same way to maintain fluffiness.
- Assemble in a deep serving bowl: Layer 1/3 of the Oreo crumbs, then half of the cream mixture, spreading evenly. Repeat with another third of Oreo crumbs, the remaining cream mixture, and finish with the last Oreo layer.
- For a “dirt” effect, place gummy worms on top, partially buried in the crumbs.
- Cover and refrigerate for at least 4 hours or overnight for the best texture.