Homemade Sandwich Bread
Making your own sandwich bread might seem like a hassle when you can grab a loaf at the store, but hear me out. This recipe gives you a soft, sturdy loaf that holds up to everything from PB&J to thick deli sandwiches without falling apart.
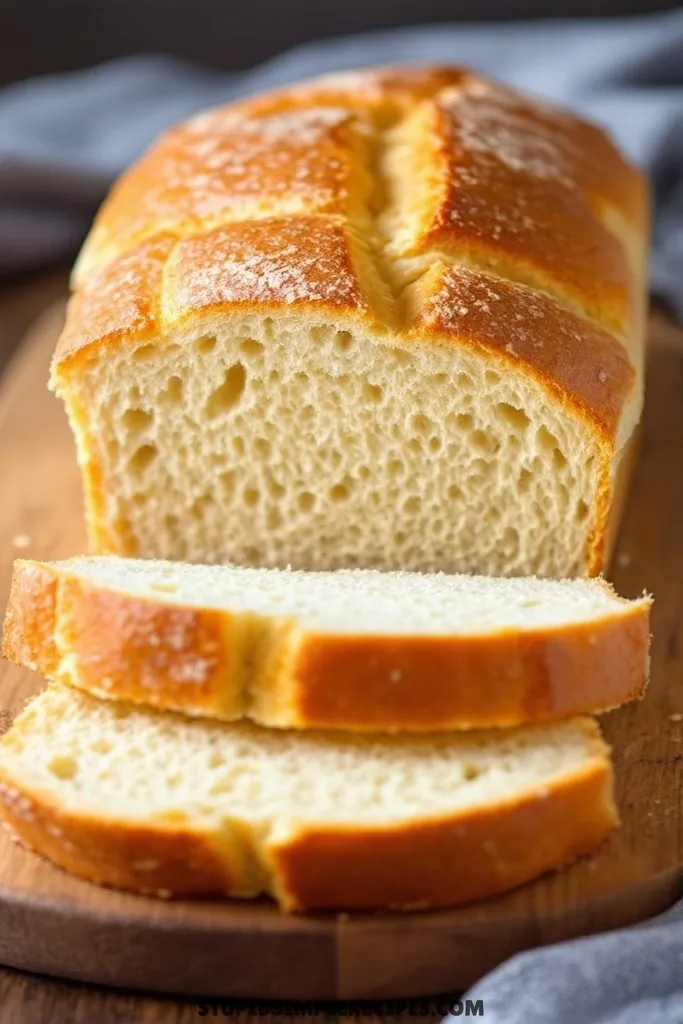
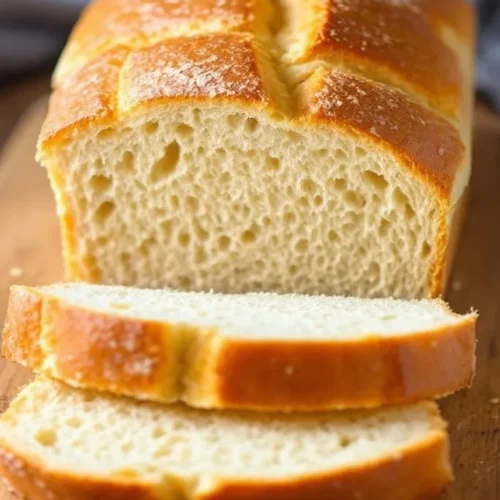
The texture is just right – tender but not too fluffy, with enough structure to slice cleanly without squishing. The ingredients are basic pantry staples and the hands-on time is only about 20 minutes total. Plus, your kitchen will smell amazing. While it takes a few hours start to finish, most of that is just waiting for the dough to rise while you do other things.
What you need for Homemade Sandwich Bread
Ingredients You’ll Need For This Recipe
- 3 cups all-purpose flour
- 1 cup warm water
- 2¼ teaspoons active dry yeast (1 packet)
- 2 tablespoons sugar
- 2 tablespoons butter, softened
- 1 teaspoon salt
- 1 large egg
- 1 tablespoon vegetable oil
How to make Homemade Sandwich Bread
This is my go-to sandwich bread recipe that I’ve made hundreds of times. It creates one perfect loaf with a soft, tender crumb and golden crust.
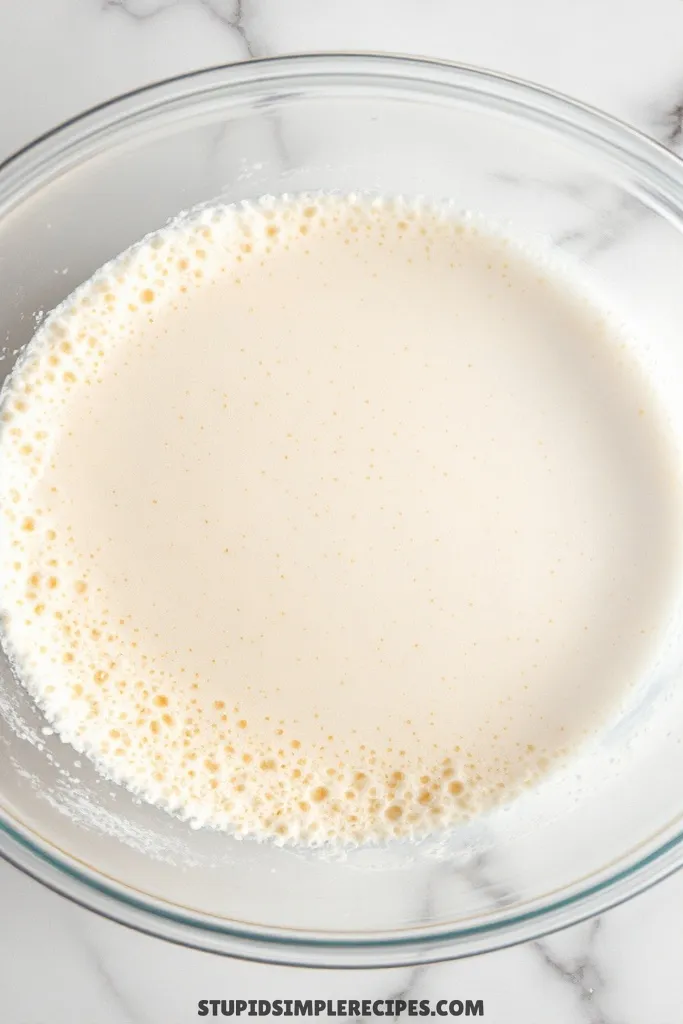
1. Start by proofing your yeast – combine the warm water (it should feel like warm bath water on your wrist, around 110°F) with the sugar and yeast in a large bowl. Let it sit for about 5-7 minutes until it gets foamy and smells like bread. If it doesn’t foam up, your yeast might be dead and you’ll need to start over with fresh yeast.
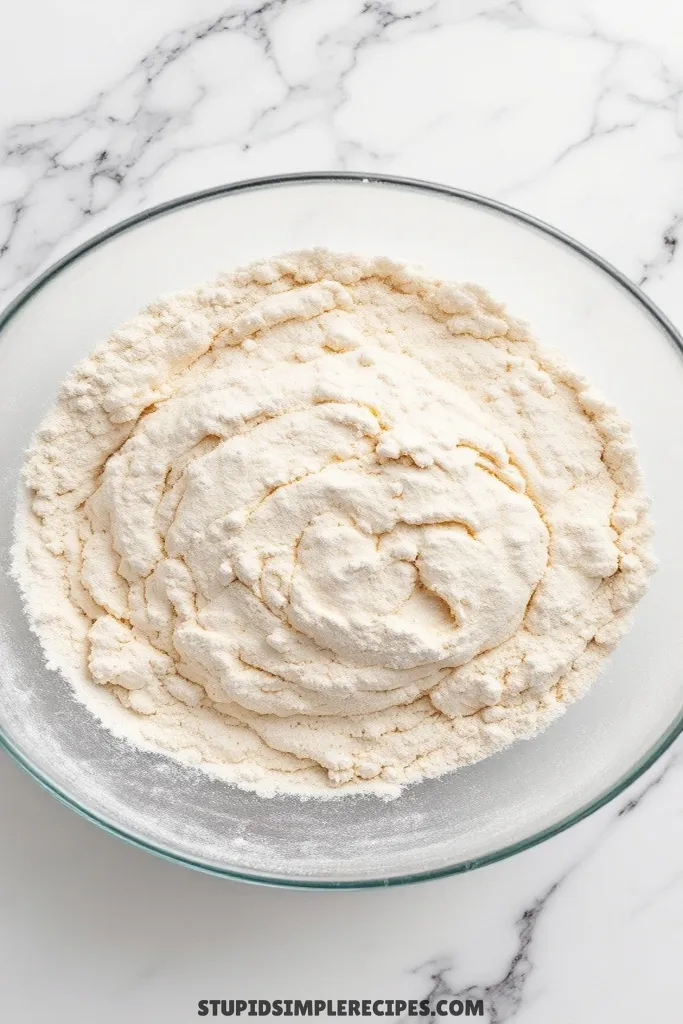
2. While the yeast is proofing, measure out your flour into a separate bowl. I like to give it a quick whisk to remove any lumps – this helps prevent flour pockets in your final bread.
3. Once your yeast mixture is foamy, add the softened butter (make sure it’s really soft but not melted), egg, and salt. Mix until the butter breaks up into small pieces – it won’t combine completely yet, and that’s okay.
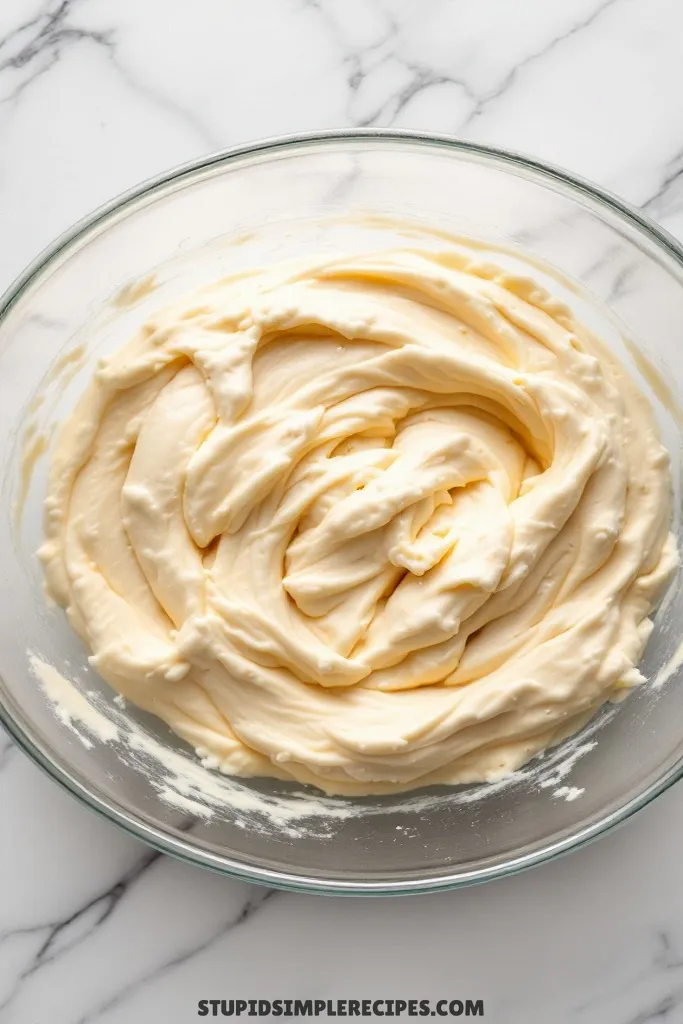

4. Add about half the flour and mix with a wooden spoon until it forms a wet, sticky batter. Then gradually add more flour, about ½ cup at a time, mixing between additions. The dough will start to pull away from the sides of the bowl when you have enough flour.
5. Turn the dough onto a lightly floured surface. It’ll be slightly sticky but manageable. Knead for about 8-10 minutes – you’ll feel the texture change from rough to smooth and elastic. When you press your finger into the dough, it should slowly spring back.
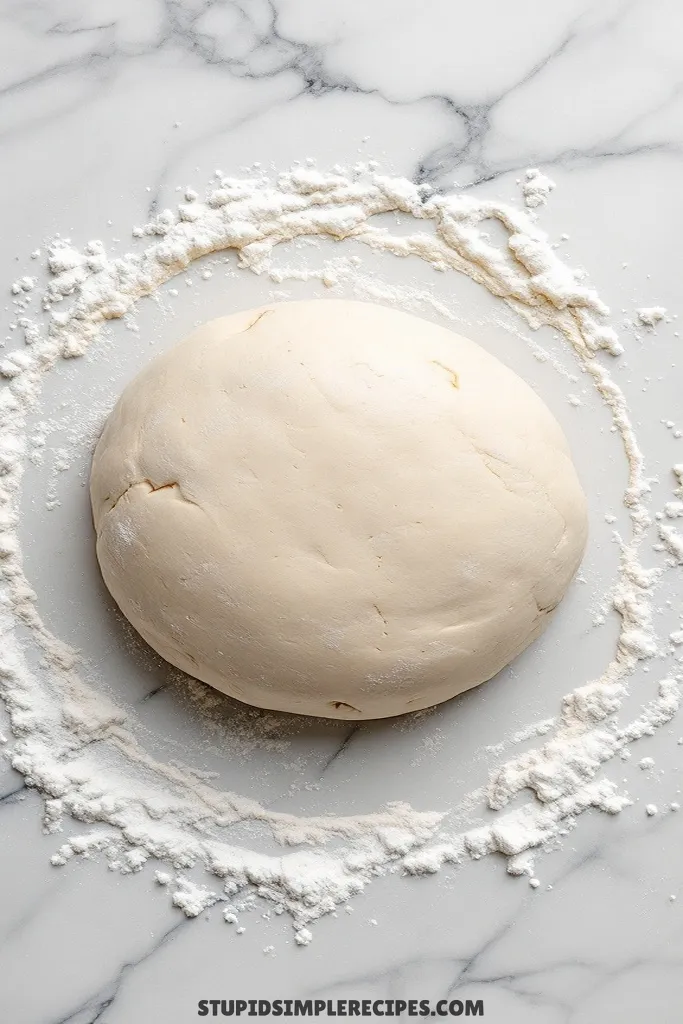
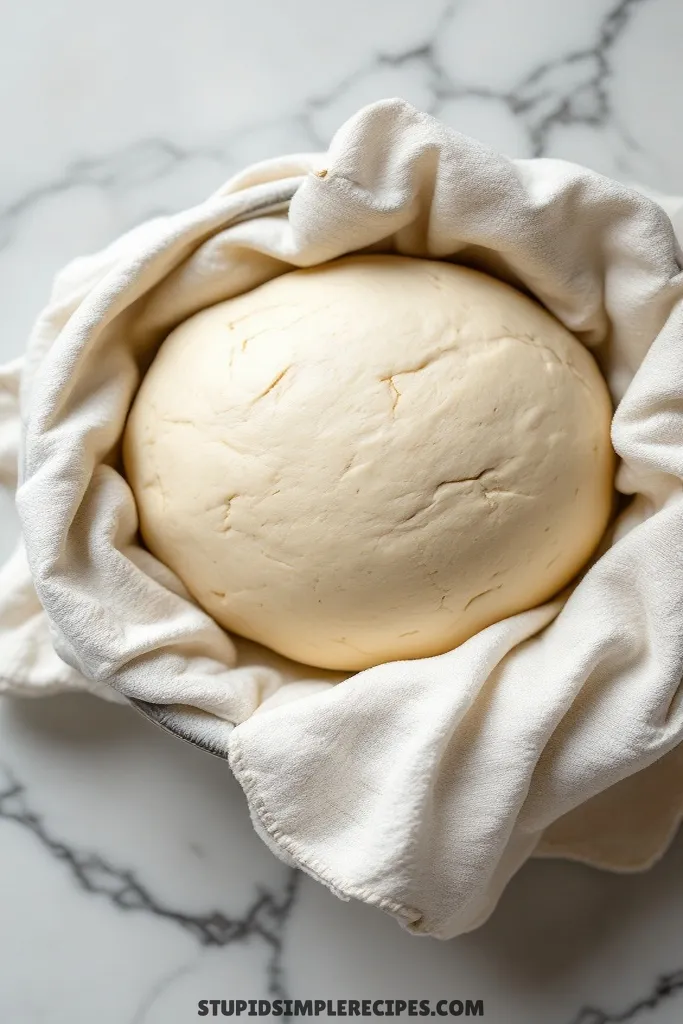
6. Coat a large bowl with a tablespoon of vegetable oil. Place your dough ball in the bowl and turn it to coat all sides with oil. Cover with a damp kitchen towel and let rise in a warm spot until doubled in size, about 1 hour. I like to put it on top of my fridge or in a turned-off oven with just the light on.
7. Once doubled, punch down the dough and turn it onto a clean surface (no need to flour it this time). Pat it into a rectangle roughly the length of your loaf pan. Roll it up tightly from the short end, pinching the seam and ends to seal. Tuck the ends under if needed.
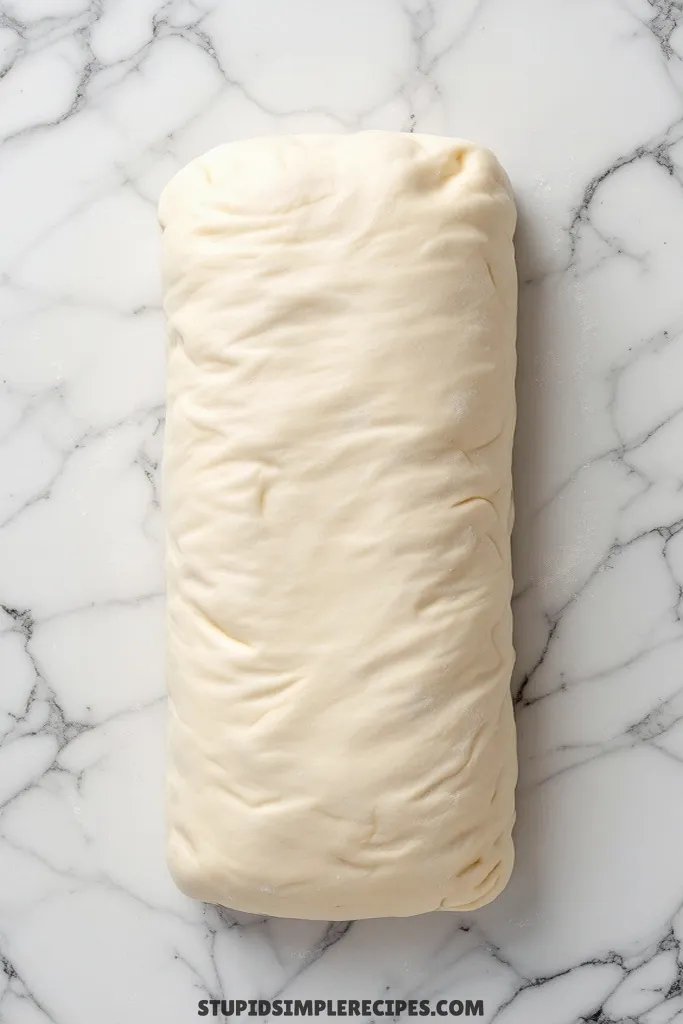
8. Place the loaf seam-side down in a greased 9×5-inch loaf pan. Cover again and let rise until the dough crests about 1 inch above the rim of the pan, usually 45-60 minutes.
9. Preheat your oven to 350°F while the bread is on its second rise. When ready to bake, the dough should barely spring back when you gently poke it with your finger.
10. Bake for 30-35 minutes until deep golden brown. The bread should sound hollow when tapped on the bottom, and if you have an instant-read thermometer, the center should read 190°F.
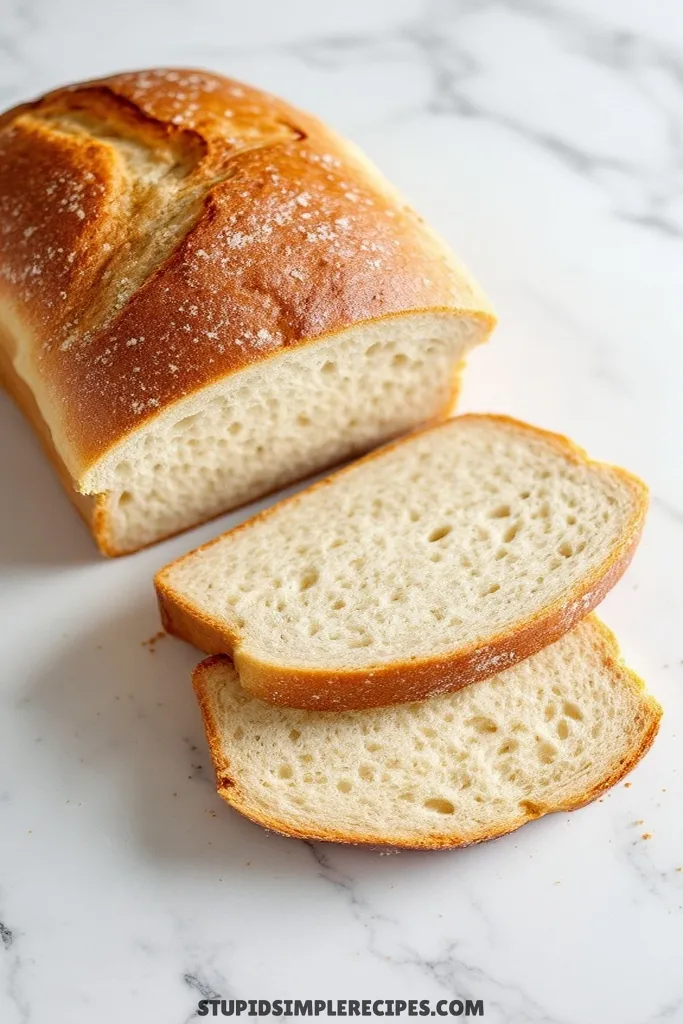
11. Let cool in the pan for 5 minutes, then turn out onto a wire rack. Here’s the hard part – try to let it cool for at least 30 minutes before slicing, or you’ll squish the loaf. I know it’s tempting, but warm bread is still cooking inside!
This bread keeps well at room temperature for about 3 days when wrapped tightly, though it rarely lasts that long in my house!
🔍 Recipe Notes & Tips
- Use bread flour for chewier texture, all-purpose works fine too
- Don’t add too much flour – slightly sticky dough = softer bread
- Room temp ingredients work best, especially the egg
- No stand mixer is needed – hand kneading works great
- Quick softened butter hack: cut into small cubes, and microwave for 10 seconds
- To check if it’s kneaded enough: stretch a piece thin – should be translucent without tearing
🍽️ Serving Suggestions
- Perfect with:
– Butter + honey for breakfast
– Cold cuts for lunch
– Grilled cheese (gets super crispy!)
– French toast the next day - Drinks:
– Coffee or tea (while warm)
– Milk for kids
– Glass of red wine if serving with a cheese board
🎯 Make it Work for
- Everyday sandwiches
- Brunch (slice thick for toast)
- Dinner party (served warm with fancy butter)
- Potluck (pre-slice and bring butter packets)
- Holiday meals (shape into dinner rolls instead)
📦 Storage & Leftovers
- Cool completely before storing
- Keep in a plastic bag or bread box for 3-4 days
- Don’t refrigerate – makes it stale faster
- Freezes great for up to 3 months
- Toast frozen slices straight from the freezer
- Stale bread = awesome French toast or croutons
Homemade Sandwich Bread
Ingredients
- 3 cups all-purpose flour
- 1 cup warm water
- 2¼ teaspoons active dry yeast 1 packet
- 2 tablespoons sugar
- 2 tablespoons butter softened
- 1 teaspoon salt
- 1 large egg
- 1 tablespoon vegetable oil
Instructions
- Start by proofing your yeast – combine the warm water (it should feel like warm bath water on your wrist, around 110°F) with the sugar and yeast in a large bowl. Let it sit for about 5-7 minutes until it gets foamy and smells like bread.
- While the yeast is proofing, measure out your flour into a separate bowl. I like to give it a quick whisk to remove any lumps.
- Once your yeast mixture is foamy, add the softened butter (make sure it’s really soft but not melted), egg, and salt. Mix until the butter breaks up into small pieces.
- Add about half the flour and mix with a wooden spoon until it forms a wet, sticky batter. Then gradually add more flour, about ½ cup at a time, mixing between additions. The dough will start to pull away from the sides of the bowl when you have enough flour.
- Turn the dough onto a lightly floured surface. Knead for about 8-10 minutes – you’ll feel the texture change from rough to smooth and elastic. When you press your finger into the dough, it should slowly spring back.
- Coat a large bowl with the tablespoon of vegetable oil. Place your dough ball in the bowl and turn it to coat all sides with oil. Cover with a damp kitchen towel and let rise in a warm spot until doubled in size, about 1 hour.
- Once doubled, punch down the dough and turn it onto a clean surface (no need to flour it this time). Pat it into a rectangle roughly the length of your loaf pan. Roll it up tightly from the short end, pinching the seam and ends to seal. Tuck the ends under if needed.
- Place the loaf seam-side down in a greased 9×5 inch loaf pan. Cover again and let rise until the dough crests about 1 inch above the rim of the pan, usually 45-60 minutes.
- Preheat your oven to 350°F while the bread is on its second rise. When ready to bake, the dough should barely spring back when you gently poke it with your finger.
- Bake for 30-35 minutes until deep golden brown. The bread should sound hollow when tapped on the bottom, and if you have an instant-read thermometer, the center should read 190°F.
- Let cool in the pan for 5 minutes, then turn out onto a wire rack. Here’s the hard part – try to let it cool at least 30 minutes before slicing, or you’ll squish the loaf.