Gingerbread Whoopie Pies
These gingerbread whoopie pies are what happens when you combine soft molasses cookies with cream cheese frosting but in sandwich form.
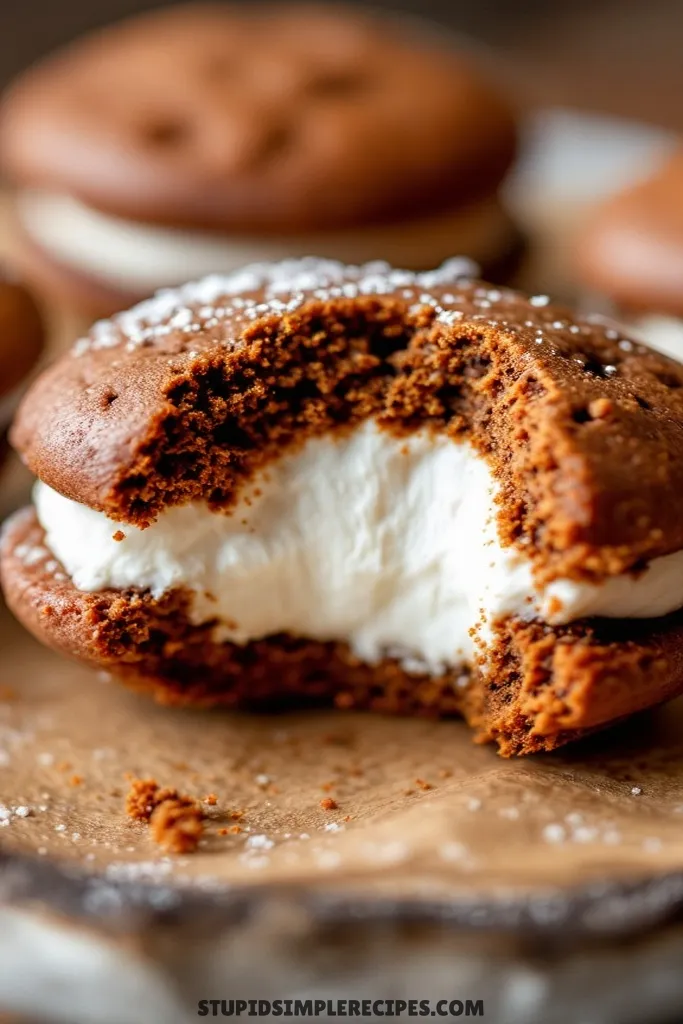
The cake-like cookies have just the right amount of ginger and warm spices, without being overpowering like some gingerbread can be. The cream cheese filling is tangy and not too sweet, which balances out the molasses in the cookies perfectly.
You can make these anytime you want something more interesting than regular cookies. They travel well for parties and bake sales, and you can make them a day ahead – they actually get better after the filling has time to soften the cookies slightly. Just keep them in the fridge until about 30 minutes before serving.
What you need for Gingerbread Whoopie Pies
For the Cookies:
- 3 cups all-purpose flour
- 2 teaspoons ground ginger
- 1 teaspoon ground cinnamon
- 1 teaspoon ground cloves
- 1 teaspoon salt
- 1 teaspoon baking soda
- 1 cup unsalted butter, softened
- 1 cup packed dark brown sugar
- 1 large egg
- 1/3 cup molasses
- 1 teaspoon vanilla extract
For the Filling:
- 1 cup unsalted butter, softened
- 2 cups powdered sugar
- 1 (7 oz) jar marshmallow creme
- 1 teaspoon vanilla extract
- Pinch of salt
How to make Gingerbread Whoopie Pies
1. Start by positioning your oven racks in the upper and lower thirds – you’ll need both for efficient baking. Preheat to 350°F. Line two baking sheets with parchment paper (don’t skip this – it prevents sticking and makes cleanup so much easier).
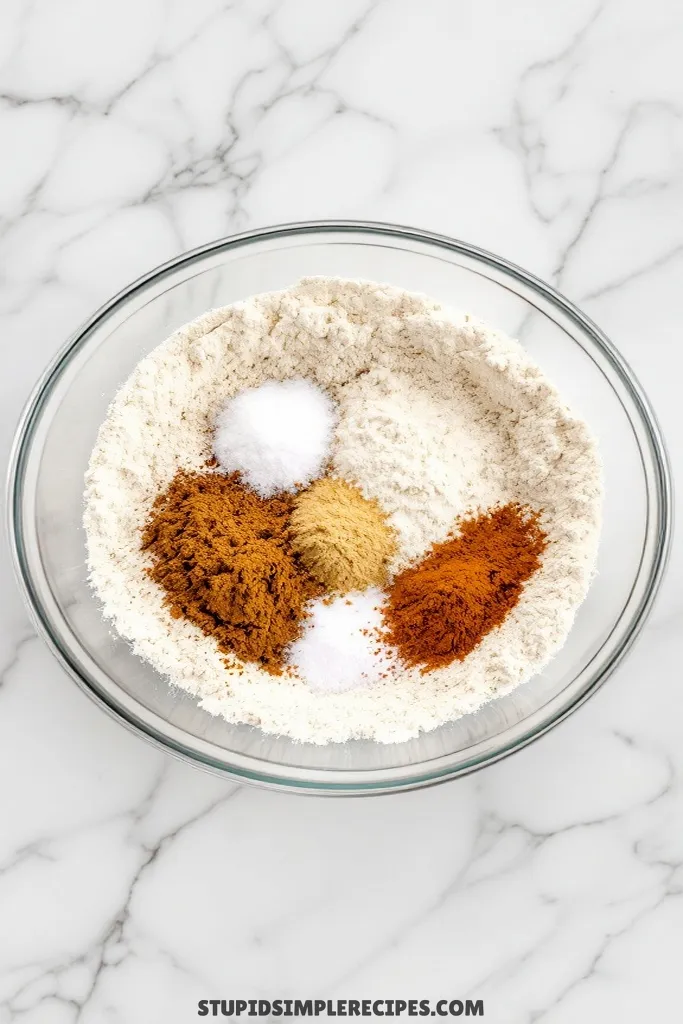
2. In a medium bowl, whisk together the flour, ginger, cinnamon, cloves, salt, and baking soda. Give it a good mix – I usually whisk for about 30 seconds to break up any clumps in the spices. The mixture should look uniformly light brown.
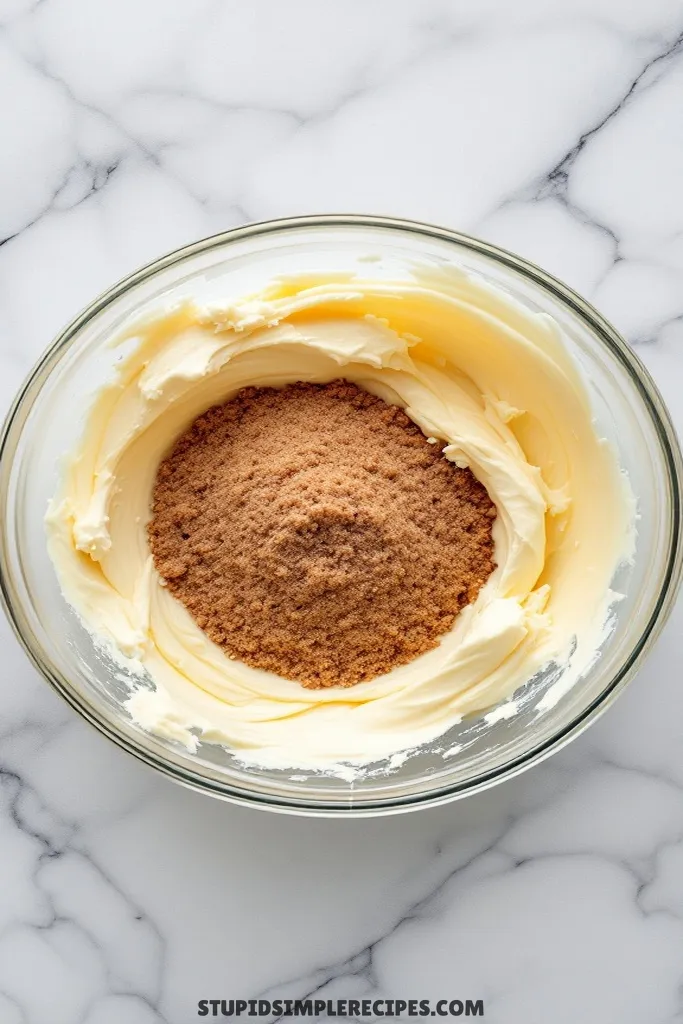
3. In your large mixing bowl, beat the softened butter (it should be soft enough that your finger leaves an indent but not melty) and brown sugar until it’s really light and fluffy – about 3 minutes. You’ll see the color change to a lighter brown and the texture become almost mousse-like.
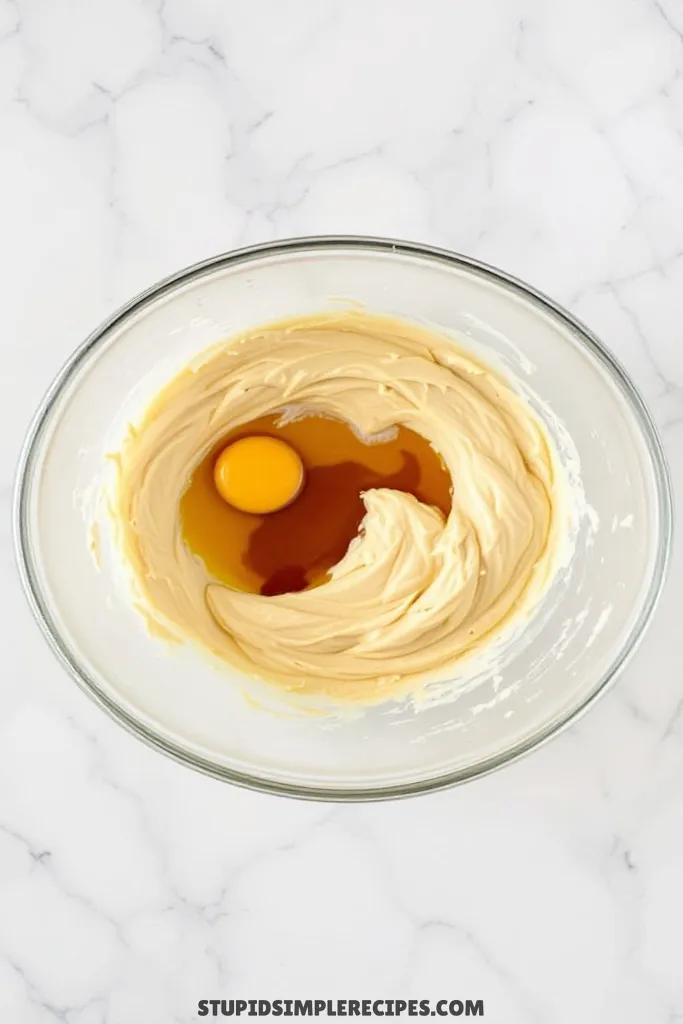
4. Add the egg and beat until completely combined, then mix in the molasses and vanilla. The mixture might look a bit curdled at this point – that’s totally normal! Scrape down the sides of the bowl with a rubber spatula.
5. Gradually add the flour mixture, mixing on low speed just until combined. The dough will be soft but not sticky – similar to a soft sugar cookie dough. If it feels too soft to scoop, pop it in the fridge for 15 minutes.
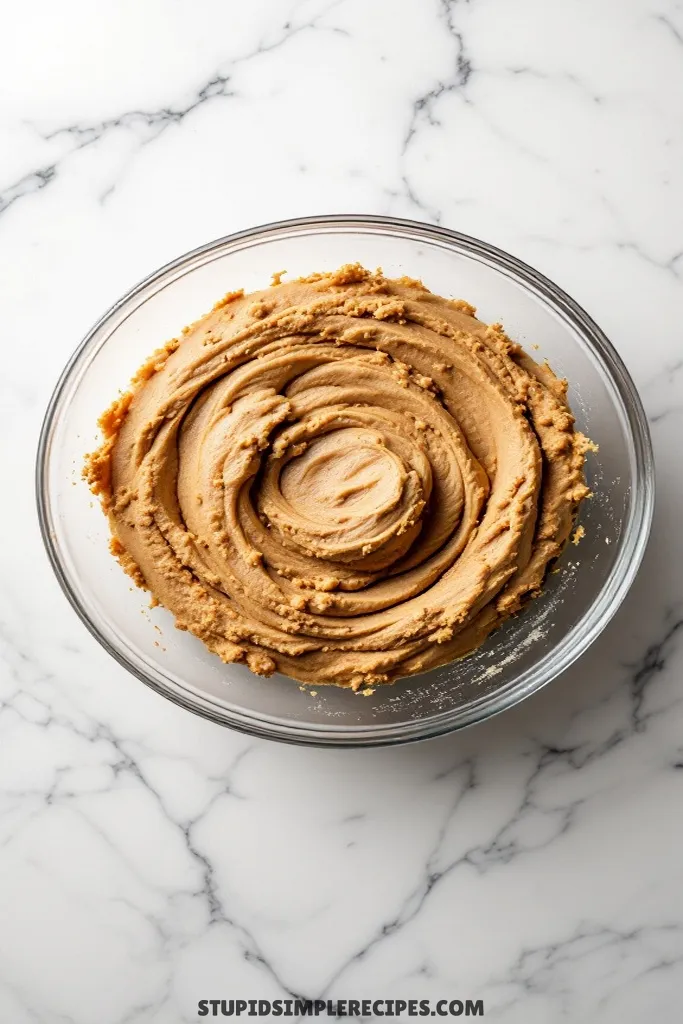
6. Using a 1½-tablespoon cookie scoop (or two spoons), drop rounded portions of dough onto your lined baking sheets, spacing them about 2 inches apart. They’ll spread a bit during baking.
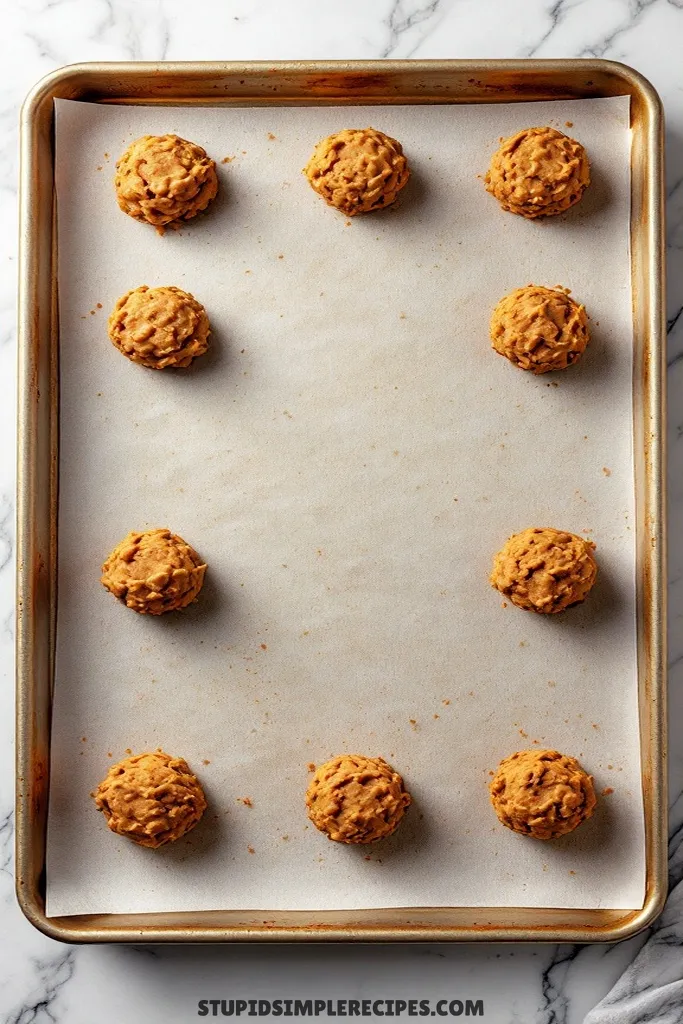
7. Bake for 10-12 minutes, rotating the pans halfway through. You’ll know they’re done when the tops look set and no longer shiny, and the edges are just barely starting to darken. Don’t overbake – they should still be soft in the middle.
8. Let them cool on the baking sheets for 5 minutes (they’re really delicate when hot), then transfer to a wire rack to cool completely.
For the filling:
1. In a large bowl, beat the softened butter until it’s really smooth and creamy – about 2 minutes. You want it super soft but not melted at all.
2. Gradually beat in the powdered sugar until smooth. The mixture will look a bit dry at first – that’s okay!
3. Add the marshmallow creme, vanilla, and salt. Beat on medium-high speed until the filling becomes light and fluffy – about 3 minutes. You’ll see it change texture and become almost cloud-like.
4. To assemble, flip half of the cookies flat side up. Pipe or spoon about 2 tablespoons of filling onto each cookie bottom, then gently press another cookie on top, flat side down. You’ll know you’ve used enough filling when it just barely squishes to the edges.

These are best eaten within 2-3 days. I store them in an airtight container with wax paper between layers – they’ll get softer as they sit, which is actually pretty delicious!
🔍 Recipe Notes & Tips
- Room temp ingredients are crucial – set butter, and egg out 1 hour before
- Don’t have molasses? Dark corn syrup works in a pinch
- Cookie Scoop is worth buying – makes uniform cookies that match up better
- If the dough feels too soft, 15 minutes in the fridge to fix it
- Rotating pans is annoying but prevents burnt bottoms
- Quick test: edges should be set but centers slightly soft when done
🍽️ Serving Suggestions
- Perfect with hot drinks:
– Spiced apple cider
– Hot chocolate with whipped cream
– Coffee or chai tea - Add a scoop of vanilla ice cream between warm cookies
- Dust tops lightly with powdered sugar for a fancy look
🎯 Make it Work for
- Bake sales: Wrap individually in plastic wrap
- Holiday platters: Make mini versions using 1 tbsp scoop
- Gift giving: Stack 4-5 in cellophane bags with ribbon
- Kids parties: Skip the spices, add cocoa for a chocolate version
📦 Storage & Leftovers
- Counter: 3 days in an airtight container
- Fridge: Up to 5 days but let come to room temp before eating
- Freezer: Unfilled cookies freeze great for 1 month
- Don’t freeze assembled whoopie pies – the filling gets weird
- Layer with wax paper to prevent sticking
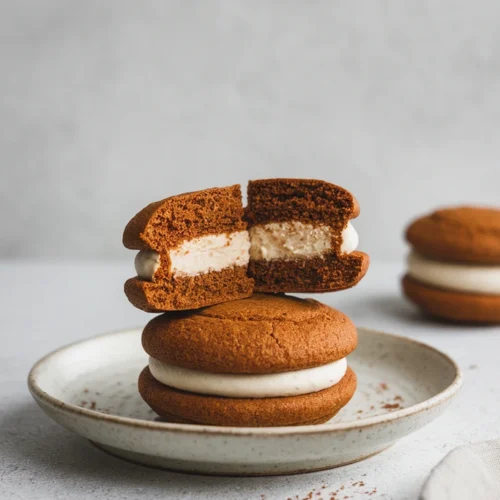
Gingerbread Whoopie Pies
Ingredients
For the Cookies:
- 3 cups all-purpose flour
- 2 teaspoons ground ginger
- 1 teaspoon ground cinnamon
- 1 teaspoon ground cloves
- 1 teaspoon salt
- 1 teaspoon baking soda
- 1 cup unsalted butter softened
- 1 cup packed dark brown sugar
- 1 large egg
- 1/3 cup molasses
- 1 teaspoon vanilla extract
For the Filling:
- 1 cup unsalted butter softened
- 2 cups powdered sugar
- 1 7 oz jar marshmallow creme
- 1 teaspoon vanilla extract
- Pinch of salt
Instructions
- Position your oven racks in the upper and lower thirds and preheat to 350°F. Line two baking sheets with parchment paper for easy cleanup and to prevent sticking.
- In a medium bowl, whisk together flour, ginger, cinnamon, cloves, salt, and baking soda for 30 seconds to break up clumps. The mixture should be evenly light brown.
- In a large mixing bowl, beat softened butter and brown sugar for about 3 minutes until light, fluffy, and mousse-like.
- Add the egg and beat until combined, then mix in molasses and vanilla. The mixture might look a little curdled, but that’s okay! Scrape down the bowl.
- Gradually add the flour mixture, mixing on low speed until just combined. If the dough is too soft to scoop, chill for 15 minutes.
- Use a 1½-tablespoon cookie scoop or two spoons to drop dough onto lined baking sheets, spacing them 2 inches apart. They will spread during baking.
- Bake for 10-12 minutes, rotating the pans halfway through. The tops should look set, and the edges should just start to darken. The cookies should still be soft in the middle.
- Let them cool on the baking sheets for 5 minutes, then transfer to a wire rack to cool completely.
For the filling:
- Beat softened butter in a large bowl until smooth and creamy, about 2 minutes.
- Gradually add powdered sugar and beat until smooth.
- Add marshmallow creme, vanilla, and salt, then beat on medium-high for about 3 minutes until the filling becomes light and fluffy.
- To assemble, flip half the cookies flat side up. Pipe or spoon about 2 tablespoons of filling onto each cookie, then top with another cookie, flat side down. The filling should just squish to the edges.