Cookies & Cream Cinnamon Rolls
If you love Oreos, these cinnamon rolls will make your morning. I started making them after realizing regular cinnamon rolls, while great, could use some texture contrast. The cookie pieces stay slightly crunchy inside the soft dough, and the cream filling melts into the spaces between the layers.
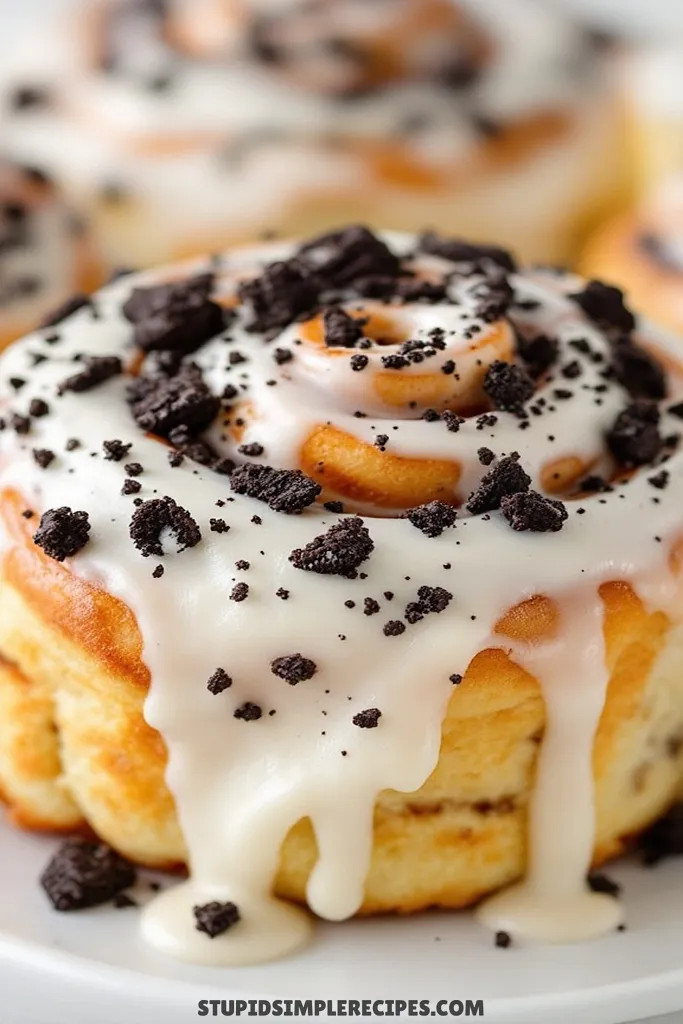
They’re rich without being heavy, and the cream cheese frosting picks up where the Oreo filling leaves off. I make them the night before big brunches or lazy weekends – the dough needs time to rise anyway, and they’re best served warm from the oven. Just expect people to ask for the recipe, because these aren’t your standard breakfast rolls.
What you need for Cookies & Cream Cinnamon Rolls
FOR DOUGH:
- 4 cups all-purpose flour
- 1/4 cup granulated sugar
- 2 1/4 teaspoons instant yeast
- 1 teaspoon salt
- 1 cup warm milk
- 1/3 cup unsalted butter, melted
- 2 large eggs
FOR FILLING:
- 1/3 cup unsalted butter, softened
- 1 cup crushed Oreo cookies (about 12-15 cookies)
- 1/2 cup granulated sugar
- 2 teaspoons ground cinnamon
FOR CREAM CHEESE FROSTING:
- 8 oz cream cheese, softened
- 1/4 cup unsalted butter, softened
- 2 cups powdered sugar
- 1 teaspoon vanilla extract
- 1/2 cup crushed Oreo cookies (about 6-8 cookies)
How to make Cookies & Cream Cinnamon Rolls
Let me walk you through making these indulgent rolls step by step – I’ve made them dozens of times and learned what really matters for the best results.
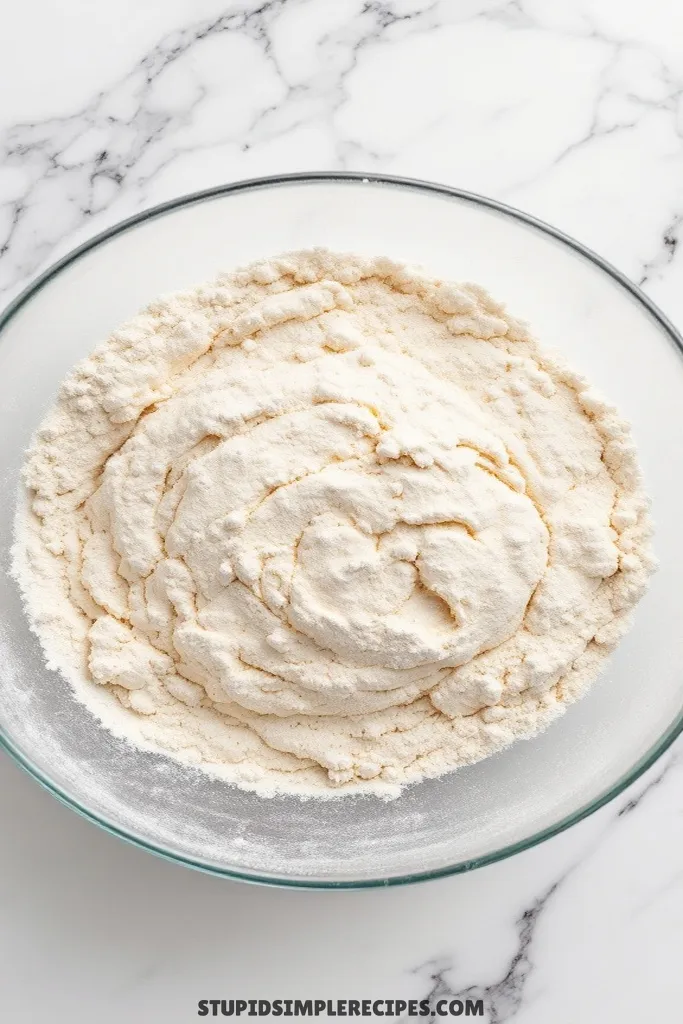
1. Start with the dough. In a large bowl, whisk together the flour, sugar, yeast, and salt. Make sure to break up any lumps in the flour – this prevents flour pockets in your final dough.
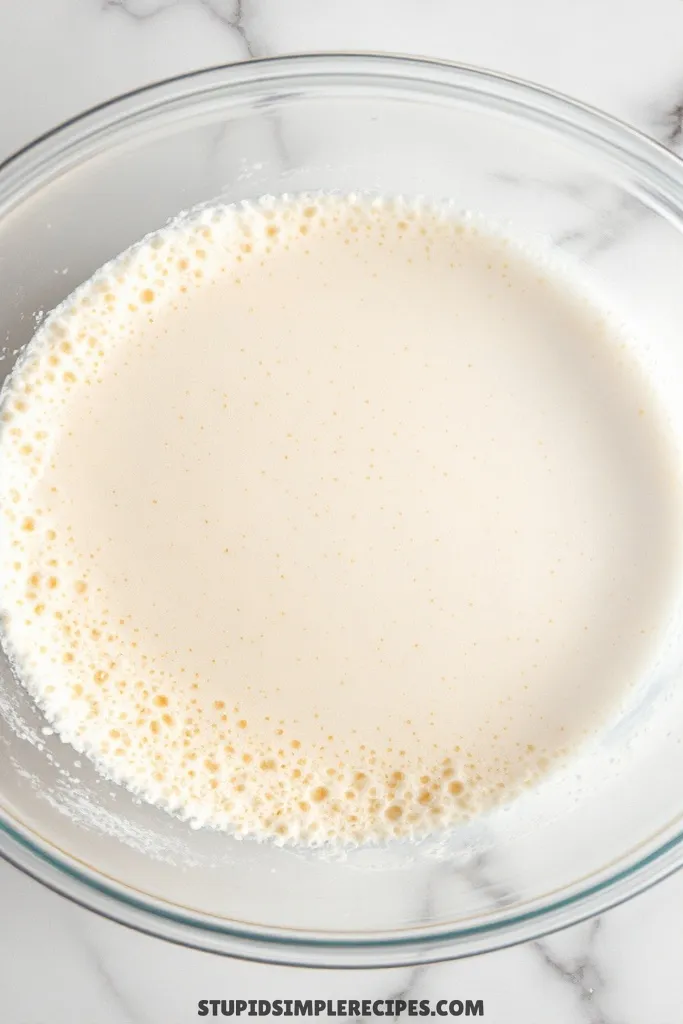
2. Warm your milk until it feels like hot bath water (about 110°F). If it’s too hot, let it cool a bit – you don’t want to kill the yeast. Mix in the melted butter and eggs until well combined.
3. Pour the wet ingredients into the dry ingredients. Mix with a wooden spoon until a shaggy dough forms, then turn it onto a floured surface. Knead for about 8-10 minutes until the dough becomes smooth and springs back when you poke it with your finger. It should feel like a soft earlobe when ready.
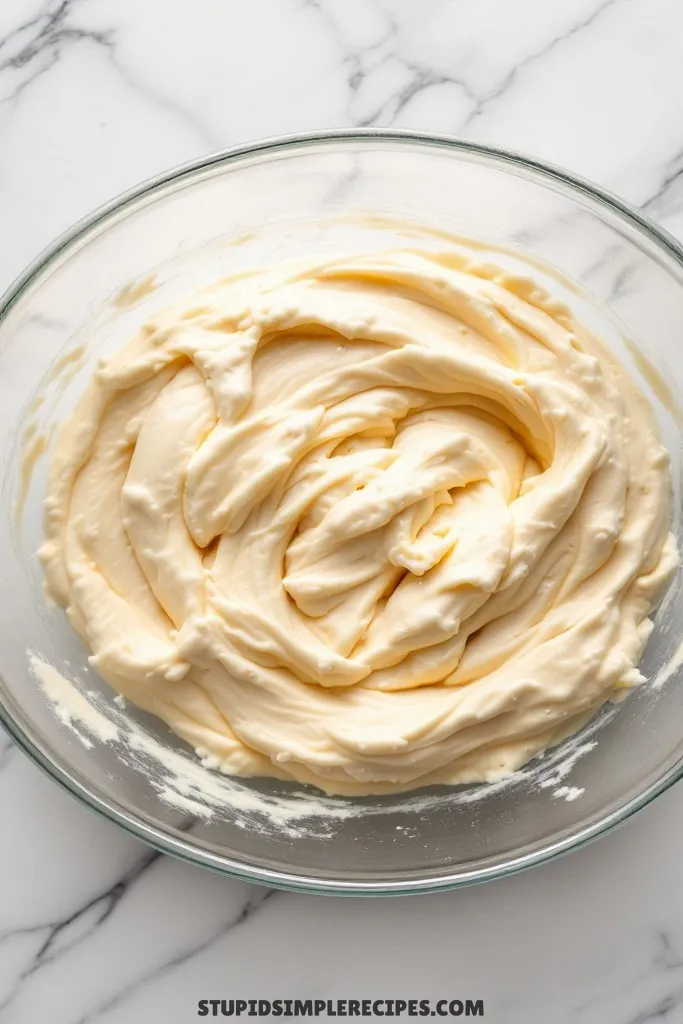
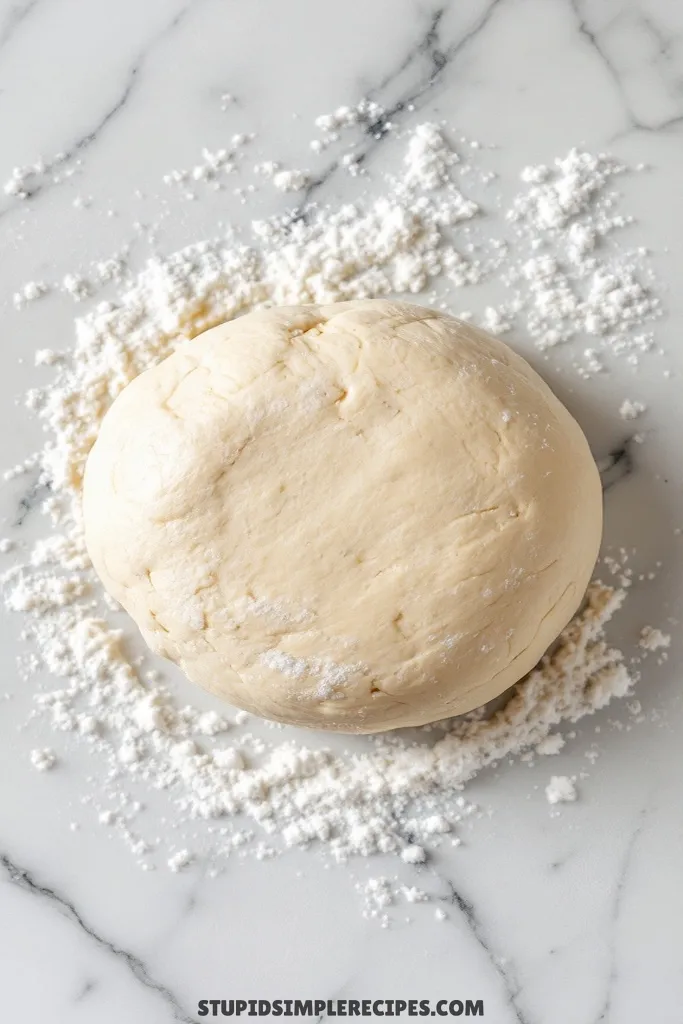
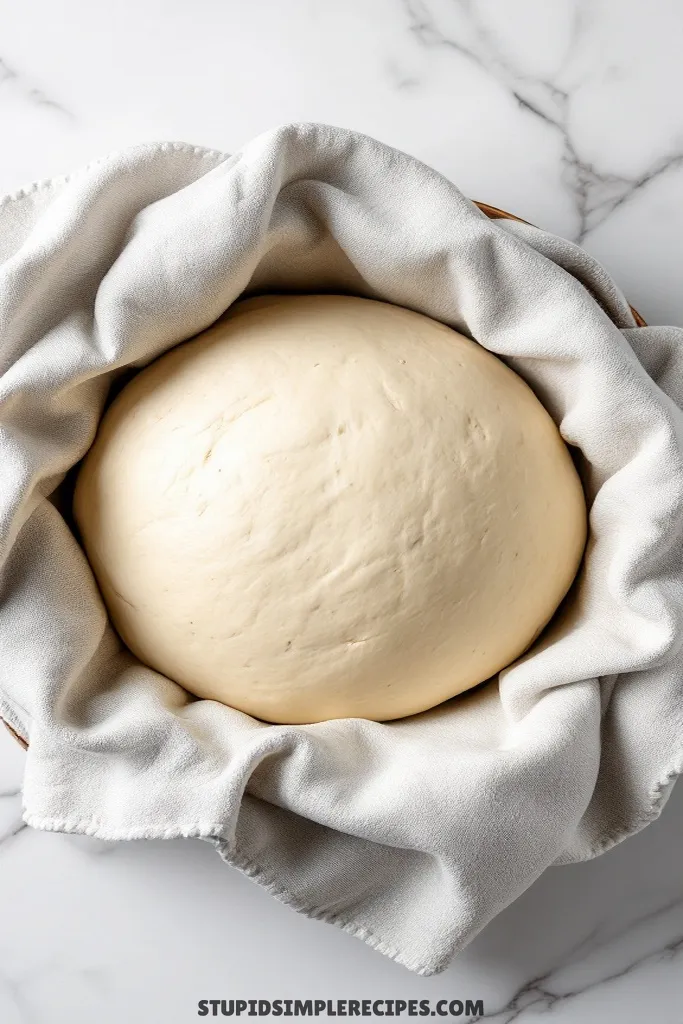
4. Place the dough in a lightly oiled bowl, cover with a damp cloth, and let rise in a warm spot for about 1 hour, or until doubled in size. I like to put it near my preheating oven – the gentle warmth helps it rise nicely.
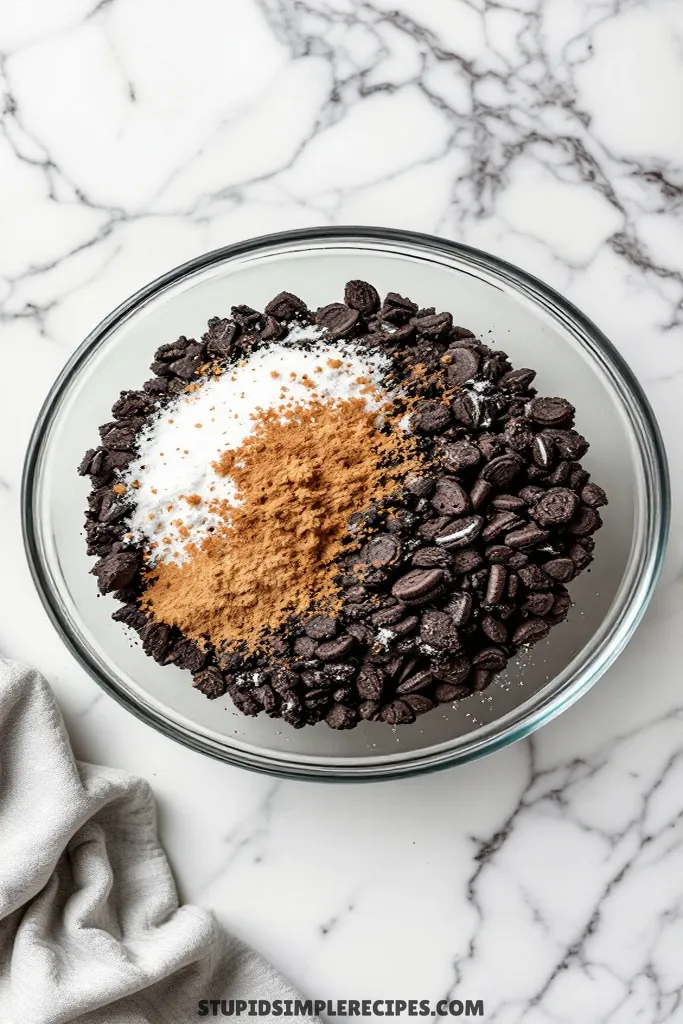
5. While the dough rises, crush your Oreos for the filling. Don’t pulverize them into dust – you want some small chunks for texture. Mix them with the sugar and cinnamon in a bowl.
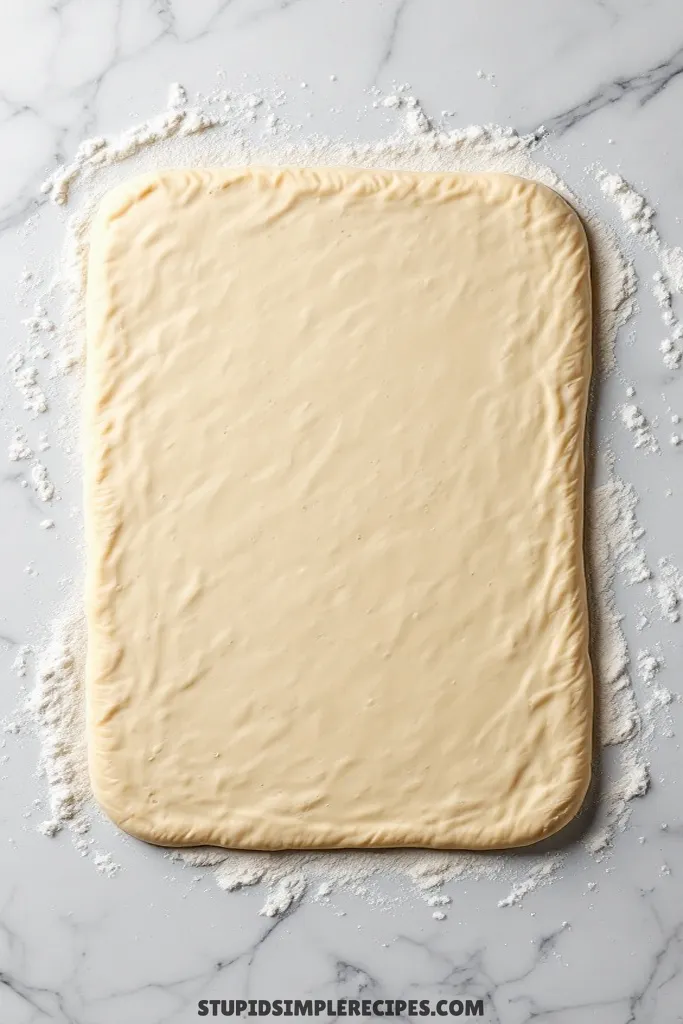
6. Once doubled, punch down the dough and roll it out on a floured surface into a 16×20-inch rectangle. Don’t worry about perfect edges – just aim for an even thickness of about 1/4 inch.
7. Spread the softened butter evenly over the dough, leaving a 1/2-inch border along one long edge. The butter should be very soft but not melted – I take it out when I start making the dough so it’s perfect by now.
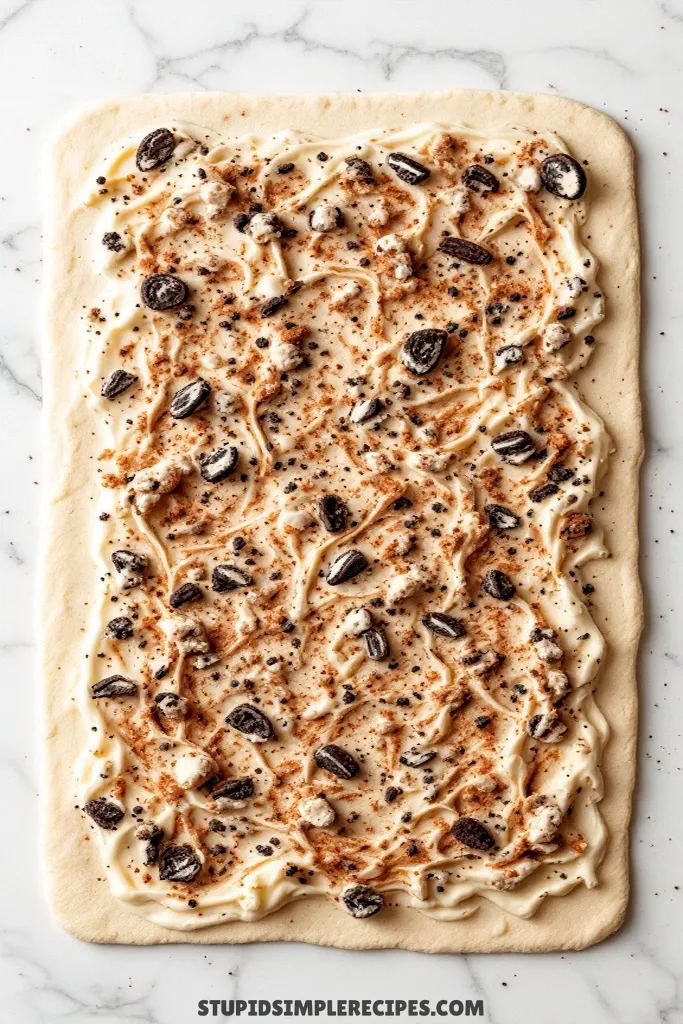
8. Sprinkle the Oreo-cinnamon mixture evenly over the butter. Press it gently into the butter so it sticks.
9. Starting from the long edge (without the border), roll the dough tightly into a log, pinching the seam to seal. If the roll feels loose, that’s okay – you can tighten it by gently stretching and rolling.
10. Cut into 12 even pieces using unflavored dental floss or a sharp knife. Place them in a greased 9×13-inch baking pan, leaving some space between each roll.
11. Cover and let rise again for about 30-45 minutes, until puffy and touching each other. They should look like they’re hugging their neighbors.
12. Preheat your oven to 350°F while they’re rising. Bake for 22-25 minutes, or until the tops are golden brown and a thermometer inserted into the center roll reads 190°F. The kitchen will smell amazing!
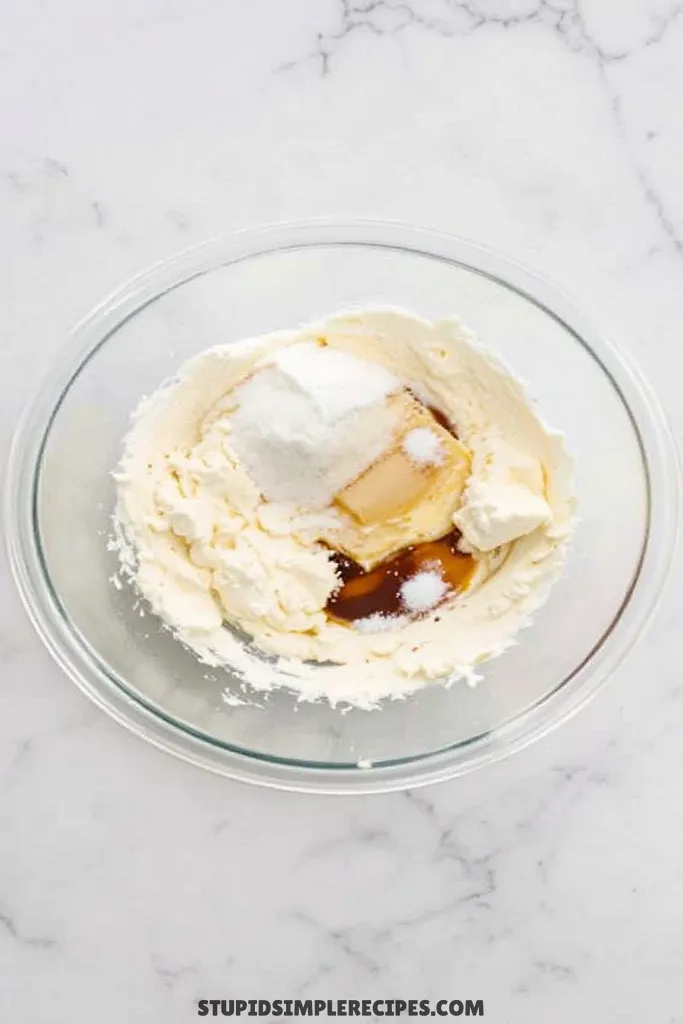
13. For the frosting, beat the softened cream cheese and butter until fluffy – about 2 minutes. Add the powdered sugar gradually (to avoid a sugar cloud), then beat in the vanilla. Fold in the crushed Oreos last.
14. Let the rolls cool for just 5-10 minutes before frosting. You want them warm enough so the frosting gets a little melty, but not so hot that it completely liquifies.

These are best eaten while still warm when the frosting is gooey and the rolls are at their softest. If you have leftovers, microwave individual rolls for 15-20 seconds to recreate that fresh-baked magic.
🔍 Recipe Notes & Tips
- Make ahead: Prep dough the night before – let it rise slowly in the fridge
- Room temp ingredients matter – cold eggs/milk slow down yeast
- Too warm = dead yeast, too cool = slow rise
- No stand mixer? No problem – hand kneading works great
- Check expiration on yeast – old yeast = flat rolls
- Double the frosting if you’re a frosting fan
- Regular Oreos work best – avoid Double Stuf (too greasy)
🍽️ Serving Suggestions
- Pair with hot coffee or cold milk
– Great with vanilla cold brew
– Hot chocolate for kids - Weekend brunch star – served with fresh fruit
- Holiday breakfast with mimosas
🎯 Make it Work for
- Bake the night before for an easy breakfast
- Make mini rolls for bake sales/potlucks
- Birthday breakfast – add candles
- Christmas morning – prep ahead, bake fresh
- Brunch buffet – cut smaller portions
📦 Storage & Leftovers
- Room temp: 2 days in an airtight container
- Fridge: Up to 5 days
- Freezer: 3 months max (unfrosted)
- Reheat: 15-20 sec in microwave
- Store frosting separately if making ahead
- Don’t cover them while warm (it makes them soggy)

Cookies & Cream Cinnamon Rolls
Ingredients
FOR DOUGH:
- 4 cups all-purpose flour
- 1/4 cup granulated sugar
- 2 1/4 teaspoons instant yeast
- 1 teaspoon salt
- 1 cup warm milk
- 1/3 cup unsalted butter melted
- 2 large eggs
FOR FILLING:
- 1/3 cup unsalted butter softened
- 1 cup crushed Oreo cookies about 12-15 cookies
- 1/2 cup granulated sugar
- 2 teaspoons ground cinnamon
FOR CREAM CHEESE FROSTING:
- 8 oz cream cheese softened
- 1/4 cup unsalted butter softened
- 2 cups powdered sugar
- 1 teaspoon vanilla extract
- 1/2 cup crushed Oreo cookies about 6-8 cookies
Instructions
- Start with the dough. In a large bowl, whisk together the flour, sugar, yeast, and salt. Make sure to break up any lumps in the flour.
- Warm your milk until it feels like hot bath water (about 110°F). If it’s too hot, let it cool a bit – you don’t want to kill the yeast. Mix in the melted butter and eggs until well combined.
- Pour the wet ingredients into the dry ingredients. Mix with a wooden spoon until a shaggy dough forms, then turn it onto a floured surface. Knead for about 8-10 minutes until the dough becomes smooth and springs back when you poke it with your finger.
- Place the dough in a lightly oiled bowl, cover with plastic wrap, and let rise in a warm spot for about 1 hour, or until doubled in size.
- While the dough rises, crush your Oreos for the filling. Don’t pulverize them into dust – you want some small chunks for texture. Mix them with the sugar and cinnamon in a bowl.
- Once doubled, punch down the dough and roll it out on a floured surface into a 16×20-inch rectangle.
- Spread the softened butter evenly over the dough, leaving a 1/2-inch border along one long edge. The butter should be very soft but not melted.
- Sprinkle the Oreo-cinnamon mixture evenly over the butter. Press it gently into the butter so it sticks.
- Starting from the long edge (without the border), roll the dough tightly into a log, pinching the seam to seal. If the roll feels loose, that’s okay – you can tighten it by gently stretching and rolling.
- Cut into 12 even pieces using unflavored dental floss or a sharp knife. Place them in a greased 9×13-inch baking pan, leaving some space between each roll.
- Cover and let rise again for about 30-45 minutes, until puffy and touching each other.
- Preheat your oven to 350°F while they’re rising. Bake for 22-25 minutes, or until the tops are golden brown and a thermometer inserted into the center roll reads 190°F.
- For the frosting, beat the softened cream cheese and butter until fluffy – about 2 minutes. Add the powdered sugar gradually (to avoid a sugar cloud), then beat in the vanilla. Fold in the crushed Oreos last.
- Let the rolls cool for just 5-10 minutes before frosting. You want them warm enough so the frosting gets a little melty, but not so hot that it completely liquifies.