Cinnamon Swirl Snickerdoodle Blondies
These blondies combine everything I love about snickerdoodles and cinnamon rolls, but without all the fussy rolling and waiting for the dough to rise. The base is a chewy, buttery blondie that stays soft for days.
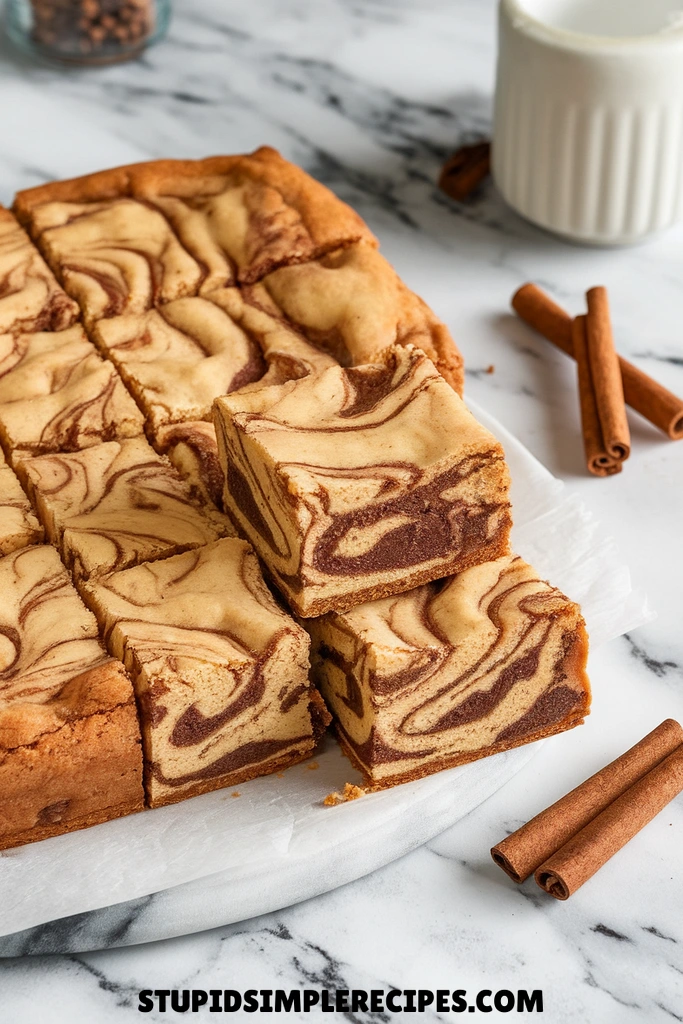
I swirl a generous ribbon of cinnamon sugar through the batter, which creates pockets of warm spice and a pretty pattern on top. They’re simpler than cookies since you just spread the batter in a pan, but they still have that classic Snickerdoodle flavor.
I make these when I need something that travels well – they’re perfect for bake sales or potlucks since they don’t crumble like regular cookies. The leftovers actually get better after a day or two as the cinnamon flavor deepens.
What you need for Cinnamon Swirl Snickerdoodle Blondies
Ingredients You’ll Need For This Recipe
- 2¾ cups all-purpose flour
- 2 teaspoons cream of tartar
- 1 teaspoon baking soda
- ½ teaspoon salt
- 1 cup unsalted butter, softened
- 1½ cups granulated sugar
- 2 large eggs
- 2 teaspoons vanilla extract
For Cinnamon Swirl:
- ⅓ cup granulated sugar
- 1 tablespoon ground cinnamon
For Topping:
- 2 tablespoons granulated sugar
- 1 teaspoon ground cinnamon
How to make Cinnamon Swirl Snickerdoodle Blondies
Let me walk you through making these chewy, cinnamon-swirled blondies. They’re like a snickerdoodle cookie in bar form, with a gorgeous ripple of cinnamon sugar running through the middle.
1. Start by preheating your oven to 350°F (175°C). Line a 9×13-inch baking pan with parchment paper, leaving some overhang on the sides – this will make it much easier to lift the blondies out later.
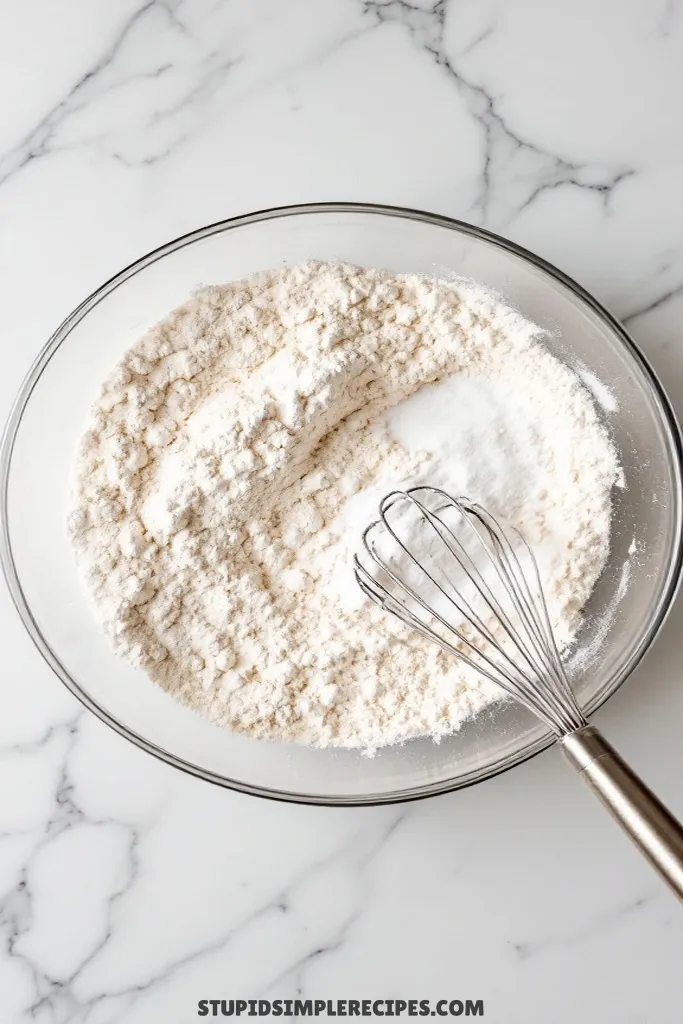
2. In a medium bowl, whisk together the flour, cream of tartar, baking soda, and salt. The cream of tartar is what gives snickerdoodles their distinctive tangy flavor, so don’t skip it. Set this mixture aside.
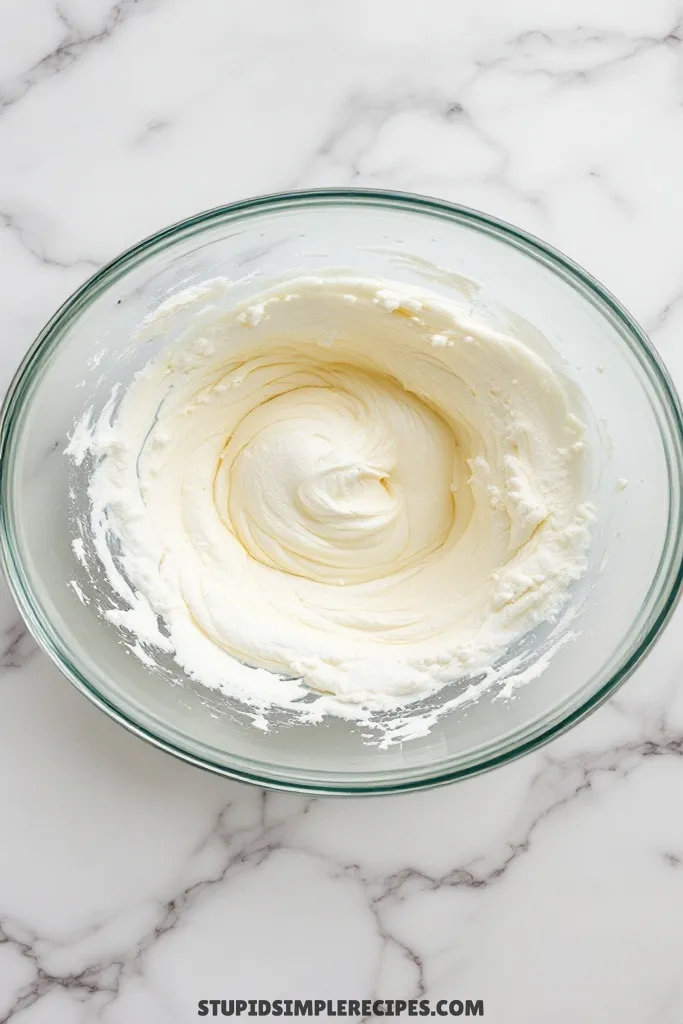
3. In a large bowl (or your stand mixer), beat the softened butter until it’s creamy – about 30 seconds. Add the 1½ cups sugar and cream together until it’s light and fluffy, about 2-3 minutes. You’ll know it’s ready when the color lightens and the mixture looks almost whipped.
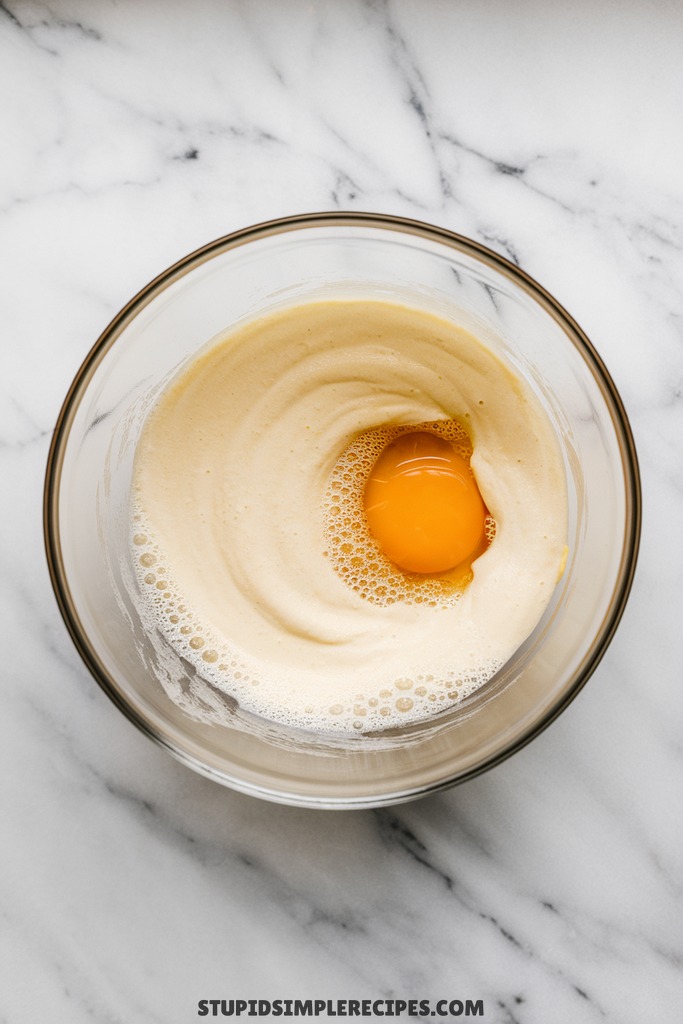
4. Beat in the eggs one at a time, making sure each is fully incorporated before adding the next. Scrape down the sides of the bowl. Add the vanilla and mix until combined.
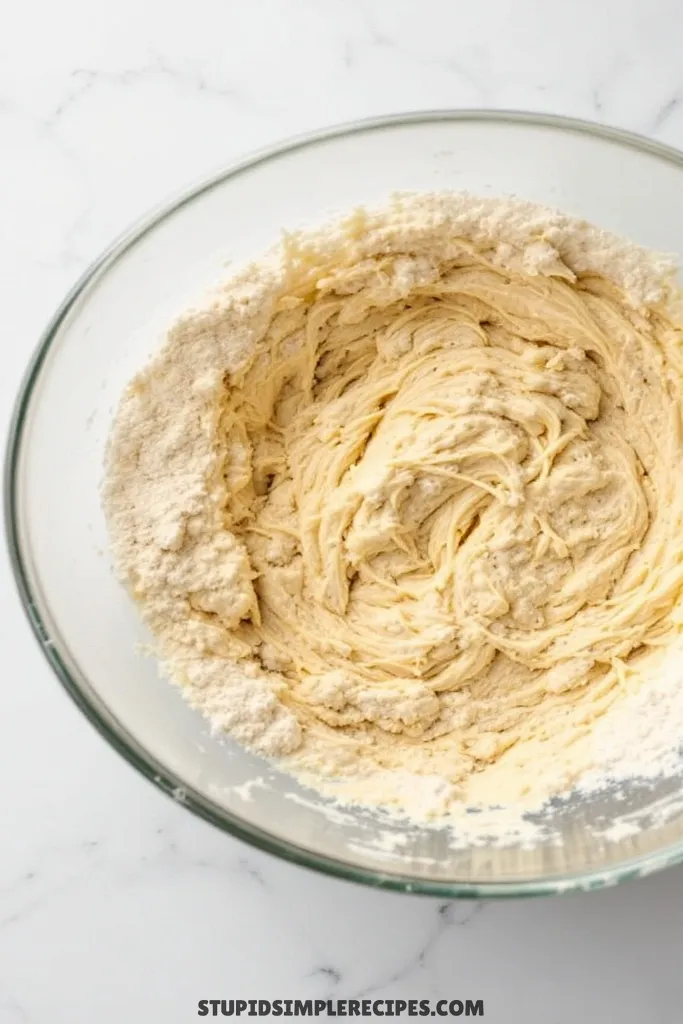
5. Gradually add the flour mixture to the butter mixture, mixing on low speed just until combined. The dough will be thick and slightly sticky – that’s exactly what we want.
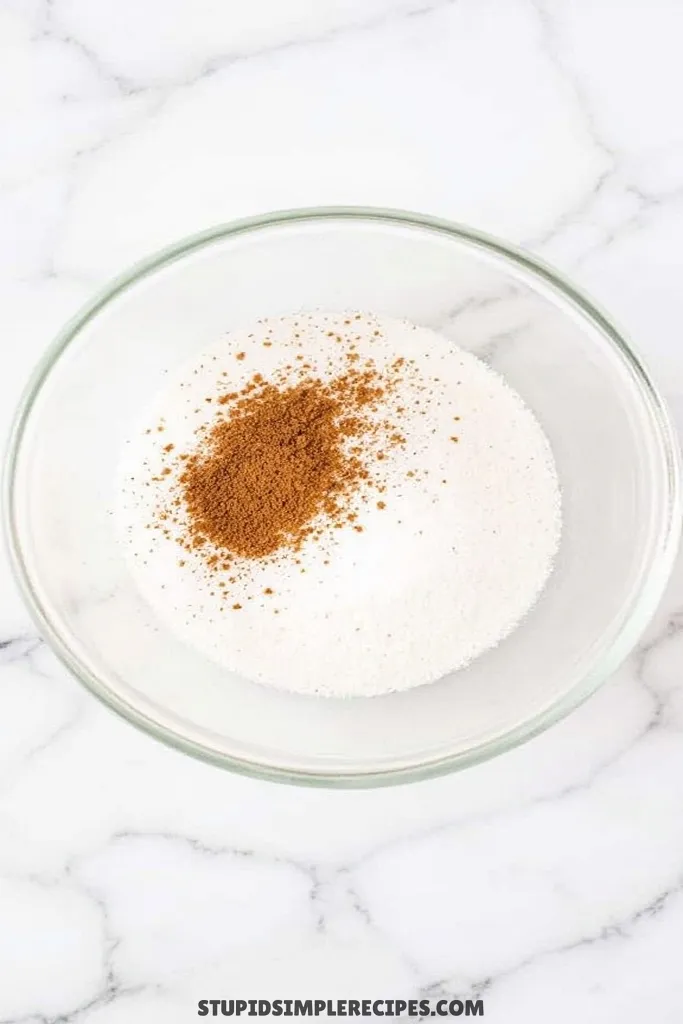
6. For the cinnamon swirl, mix the ⅓ cup sugar and 1 tablespoon cinnamon in a small bowl until evenly combined.
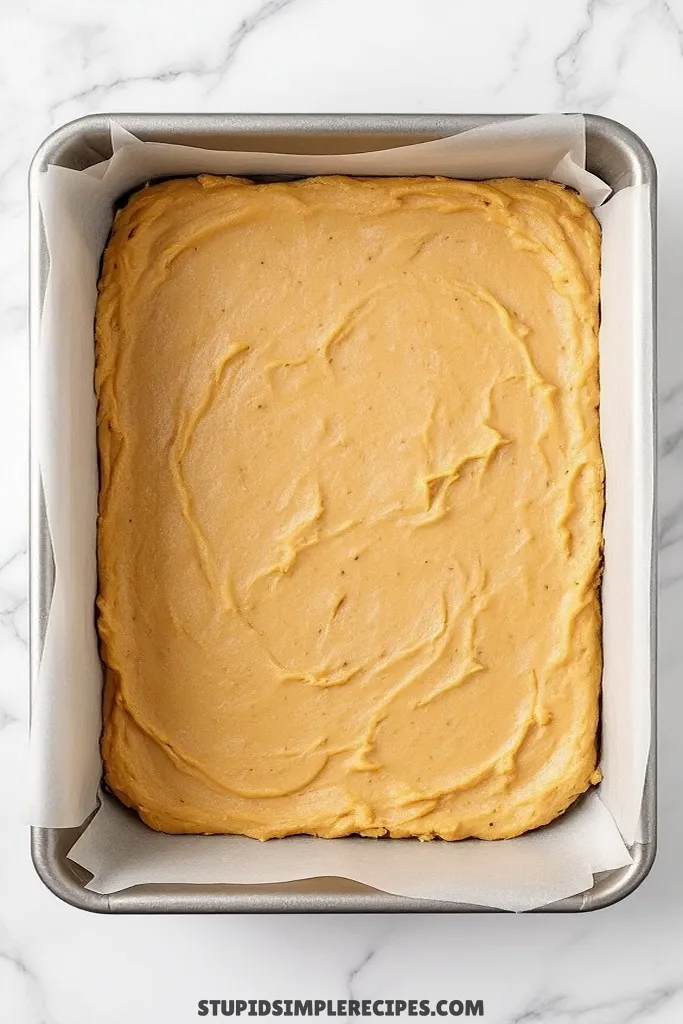
7. Spread about half the dough into your prepared pan. It’ll be thick, so I find it easiest to drop it in dollops and then gently spread it with slightly damp fingers or an offset spatula. Make sure you get it into the corners.
8. Sprinkle the cinnamon-sugar mixture evenly over the dough layer, leaving a small border around the edges.
9. Drop the remaining dough on top in spoonfuls, then carefully spread it out. Don’t worry if some cinnamon sugar shows through – this will create nice swirls when baked.
10. Mix the remaining 2 tablespoons sugar and 1 teaspoon cinnamon, and sprinkle this evenly over the top.
11. Bake for 25-30 minutes, or until the edges are lightly browned and a toothpick inserted in the center comes out with just a few moist crumbs. The center might look slightly underbaked – that’s okay! It’ll set up as it cools and give you perfectly chewy blondies.
12. Let the pan cool completely on a wire rack for at least an hour. Once cooled, use the parchment paper to lift the blondies out of the pan, then cut them into squares.
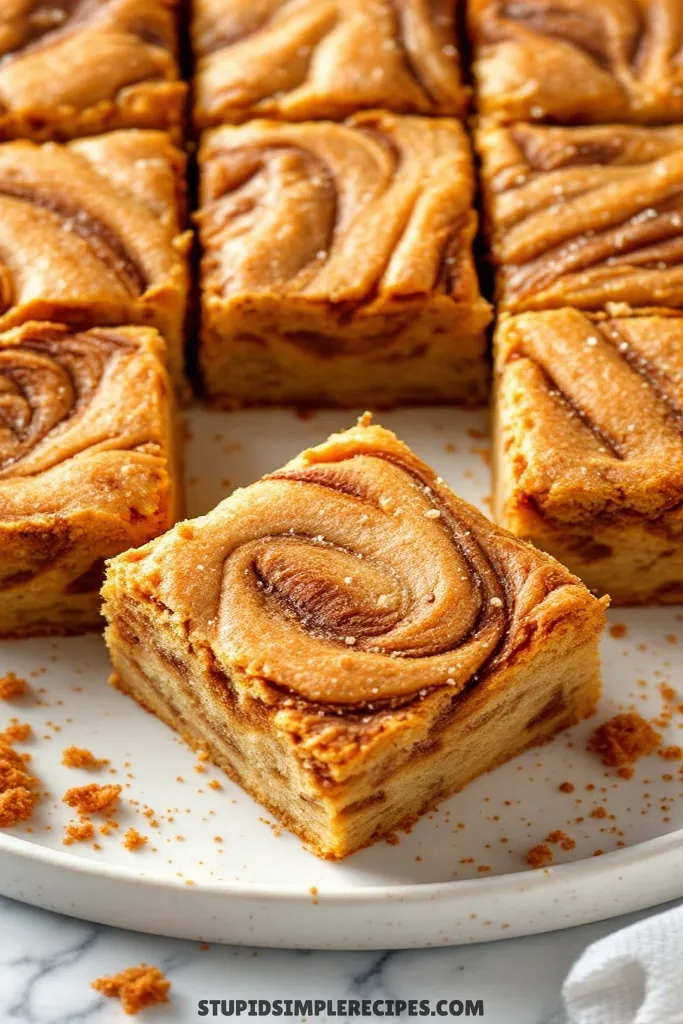
The blondies will keep in an airtight container at room temperature for about 5 days, though they’re at their absolute best within the first 3 days. If they start to get a bit firm, pop them in the microwave for 10 seconds to restore that fresh-baked texture.
🔍 Recipe Notes & Tips
- Don’t overmix once the flour is added – tough blondies happen fast!
- Room temp eggs and butter are crucial – cold ingredients = lumpy batter
- If the butter’s cold, cut it into cubes and zap it 10 seconds at a time
- No cream of tartar? Sub 2 tsp lemon juice (won’t be exactly the same but works)
- Dark metal pan? Reduce temp to 325°F to prevent burnt edges
- Measure flour by spooning into cups, not scooping – prevents dense bars
🍽️ Serving Suggestions
- Pair with cold milk, coffee, or chai tea
- Warm slightly (10 sec) and top with vanilla ice cream
- Drizzle with cream cheese glaze for extra indulgence
- Great with hot cocoa for winter snacking
🎯 Make it Work for
- Bake Sale: Cut smaller (24 pieces) and wrap individually
- Holiday Gift: Layer in mason jars with parchment between
- Potluck: Cut into bite-sized pieces (36-48 squares)
- Kids’ Party: Add colorful sprinkles to the top before baking
- Office Meeting: Cut into finger-sized bars for easy grabbing
📦 Storage & Leftovers
- Room temp in an airtight container: 5 days
- Freezer (wrapped well): up to 3 months
- To freeze: layer with parchment, seal in freezer bag
- Thaw overnight at room temp
- Refresh stale pieces: 10-sec microwave
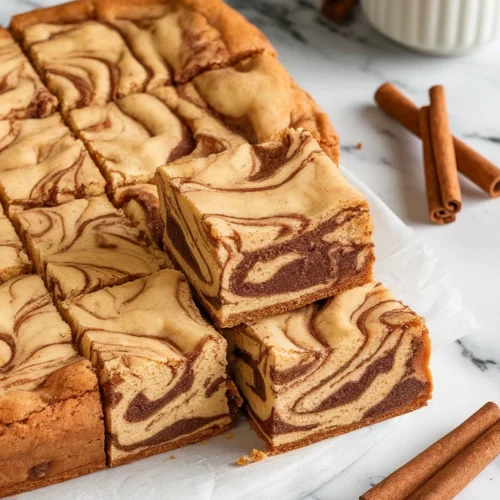
Cinnamon Swirl Snickerdoodle Blondies
Ingredients
- 2¾ cups all-purpose flour
- 2 teaspoons cream of tartar
- 1 teaspoon baking soda
- ½ teaspoon salt
- 1 cup unsalted butter softened
- 1½ cups granulated sugar
- 2 large eggs
- 2 teaspoons vanilla extract
Cinnamon Swirl:
- ⅓ cup granulated sugar
- 1 tablespoon ground cinnamon
Topping:
- 2 tablespoons granulated sugar
- 1 teaspoon ground cinnamon
Instructions
- Preheat oven to 350°F (175°C). Line a 9×13-inch pan with parchment paper, leaving an overhang for easy removal.
- In a bowl, whisk together flour, cream of tartar, baking soda, and salt. Set aside.
- Beat softened butter until creamy, then mix in 1½ cups sugar until light and fluffy (2-3 minutes).
- Add eggs one at a time, mixing well. Stir in vanilla.
- Gradually mix in the dry ingredients until a thick, slightly sticky dough forms.
- In a small bowl, combine ⅓ cup sugar and 1 tablespoon cinnamon for the swirl.
- Spread half the dough into the pan. Sprinkle with the cinnamon-sugar mixture, leaving a small border.
- Drop spoonfuls of the remaining dough over the top and gently spread it out.
- Mix 2 tablespoons sugar with 1 teaspoon cinnamon and sprinkle over the top.
- Bake for 25-30 minutes until the edges are golden and a toothpick inserted in the center comes out with a few moist crumbs.
- Cool completely for at least an hour. Lift out using the parchment and cut into squares. Enjoy!