Chocolate Chip Pancakes
There’s something magical about chocolate chip pancakes – they turn an ordinary breakfast into an event. I’ve made these countless times, tweaking the recipe until they come out fluffy but not cakey, with chocolate in every bite without being overwhelming.
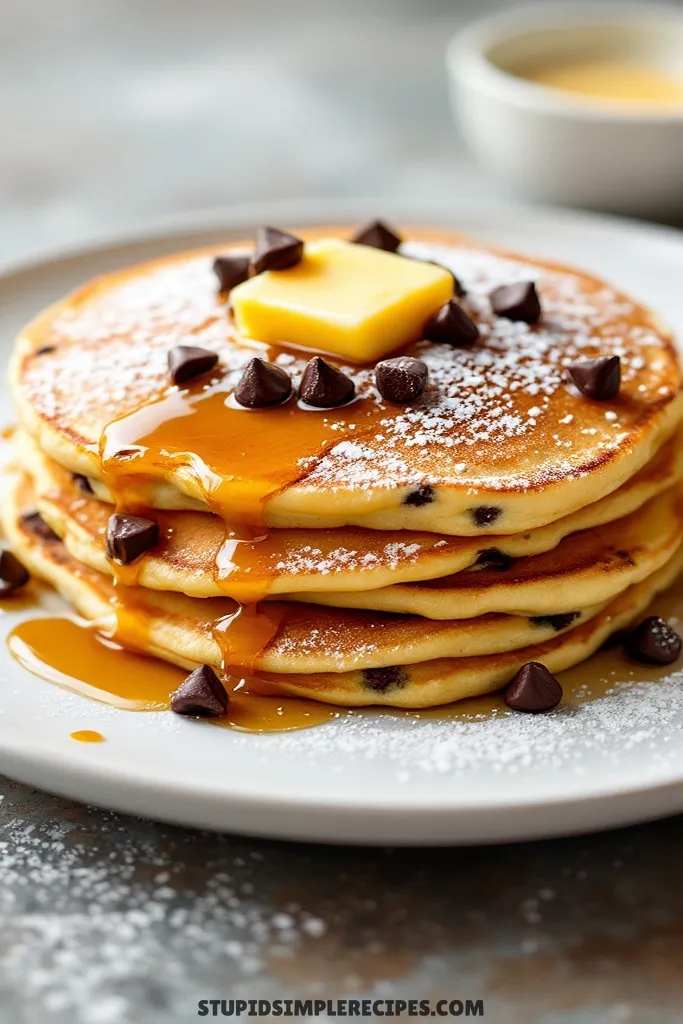
The trick is using mini chips instead of regular ones, which melt better and spread more evenly through the batter. These are perfect for lazy weekend mornings when you’ve got time to flip a few batches, but I also make them ahead and reheat them for busy days.
Kids obviously go crazy for them, but I’ve never met an adult who doesn’t light up when these hit the table. They’re basically breakfast cookies, and I’m completely fine with that.
What you need for Chocolate Chip Pancakes
Ingredients You’ll Need For This Recipe
- 1½ cups all-purpose flour
- 3½ teaspoons baking powder
- ¼ teaspoon salt
- 1 tablespoon sugar
- 1¼ cups whole milk
- 1 egg
- 3 tablespoons melted butter
- 1 teaspoon vanilla extract
- ¾ cup semi-sweet chocolate chips
- Butter or oil for griddle
How to make foolproof chocolate chip pancakes:
1. Start by melting your butter first – I pop it in the microwave for about 30 seconds and then set it aside to cool slightly. You don’t want it hot enough to cook the egg when we mix them later.
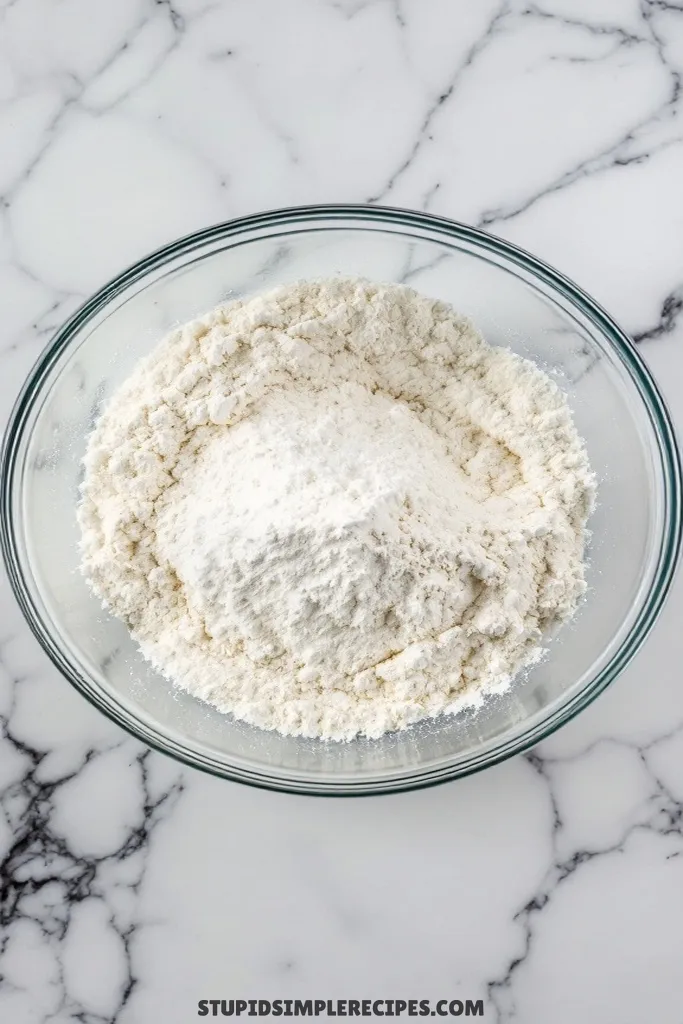
2. In a large bowl, whisk together your flour, baking powder, salt, and sugar. Make a well in the center – this makes it easier to mix the wet ingredients in without getting lumps.
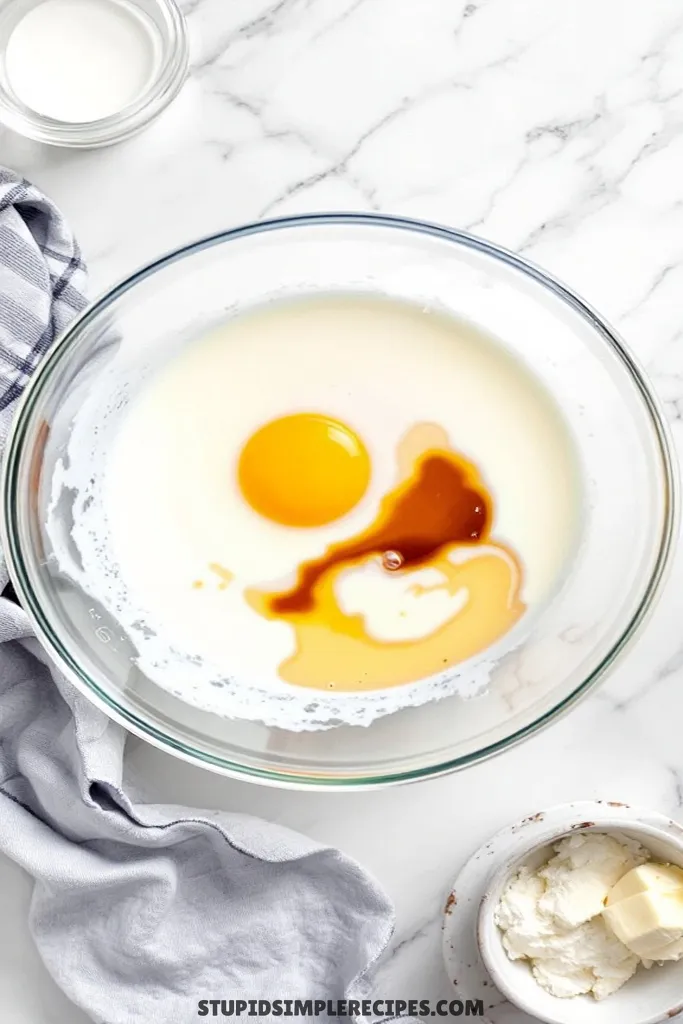
3. Pour the milk into a medium bowl and add your egg, cooled melted butter, and vanilla. Whisk until the egg is completely broken up and everything’s well combined – you want it to look uniformly creamy with no streaks of egg white.
4. Pour your wet ingredients into the well in your dry ingredients. Using a whisk, stir from the center outward, gradually pulling in the dry ingredients. Stop mixing as soon as you don’t see any more dry flour – the batter should be a bit lumpy. Overmixing will make your pancakes tough.
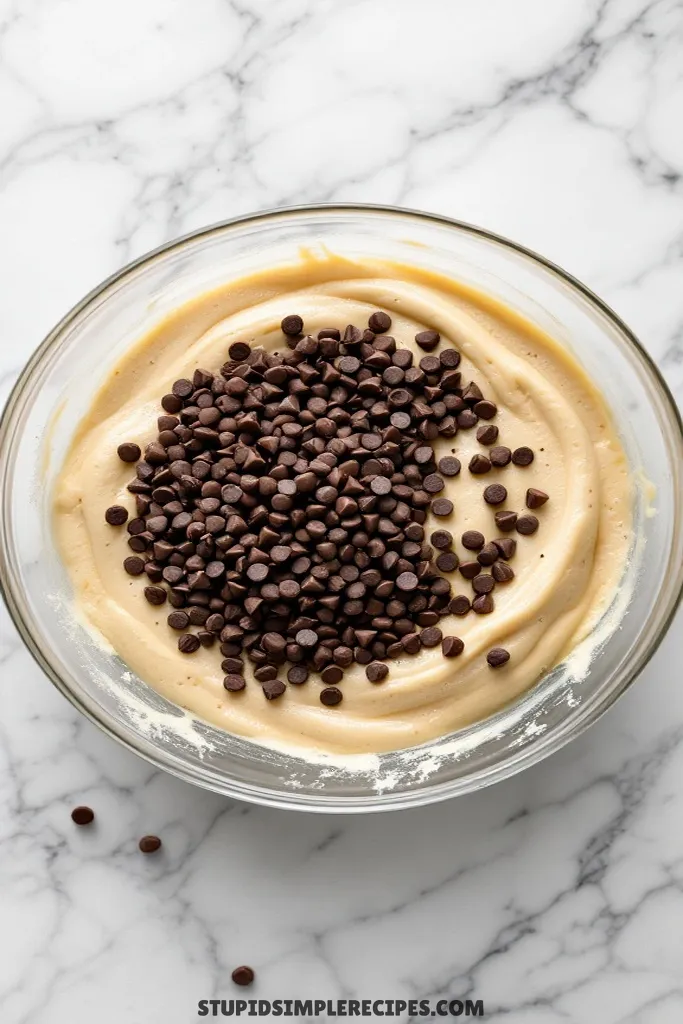
5. Gently fold in the chocolate chips. I like to hold back about 2 tablespoons to sprinkle on top of the pancakes as they cook.
6. Heat your griddle or non-stick pan over medium heat. To test if it’s ready, sprinkle a few drops of water on the surface – they should “dance” and evaporate within a few seconds. Add about a teaspoon of butter and spread it around (it should melt quickly but not brown).
7. Pour about 1/3 cup of batter for each pancake. If you held back some chips, sprinkle a few on top of each pancake now. Watch for bubbles to form on the surface – when they pop and leave little holes that stay open (usually about 2-3 minutes), it’s time to flip.
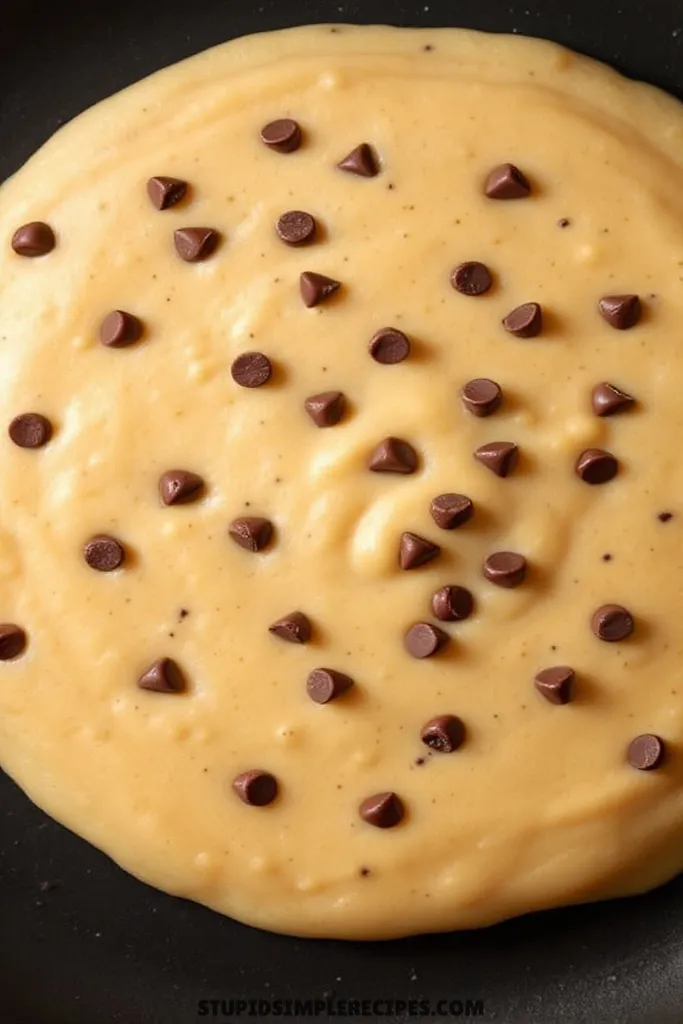
8. Flip the pancakes once and only once – they should be golden brown on the bottom. Cook the second side for about 1-2 minutes until golden brown. If you’re unsure, it’s okay to peek under the edge with your spatula.
9. Adjust your heat as needed between batches. If the pancakes are browning too quickly, lower the heat a bit. If they’re taking forever to bubble, raise it slightly.
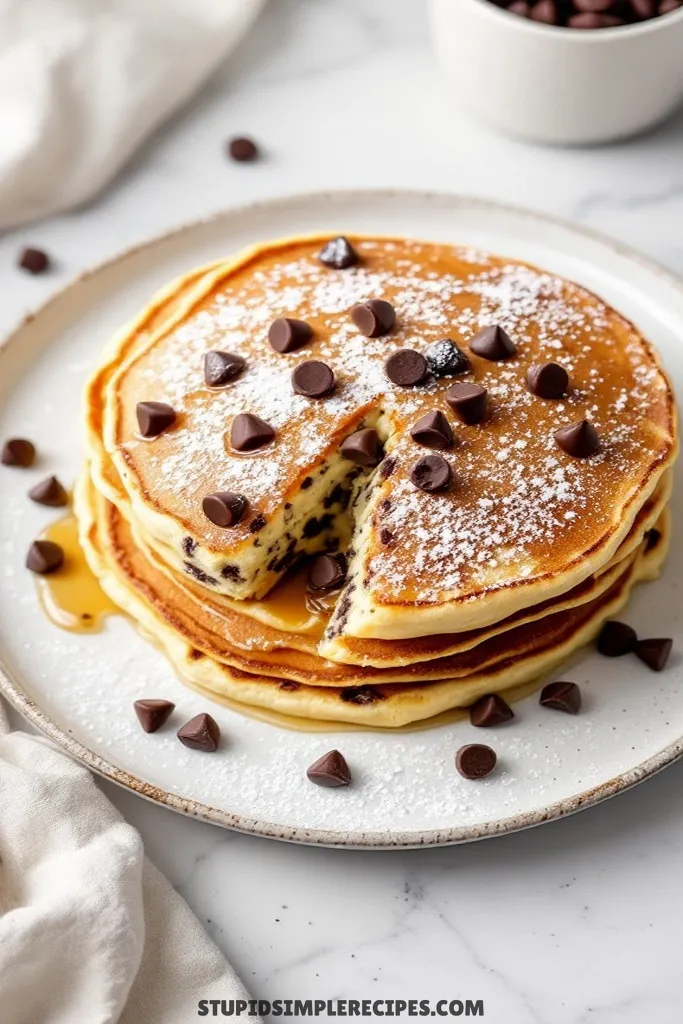
10. Keep finished pancakes warm in a low oven (200°F) while you cook the rest, but try not to stack them or they’ll get soggy. Serve them up while they’re still warm and the chocolate chips are melty!
🔍 Recipe Notes & Tips
- Never skip the butter cooling step – hot butter + cold egg = scrambled bits
- The batter should be thick but pourable – like heavy cream
- If too thick, thin with 1-2 tablespoons milk
- Mini chips distribute better than regular ones
- Room temp eggs and milk blend easier
- Don’t have buttermilk? Regular milk works fine
- Lumpy batter is good! Smooth = tough pancakes
🍽️ Serving Suggestions
- Drinks: Hot coffee, cold milk, hot chocolate
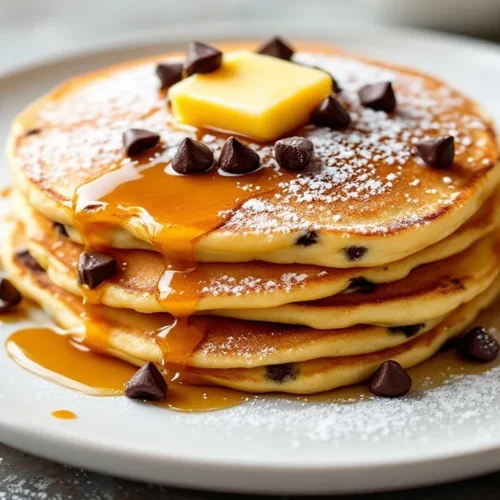
- Classic maple syrup + butter combo
- Fresh berries balance the sweetness
- Whipped cream for special occasions
- Extra chocolate chips on top while hot
🎯 Make it Work for
- Weekday: Make batter the night before, store covered in fridge
- Brunch party: Keep warm in a 200°F oven on a baking sheet (single layer)
- Kid’s sleepover: Set up topping bar with sprinkles/fruits
- Holiday Breakfast: Add red/green chips for Christmas
- Make mini versions for breakfast buffets
📦 Storage & Leftovers
- Cool completely before storing
- Layer with wax paper to prevent sticking
- Fridge: 3 days in an airtight container
- Freezer: Up to 2 months in freezer bag
- Reheat: 20 seconds in microwave or toaster
Chocolate Chip Pancakes
Ingredients
- 1½ cups all-purpose flour
- 3½ teaspoons baking powder
- ¼ teaspoon salt
- 1 tablespoon sugar
- 1¼ cups whole milk
- 1 egg
- 3 tablespoons melted butter
- 1 teaspoon vanilla extract
- ¾ cup semi-sweet chocolate chips
- Butter or oil for griddle
Instructions
- Start by melting your butter first and pop it in the microwave for about 30 seconds and then set it aside to cool slightly. You don’t want it hot enough to cook the egg when we mix them later.
- In a large bowl, whisk together your flour, baking powder, salt, and sugar. Make a well in the center – this makes it easier to mix the wet ingredients in without getting lumps.
- Pour the milk into a medium bowl and add your egg, cooled melted butter, and vanilla. Whisk until the egg is completely broken up and everything’s well combined – you want it to look uniformly creamy with no streaks of egg white.
- Pour your wet ingredients into the well in your dry ingredients. Using a whisk, stir from the center outward, gradually pulling in the dry ingredients. Stop mixing as soon as you don’t see any more dry flour – the batter should be a bit lumpy. Overmixing will make your pancakes tough.
- Gently fold in the chocolate chips. I like to hold back about 2 tablespoons to sprinkle on top of the pancakes as they cook.
- Heat your griddle or non-stick pan over medium heat. Add about a teaspoon of butter and spread it around (it should melt quickly but not brown).
- Pour about 1/3 cup of batter for each pancake. If you held back some chips, sprinkle a few on top of each pancake now. Watch for bubbles to form on the surface – when they pop and leave little holes that stay open, it’s time to flip.
- Flip the pancakes once and only once – they should be golden brown on the bottom. Cook the second side for about 1-2 minutes until golden brown.
- Adjust your heat as needed between batches. If the pancakes are browning too quickly, lower the heat a bit. If they’re taking forever to bubble, raise it slightly.
- Keep finished pancakes warm in a low oven (200°F) while you cook the rest, but try not to stack them or they’ll get soggy. Serve them up while they’re still warm and the chocolate chips are melty!