Blueberry Oatmeal Breakfast Bars
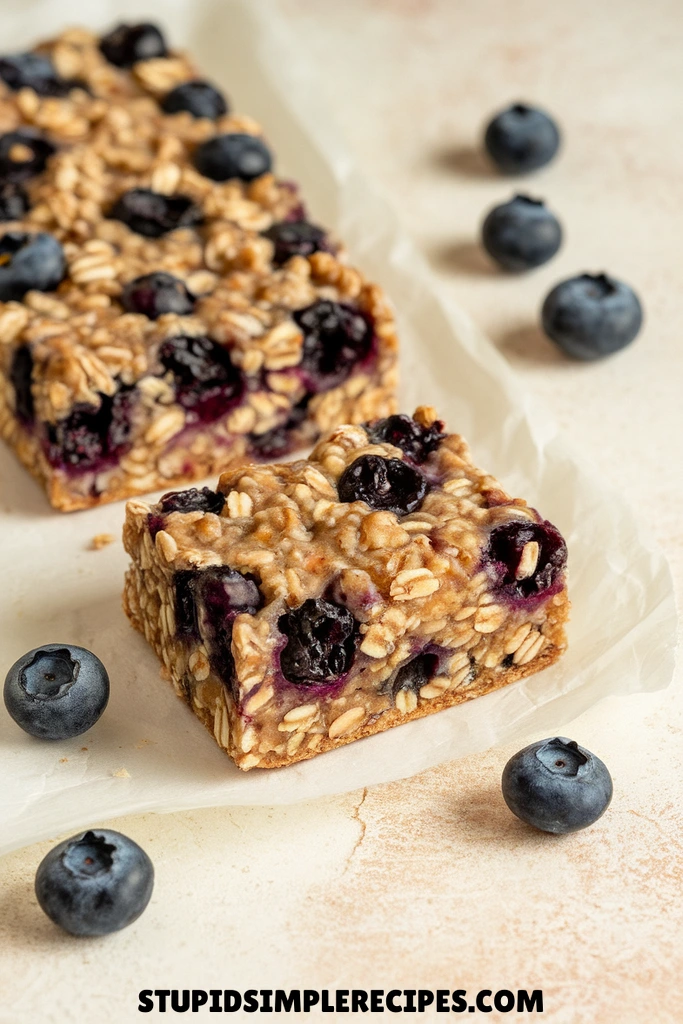
These blueberry oatmeal bars have become my go-to breakfast solution for busy weeks. They’re hearty and filling without being heavy, thanks to the rolled oats and fresh blueberries. I started making them when I got tired of spending money on store-bought granola bars that were either too sweet or fell apart in my bag.

What I love most is how they hold up. You can make a batch on Sunday, cut them into squares, and they’ll stay good in the fridge all week. They work just as well for breakfast as they do for an afternoon snack. The bars aren’t too sweet, which means you can actually taste the blueberries, and the oats give them enough structure to eat with one hand while you’re running out the door.
What you need for Blueberry Oatmeal Breakfast Bars
Ingredients You’ll Need For This Recipe
- 2½ cups old-fashioned rolled oats
- 1½ cups all-purpose flour
- 1 cup brown sugar, packed
- 1 teaspoon baking powder
- ½ teaspoon salt
- 1 cup cold butter, cubed
- 2 eggs
- 2 teaspoons vanilla extract
- 2 cups fresh or frozen blueberries
- ¼ cup granulated sugar
- 2 tablespoons cornstarch
- 2 tablespoons lemon juice
How to make Blueberry Oatmeal Breakfast Bars
Here’s how to make these satisfying breakfast bars that are crispy on top and jammy in the middle:
1. Start by preheating your oven to 350°F. Line a 9×13-inch baking pan with parchment paper, leaving some overhang on the sides – this will make it much easier to lift the bars out later.
2. In a large bowl, whisk together the oats, flour, brown sugar, baking powder, and salt. The brown sugar might have some lumps – just break those up with your fingers as you go.

3. Add the cold butter cubes to the dry mixture. Using your fingertips, work the butter into the dry ingredients by pinching and rubbing until you get a crumbly texture that looks like wet sand with some pea-sized butter pieces still visible. This usually takes about 3-4 minutes, and cold butter is key here for creating that perfect crumbly texture.
4. In a small bowl, beat the eggs and vanilla together until well combined. Pour this into your crumb mixture and stir with a fork until everything starts clumping together. The mixture should hold together when squeezed but still be fairly crumbly.

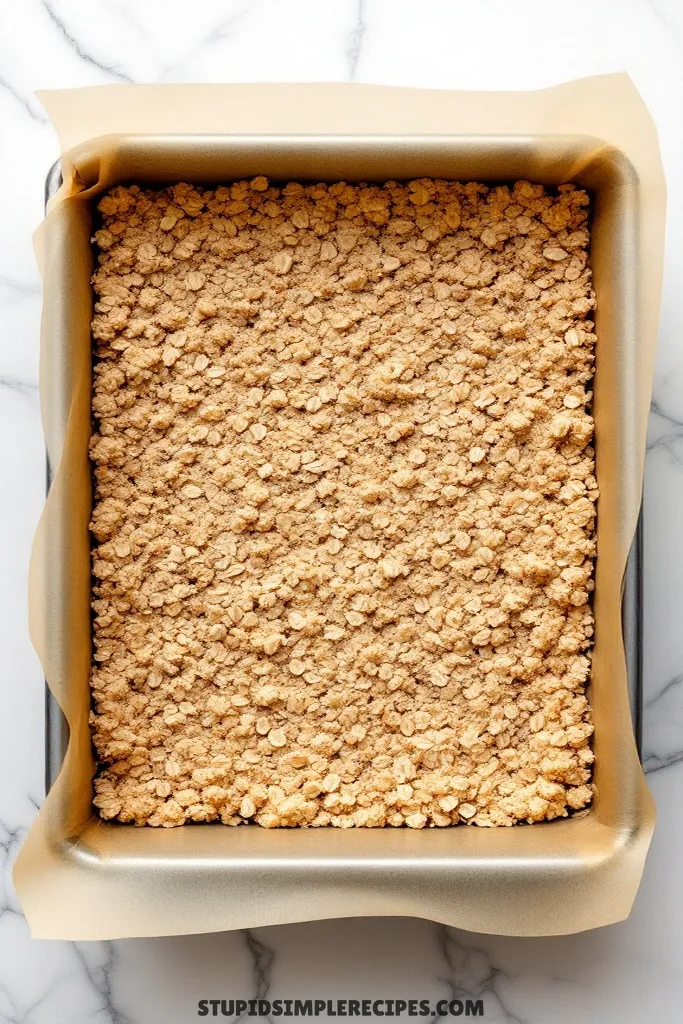
5. Press about two-thirds of this mixture firmly into your prepared pan – I like to use the bottom of a measuring cup to really pack it down, which helps prevent a crumbly base later.

6. In a separate bowl, gently toss the blueberries with the granulated sugar, cornstarch, and lemon juice until the berries are evenly coated. If you’re using frozen berries, use them straight from the freezer – don’t thaw them, or you’ll end up with a soggy middle layer.
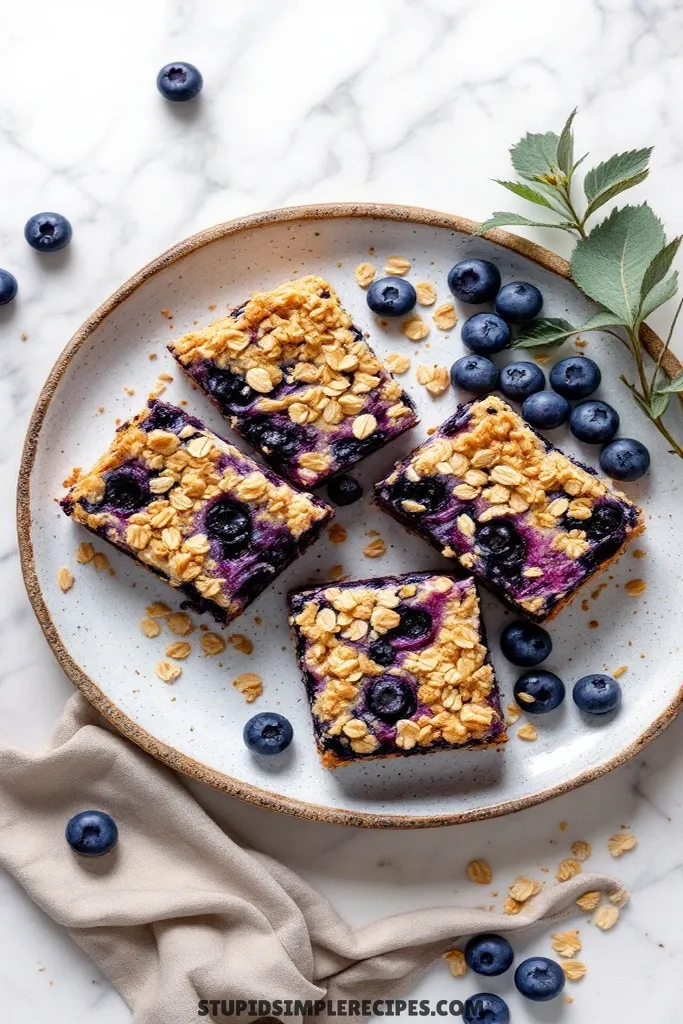
7. Spread the berry mixture evenly over your pressed base, then sprinkle the remaining oat mixture over the top. Don’t press down on this top layer – you want it loose and crumbly for a nice texture.
8. Bake for 40-45 minutes, until the top is golden brown and you can see the berry filling bubbling at the edges. The bubbling is important – it means the cornstarch has activated and will help your filling set properly.
9. Here’s the hard part – you need to let these cool completely before cutting, which takes about 2 hours. If you try to cut them while warm, the filling will be too loose and messy. You’ll know they’re ready when the pan feels room temperature on the bottom.
10. Once cooled, use the parchment paper to lift the entire thing out of the pan, then cut into squares with a sharp knife. If your knife starts getting sticky, just wipe it clean between cuts for neater bars.

These keep well in an airtight container for about 3 days, though the topping will soften a bit over time. You can also freeze them for up to a month – just separate layers with parchment paper to prevent sticking.
🔍 Recipe Notes & Tips
- Cold butter is non-negotiable – warm butter = greasy, flat bars
- Fresh or frozen berries work equally well – don’t thaw frozen ones
- If berries are super sweet, cut back sugar by 2 tbsp
- Metal pan works better than glass – crisper bottom
- No overbaking! Once edges bubble, you’re done
- If the mixture seems dry, add 1 tbsp milk
🍽️ Serving Suggestions
- Perfect with:
– Hot coffee or tea
– Cold milk (dairy or plant-based)
– Greek yogurt on the side - For brunch, serve with:
– Fresh fruit
– Hard-boiled eggs
– Smoothies
🎯 Make it Work for
- Breakfast meal prep: Cut and wrap individually
- Bake sale: Cut smaller squares, and package them in clear bags
- Brunch buffet: Cut into triangles, and arrange on a tiered stand
- Kids’ lunchbox: Cut into smaller rectangles
- Potluck: Double recipe, bake in disposable foil pana
📦 Storage & Leftovers
- Room temp: 3 days in an airtight container
- Fridge: Up to 5 days
- Freezer: 1 month (wrap well!)
- To refresh: 10 seconds in the microwave
- Gets softer each day but is still tasty

Blueberry Oatmeal Breakfast Bars
Ingredients
- 2½ cups old-fashioned rolled oats
- 1½ cups all-purpose flour
- 1 cup brown sugar packed
- 1 teaspoon baking powder
- ½ teaspoon salt
- 1 cup cold butter cubed
- 2 eggs
- 2 teaspoons vanilla extract
- 2 cups fresh or frozen blueberries
- ¼ cup granulated sugar
- 2 tablespoons cornstarch
- 2 tablespoons lemon juice
Instructions
- Start by preheating your oven to 350°F. Line a 9×13 inch baking pan with parchment paper, leaving some overhang on the sides.
- In a large bowl, whisk together the oats, flour, brown sugar, baking powder, and salt.
- Add the cold butter cubes to the dry mixture. Using your fingertips, work the butter into the dry ingredients by pinching and rubbing until you get a crumbly texture that looks like wet sand with some pea-sized butter pieces still visible. This usually takes about 3-4 minutes, and cold butter is key here for creating that perfect crumbly texture.
- In a small bowl, beat the eggs and vanilla together until well combined. Pour this into your crumb mixture and stir with a fork until everything starts clumping together. The mixture should hold together when squeezed but still be fairly crumbly.
- Press about two-thirds of this mixture firmly into your prepared pan – I like to use the bottom of a measuring cup to really pack it down, which helps prevent a crumbly base later.
- In a separate bowl, gently toss the blueberries with the granulated sugar, cornstarch, and lemon juice until the berries are evenly coated. If you’re using frozen berries, use them straight from the freezer.
- Spread the berry mixture evenly over your pressed base, then sprinkle the remaining oat mixture over the top. Don’t press down on this top layer – you want it loose and crumbly for a nice texture.
- Bake for 40-45 minutes, until the top is golden brown and you can see the berry filling bubbling at the edges. The bubbling is important – it means the cornstarch has activated and will help your filling set properly.
- You need to let these cool completely before cutting, which takes about 2 hours. If you try to cut them while warm, the filling will be too loose and messy. You’ll know they’re ready when the pan feels room temperature on the bottom.
- Once cooled, use the parchment paper to lift the entire thing out of the pan, then cut into squares with a sharp knife.