Birthday Cake Ice Cream
Making birthday cake ice cream at home beats anything you can get at the store. The base is a simple vanilla ice cream, but the magic happens when you fold in real chunks of homemade yellow cake and plenty of rainbow sprinkles.
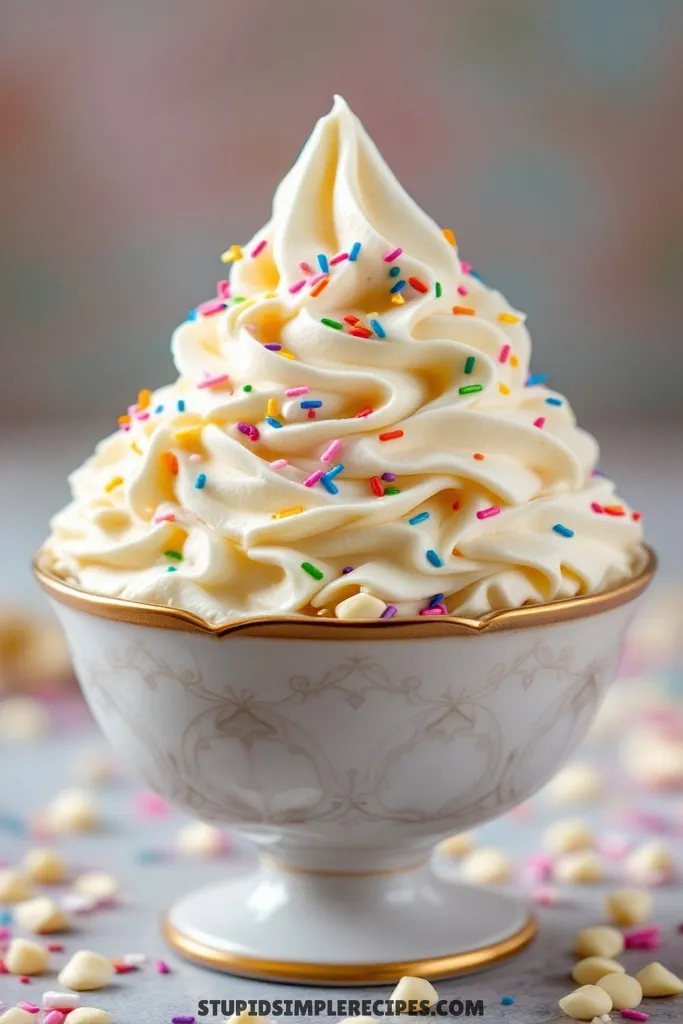
The cake pieces stay surprisingly soft when frozen, giving you that perfect birthday cake texture in every bite. I’ve found this works best with slightly stale cake – fresh cake can get a bit mushy.
This is obviously perfect for birthdays, but I make it whenever I have leftover cake or just need something fun. My kids request it constantly, and honestly, watching people’s faces light up when they taste it makes it worth the effort.
What you need for Birthday Cake Ice Cream
Ingredients You’ll Need For This Recipe
- 2 cups heavy cream
- 1 cup whole milk
- 3/4 cup granulated sugar
- 1/4 teaspoon salt
- 4 large egg yolks
- 2 teaspoons vanilla extract
- 1 cup vanilla cake mix (dry)
- 1/2 cup rainbow sprinkles
- 1/3 cup white chocolate chips, chopped
How to Make Birthday Cake Ice Cream
Hi! Let me walk you through making this fun birthday cake ice cream. It’s basically like making a custard base first, then mixing in all those festive add-ins. Here’s how I do it:
1. Start by whisking your egg yolks in a medium bowl until they’re just combined. Set this aside – we’ll come back to it in a minute.
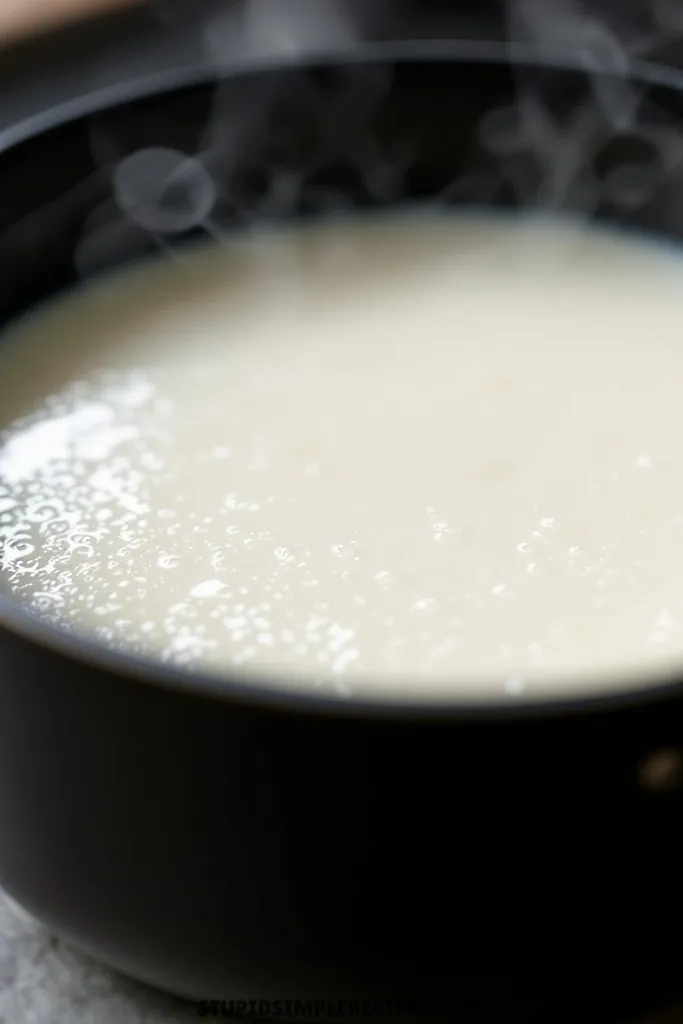
2. In a medium saucepan, combine the heavy cream, whole milk, sugar, and salt. Heat this mixture over medium heat, stirring occasionally to help the sugar dissolve. You want to heat it until you see small bubbles forming around the edges and steam rising from the surface – but don’t let it boil.
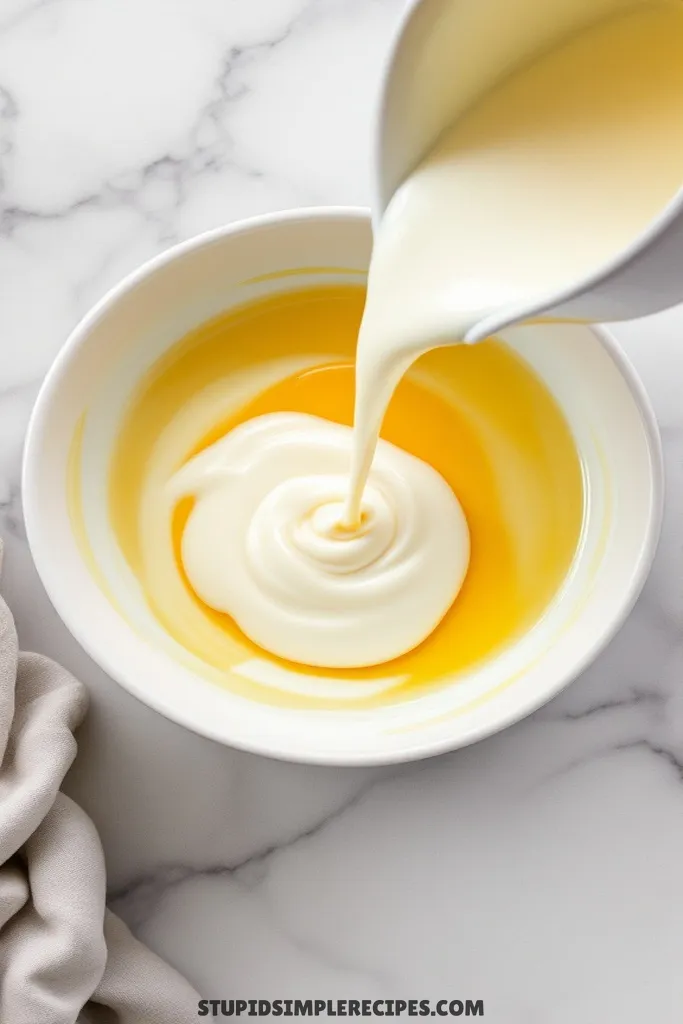
3. Now comes the tricky part – but don’t worry! Take about 1 cup of the hot cream mixture and very slowly pour it into your egg yolks while whisking constantly. This slowly brings up the temperature of the eggs without scrambling them. Keep whisking as you pour!
4. Pour this warmed egg mixture back into your saucepan with the remaining cream mixture, whisking as you go. Cook over medium-low heat, stirring constantly with a wooden spoon or silicone spatula. You’ll know it’s ready when the custard coats the back of your spoon and holds a clear line when you run your finger through it – this usually takes 4-6 minutes.
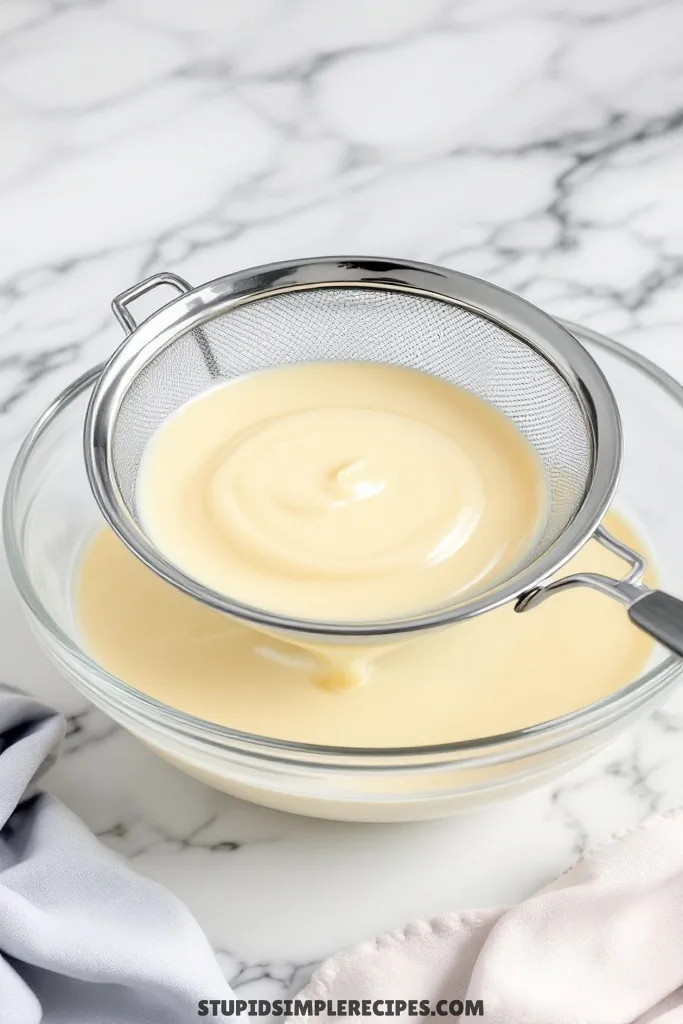
5. Pour the custard through a fine-mesh strainer into a clean bowl (this catches any tiny bits of cooked egg). Stir in the vanilla extract while it’s still hot – the warmth helps the flavor bloom.
6. Here’s a crucial step: whisk in the dry cake mix while the custard is still warm. Keep whisking until there are no lumps – the warmth helps it dissolve smoothly. If you wait until it’s cold, you’ll end up with floury lumps.
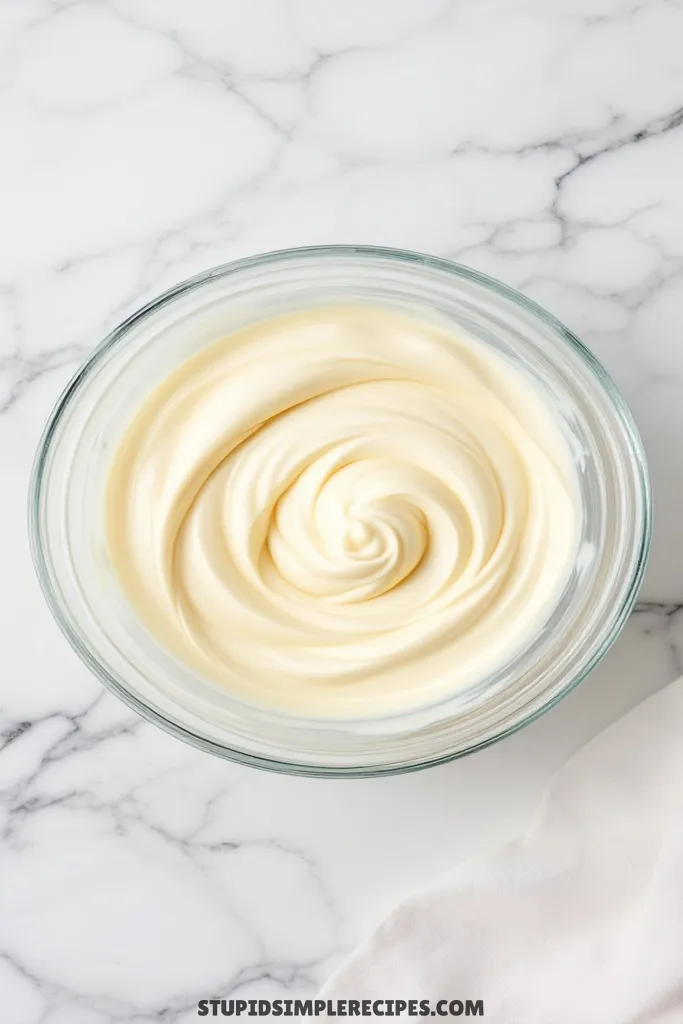
7. Cover the surface directly with plastic wrap (this prevents a skin from forming) and refrigerate until completely cold, at least 4 hours or overnight.
8. When you’re ready to churn, pour the cold mixture into your ice cream maker. While it’s churning, mix the chopped white chocolate chips and rainbow sprinkles in a small bowl – combining them makes them easier to add evenly.
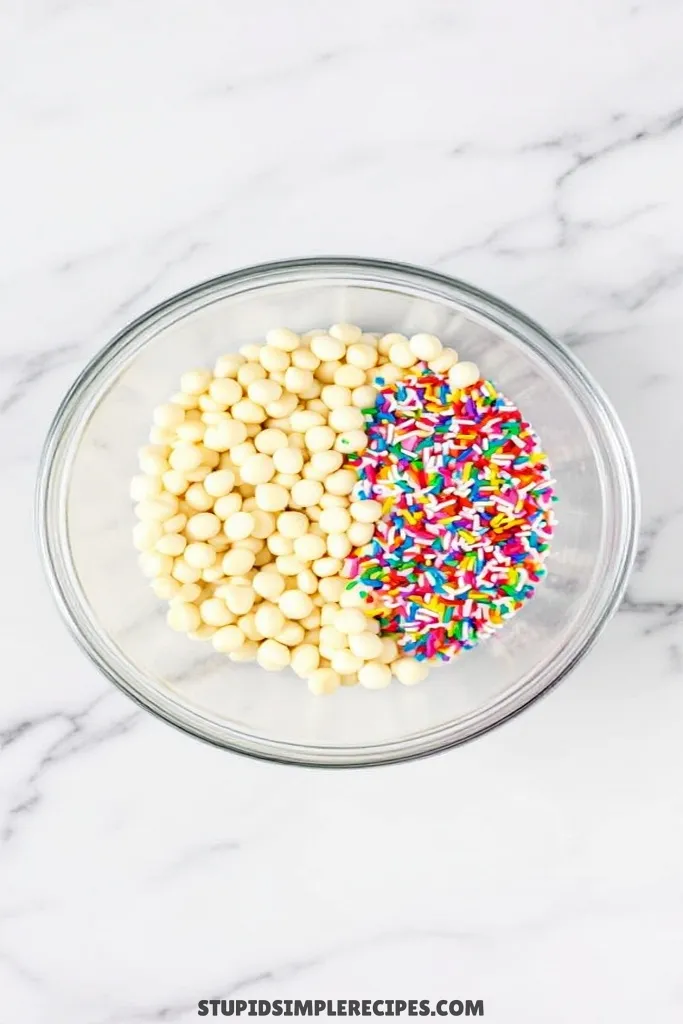
9. Churn according to your machine’s instructions – usually about 20-25 minutes. You’re looking for a soft-serve consistency. In the last minute of churning, pour in your sprinkle and white chocolate mixture.
10. Transfer to a freezer container, pressing plastic wrap directly on the surface of the ice cream. Freeze until firm, about 4 hours. The ice cream will keep getting harder over time, so I like to take it out about 5-10 minutes before scooping.
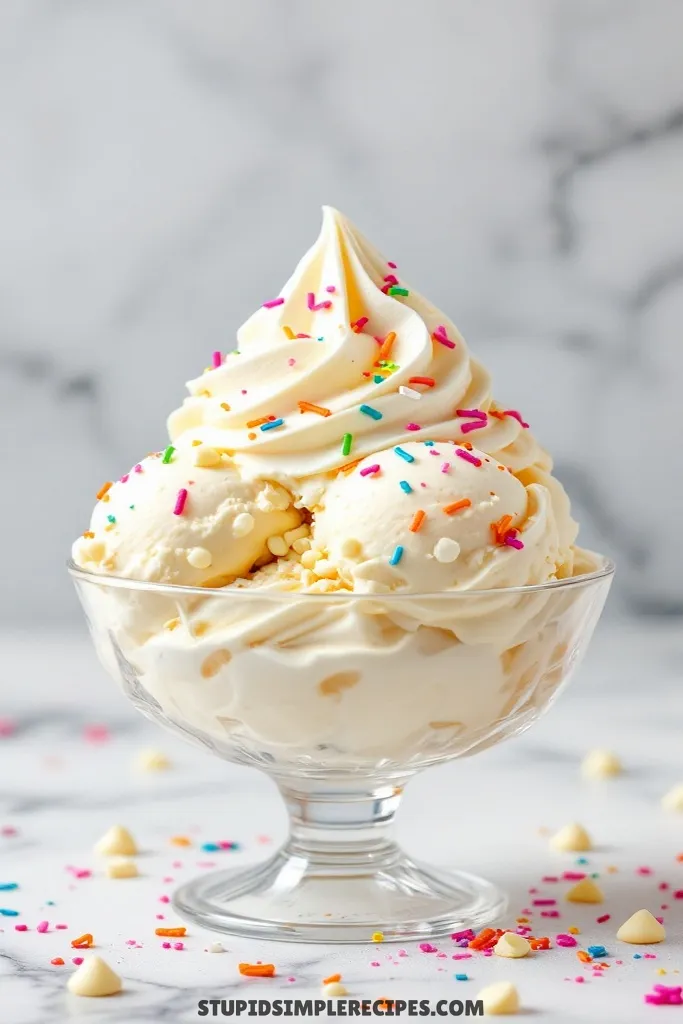
Makes about 1 quart of ice cream that tastes just like birthday cake in ice cream form!
🔍 Recipe Notes & Tips
- Use room temp eggs – they blend better with hot cream
- Yellow or white cake mix both work – I prefer yellow for more “birthday cake” flavor
- Toast sprinkles in a dry pan for 30 seconds to prevent bleeding
- No ice cream maker? Pour mixture into a cold loaf pan, freeze 45 mins, stir vigorously, repeat 3x
- Don’t skip straining – even pros get tiny egg bits
- Warm your scoop in hot water for prettier scoops
🍽️ Serving Suggestions
- Pairs great with root beer floats
- Serve between two warm cookies for epic ice cream sandwiches
- Top with extra sprinkles and whipped cream
- Chocolate milk on the side cuts the sweetness nicely
🎯 Make it Work for
- Baby shower: Use pink/blue sprinkles
- Halloween: Black/orange sprinkles + candy corn
- Christmas: Red/green sprinkles + crushed peppermint
- Wedding: All white sprinkles + pearl dragées
- Sports event: Team colors in sprinkles
📦 Storage & Leftovers
- Keeps 2 weeks in freezer
- Store in a flat container, not tall
- Press plastic wrap on the surface
- Best texture in the first week
- Label the container with the date
- Store in the back of the freezer, not the door

Birthday Cake Ice Cream
Ingredients
- 2 cups heavy cream
- 1 cup whole milk
- 3/4 cup granulated sugar
- 1/4 teaspoon salt
- 4 large egg yolks
- 2 teaspoons vanilla extract
- 1 cup vanilla cake mix dry
- 1/2 cup rainbow sprinkles
- 1/3 cup white chocolate chips chopped
Instructions
- Start by whisking your egg yolks in a medium bowl until they’re just combined. Set this aside.
- In a medium saucepan, combine the heavy cream, whole milk, sugar, and salt. Heat this mixture over medium heat, stirring occasionally to help the sugar dissolve. You want to heat it until you see small bubbles forming around the edges and steam rising from the surface – but don’t let it boil.
- Take about 1 cup of the hot cream mixture and very slowly pour it into your egg yolks while whisking constantly. This slowly brings up the temperature of the eggs without scrambling them. Keep whisking as you pour!
- Pour this warmed egg mixture back into your saucepan with the remaining cream mixture, whisking as you go. Cook over medium-low heat, stirring constantly with a wooden spoon or silicone spatula. You’ll know it’s ready when the custard coats the back of your spoon and holds a clear line when you run your finger through it – this usually takes 4-6 minutes.
- Pour the custard through a fine-mesh strainer into a clean bowl. Stir in the vanilla extract while it’s still hot.
- Whisk in the dry cake mix while the custard is still warm. Keep whisking until there are no lumps. If you wait until it’s cold, you’ll end up with floury lumps.
- Cover the surface directly with plastic wrap and refrigerate until completely cold, at least 4 hours or overnight.
- When you’re ready to churn, pour the cold mixture into your ice cream maker. While it’s churning, mix the chopped white chocolate chips and rainbow sprinkles in a small bowl – combining them makes them easier to add evenly.
- Churn according to your machine’s instructions – usually about 20-25 minutes. You’re looking for a soft-serve consistency. In the last minute of churning, pour in your sprinkle and white chocolate mixture.
- Transfer to a freezer container, pressing plastic wrap directly on the surface of the ice cream. Freeze until firm, about 4 hours. The ice cream will keep getting harder over time.