Pumpkin Spice Cake Pops
These pumpkin spice cake pops are basically fall comfort in bite-sized form. The pumpkin keeps the cake super moist, while the cream cheese in the filling adds a tanginess that cuts through the sweetness.
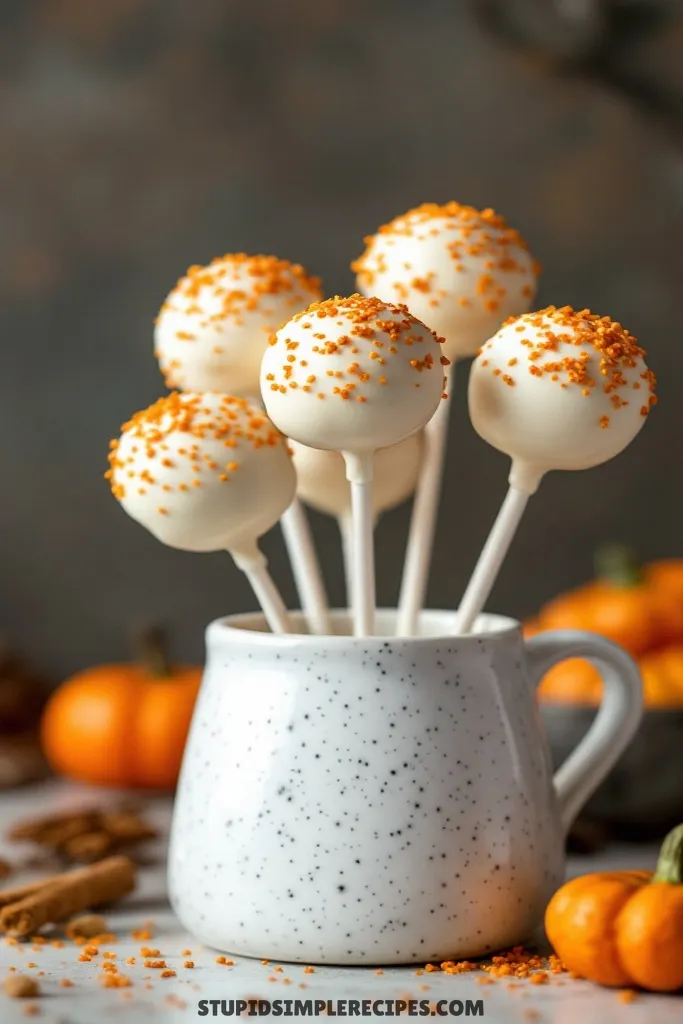
They’re perfect for parties since you can make them a few days ahead – just keep them in the fridge. Plus, people seem to love anything on a stick. The coating can be a bit tricky at first (my first batch looked pretty rough), but once you get the hang of dipping, they’re actually pretty simple to put together.
They’re especially great for Halloween or Thanksgiving when you want something more interesting than regular cupcakes.
What you need for Pumpkin Spice Cake Pops
Ingredients You’ll Need For This Recipe
- 1 box spice cake mix
- 1 (15 oz) can pumpkin puree
- 1 (8 oz) package cream cheese, softened
- 2 cups white chocolate chips or melting wafers
- 1/2 cup powdered sugar
- 1 teaspoon vanilla extract
- 1/4 teaspoon pumpkin pie spice
- 48 lollipop sticks
- Sprinkles for decorating (optional)
How to make Pumpkin Spice Cake Pops
Let me walk you through making these festive cake pops – they’re easier than you might think!
1. Start by baking the spice cake according to the box directions, but here’s the twist – instead of adding eggs and oil, you’ll just mix in the can of pumpkin puree. This makes the cake super moist. Spread the batter evenly in your 9×13 pan and bake until a toothpick comes out clean, usually about 25-30 minutes.

2. Let the cake cool completely – I mean really completely. If it’s even slightly warm, your cake pops will fall apart later. I usually give it at least an hour, or speed things up by putting it in the fridge for 30 minutes.
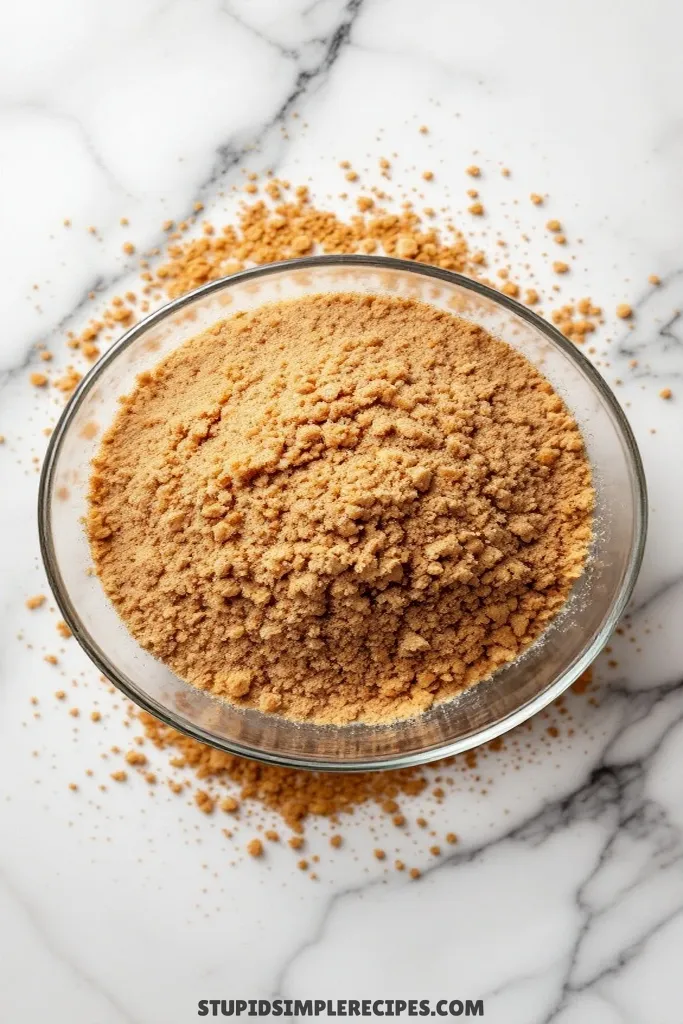
3. Once cooled, crumble the entire cake into fine crumbs in a large bowl. Use your hands to break up any chunks – you want it to look like wet sand.
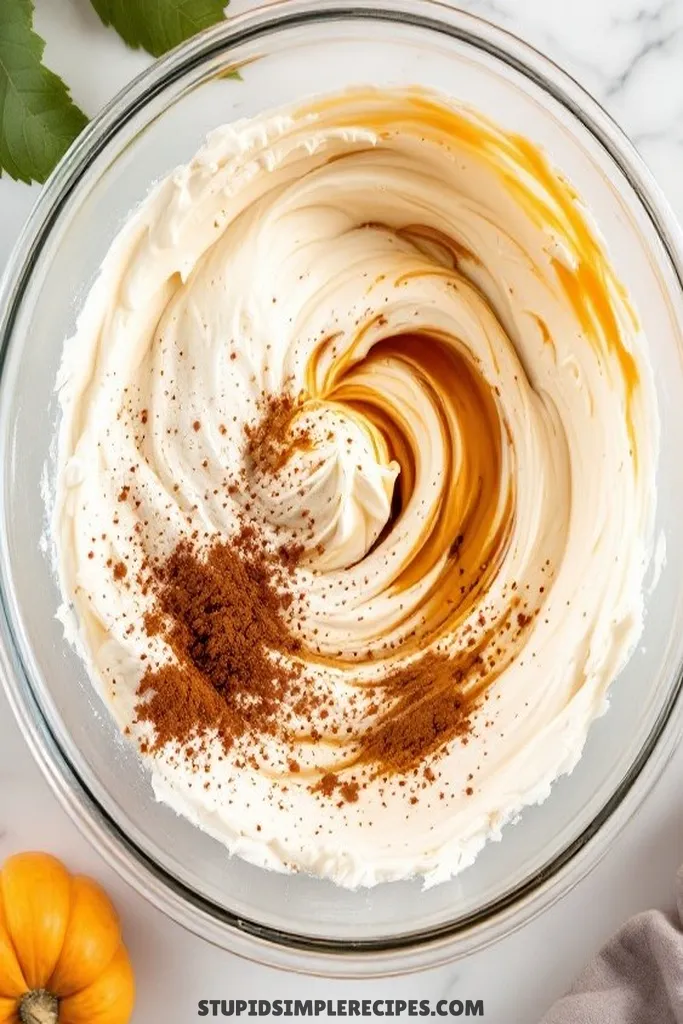
4. In a separate bowl, beat the softened cream cheese (make sure it’s room temp or you’ll get lumps), powdered sugar, vanilla, and pumpkin pie spice until smooth and creamy. This mixture is what holds everything together.
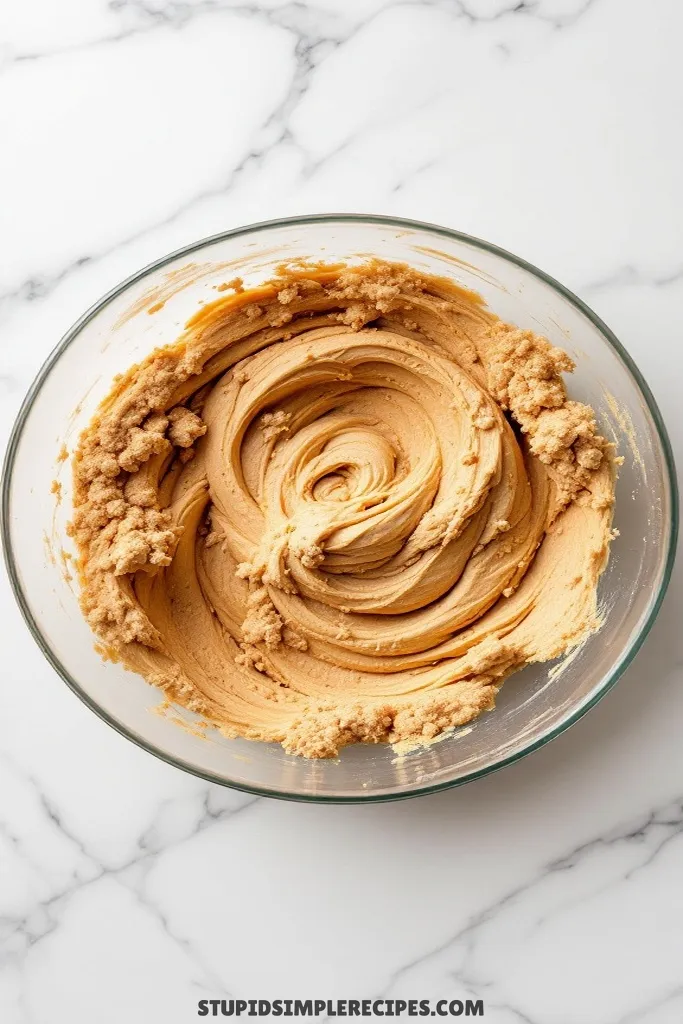
5. Gradually mix the cream cheese mixture into your cake crumbs. I use my hands because you can feel when it’s just right – you want it to be like play-dough consistency. When you squeeze some in your palm, it should hold together without being sticky.

6. Roll the mixture into balls about 1-inch in diameter (a cookie scoop helps keep them uniform). Place them on a parchment-lined baking sheet and pop them in the freezer for 15-20 minutes. They should be firm but not frozen solid.
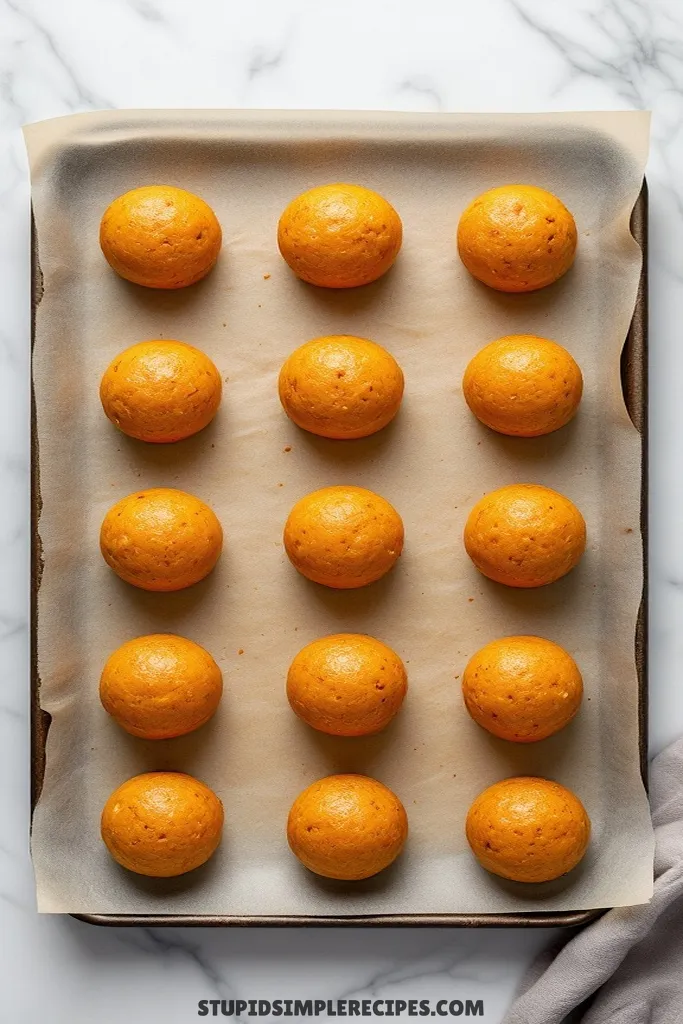
7. While they’re chilling, melt your white chocolate. I do this in 30-second bursts in the microwave, stirring between each burst. The key is to stop when there are still a few small lumps – they’ll melt as you stir. If it’s too thick, add a tiny bit of vegetable oil to thin it out.
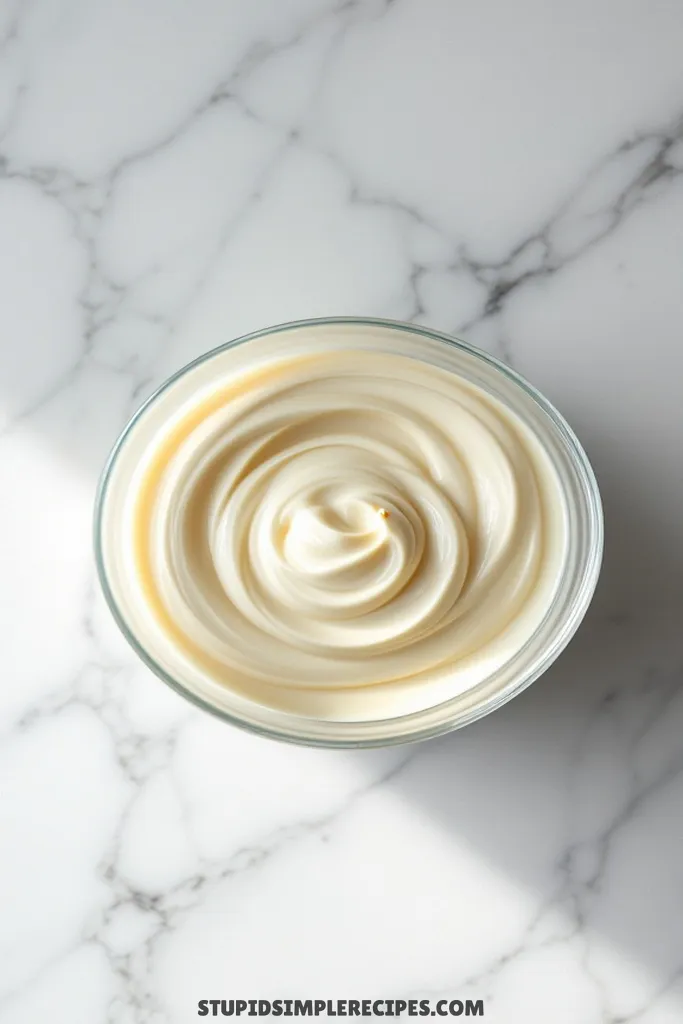
8. Dip the tip of each lollipop stick in the melted chocolate, then insert it halfway into a cake ball. This acts like glue. Return them to the freezer for 5 minutes to set.
9. Now for the fun part – dipping! Hold each pop by the stick and dip into the melted chocolate, letting the excess drip off. A gentle tap-tap-tap on the side of the bowl helps create a smooth coating. If you’re adding sprinkles, do it right away before the chocolate sets.
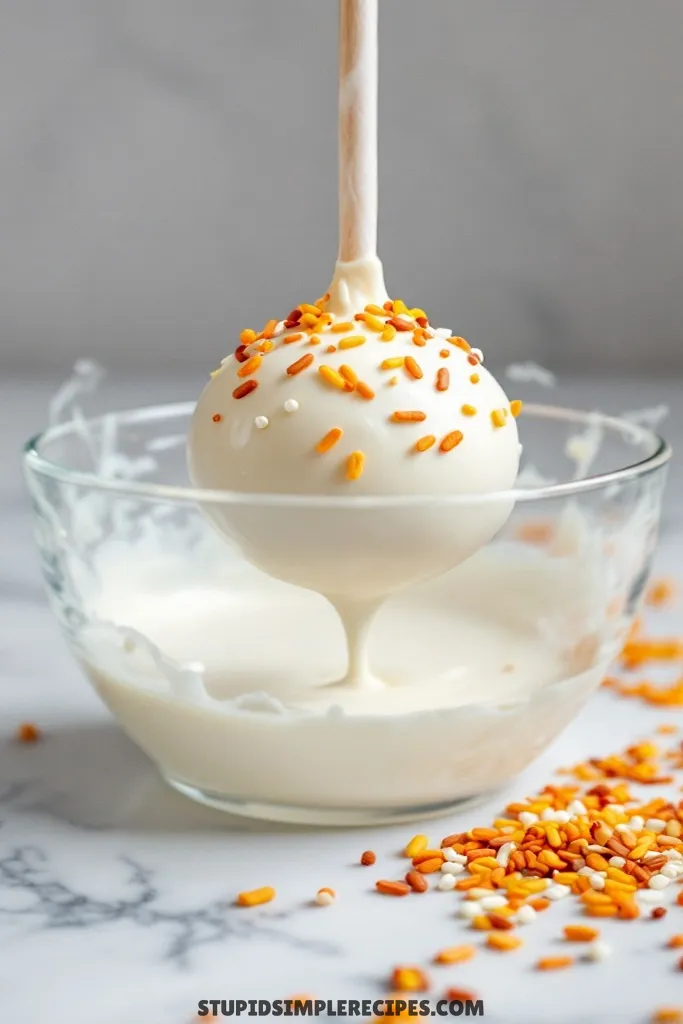
10. Stand your cake pops upright in a styrofoam block to dry completely, about 30 minutes. If the cake balls start falling off the sticks while dipping, pop them back in the freezer for a few minutes – they’ve gotten too warm.
This recipe makes about 48 cake pops, depending on how big you roll them. They’ll keep in the fridge for up to a week, but honestly, they rarely last that long in my house!
🔍 Recipe Notes & Tips
- Don’t skip the freezing steps – warm cake pops = disaster
- Box spice cake works great, but any pumpkin cake recipe will do
- If chocolate starts hardening while dipping, microwave for 15 seconds
- Tap off excess chocolate gently or the coating will be too thick
- Cookie scoop = lifesaver for consistent sizing
- Add 1 tbsp shortening to the chocolate for a smoother coating
- Room temp cream cheese is non-negotiable – cold = lumpy mess
🍽️ Serving Suggestions
- Perfect with:
– Hot apple cider
– Pumpkin spice latte
– Chai tea
– Fall punch - Serve on a tiered stand for parties
- Stand them in mason jars filled with fall-colored candies
🎯 Make it Work for
- Halloween: Orange coating + black sprinkles
- Thanksgiving: Brown coating + fall leaf sprinkles
- Christmas: Green/red coating + holiday sprinkles
- Baby shower: Pastel coating + pearl sprinkles
- Wedding: Metallic coating + matching color scheme
📦 Storage & Leftovers
- Fridge: Up to 7 days in an airtight container
- Freezer: Up to 1 month (thaw in the fridge overnight)
- Don’t store at room temp – cream cheese filling!
- Stack with wax paper between layers
- Transport in cooler for parties
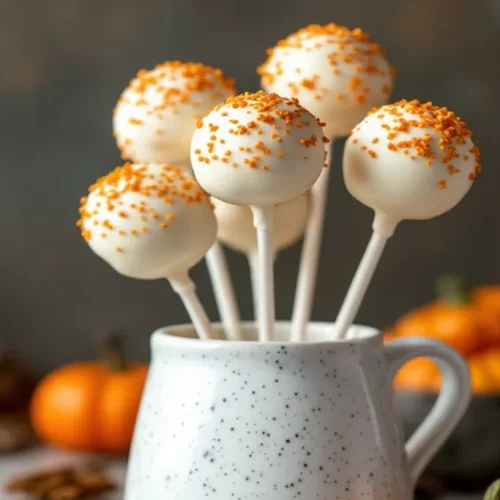
Pumpkin Spice Cake Pops
Ingredients
- 1 box spice cake mix
- 1 15 oz can pumpkin puree
- 1 8 oz package cream cheese, softened
- 2 cups white chocolate chips or melting wafers
- 1/2 cup powdered sugar
- 1 teaspoon vanilla extract
- 1/4 teaspoon pumpkin pie spice
- 48 lollipop sticks
- Sprinkles for decorating optional
Instructions
- Prepare the spice cake mix as directed, but replace eggs and oil with 1 can of pumpkin purée. Bake in a 9×13 pan at the instructed temperature for 25-30 minutes or until a toothpick comes out clean.
- Let the cake cool fully—at least an hour or speed up by refrigerating for 30 minutes.
- Break the cooled cake into fine crumbs using your hands until it resembles wet sand.
- In a bowl, beat softened cream cheese, powdered sugar, vanilla, and pumpkin pie spice until smooth.
- Mix the cream cheese mixture into the cake crumbs until it reaches a play-dough consistency. Roll into 1-inch balls and place on a parchment-lined baking sheet.
- Freeze the cake balls for 15-20 minutes until firm but not frozen solid.
- Microwave white chocolate in 30-second intervals, stirring each time until smooth. If thick, add a little vegetable oil to thin it out.
- Dip each lollipop stick tip into melted chocolate, then insert it halfway into a cake ball. Freeze for 5 more minutes to set.
- Fully coat each pop in melted chocolate, letting excess drip off. Tap gently for a smooth finish. Add sprinkles before the coating sets.
- Stand cake pops in a styrofoam block to dry for 30 minutes. If pops start slipping off sticks, chill them a few more minutes before continuing.