Coffee Cinnamon Rolls
I started adding coffee to my cinnamon roll dough after realizing it deepens the flavor without making them actually taste like coffee. The dough comes out richer and more complex, playing really well with the brown sugar and cinnamon filling.

These are definitely weekend breakfast material – the dough needs time to rise twice, but most of that is hands-off while you do other things. What makes these worth the effort is how tender they turn out, with those perfect spirals of filling that get a bit gooey in the middle.
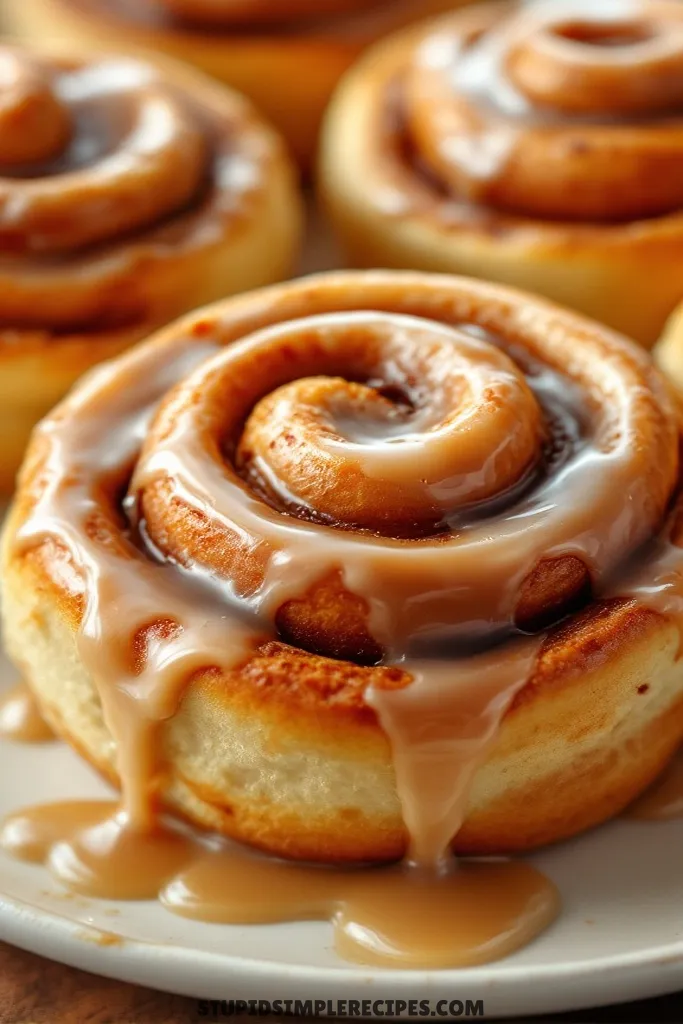
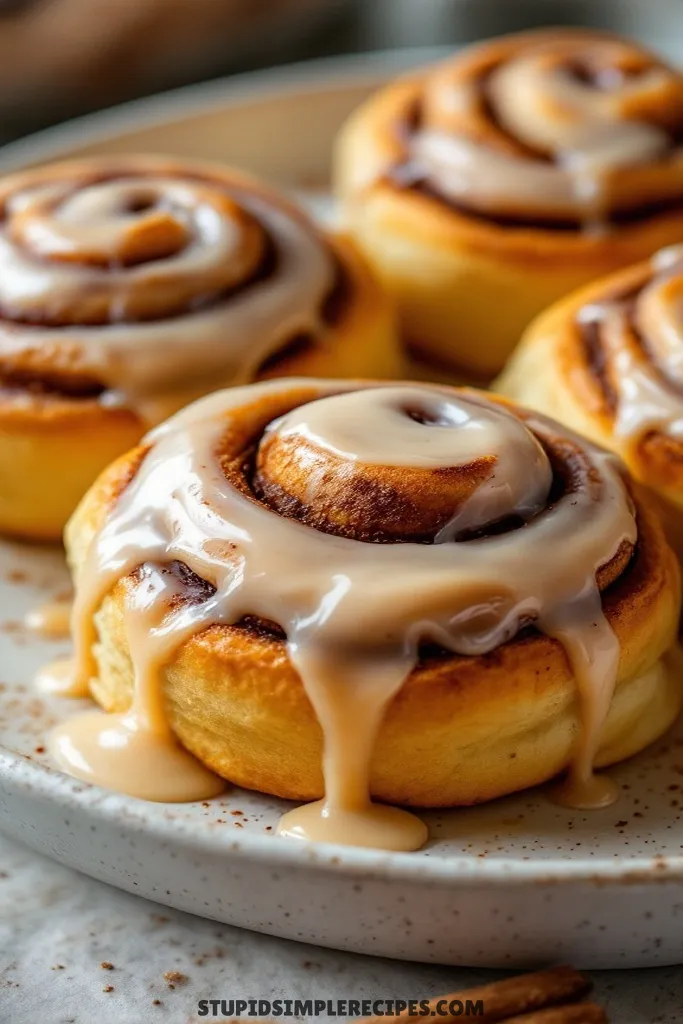
They’re at their absolute best about 15 minutes after coming out of the oven when they’re still warm and the cream cheese frosting gets a little melty.
What You Need for Coffee Cinnamon Rolls
For Dough:
- 4 cups all-purpose flour
- 1/4 cup granulated sugar
- 2 1/4 teaspoons active dry yeast (1 packet)
- 1 teaspoon salt
- 1 cup warm milk
- 1/3 cup unsalted butter, melted
- 2 large eggs
- 1 tablespoon instant coffee granules
For Filling:
- 1/3 cup unsalted butter, softened
- 1 cup brown sugar
- 2 tablespoons ground cinnamon
- 1 tablespoon instant coffee granules
For Coffee Glaze:
- 2 cups powdered sugar
- 2 tablespoons strong brewed coffee
- 2 tablespoons heavy cream
- 1/2 teaspoon vanilla extract
- Pinch of salt
How to make Coffee Cinnamon Rolls
Let me walk you through making these coffee-spiked cinnamon rolls – they’re a bit of work but so worth it!
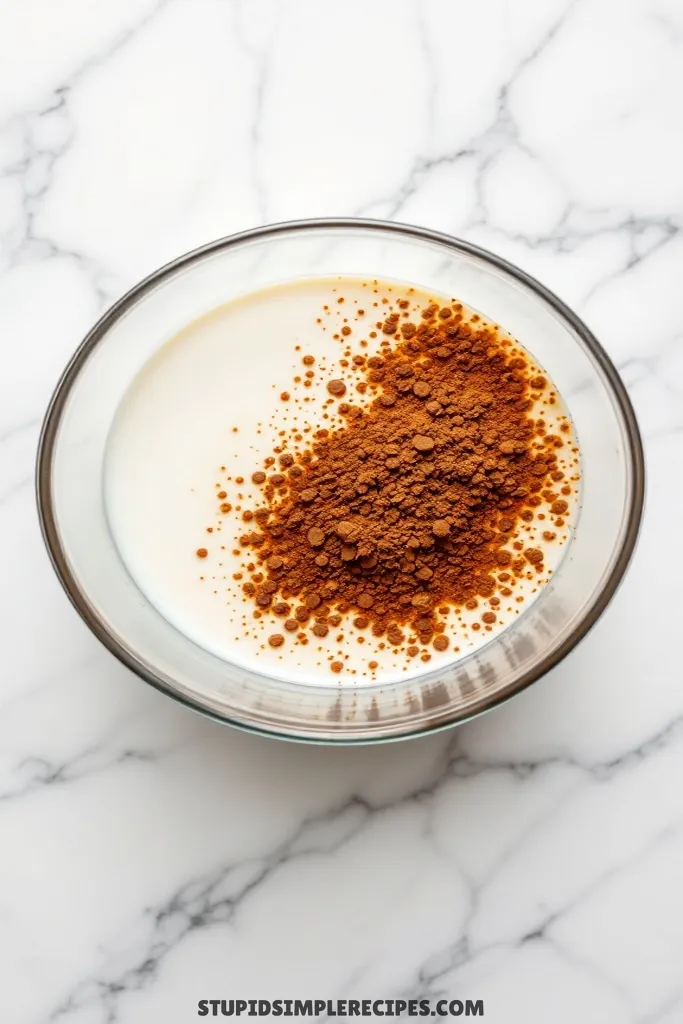
1. Start by dissolving 1 tablespoon of instant coffee in the warm milk (it should feel like a warm bath – around 110°F if you have a thermometer). Give it a good stir until the coffee completely dissolves. This usually takes about 30 seconds of stirring.

2. In a large mixing bowl, combine 2 cups of the flour, sugar, yeast, and salt. Add your coffee-milk mixture, melted butter (make sure it’s not too hot), and eggs. Mix with a wooden spoon until everything’s well combined – it’ll be pretty sticky at this point.
3. Gradually stir in the remaining flour, about 1/2 cup at a time. Once it gets too hard to stir, turn it out onto a floured surface. The dough will still be slightly sticky – that’s exactly what you want. Knead for about 8-10 minutes until it feels smooth and elastic. If you press your finger into it, it should slowly spring back.
4. Place the dough in a lightly greased bowl, cover with a damp cloth, and let it rise in a warm spot for about 1 hour. I like to put it near my preheating oven. It should roughly double in size and feel puffy when you poke it.
5. While the dough rises, mix your filling. Combine the brown sugar, cinnamon, and instant coffee granules in a bowl. The coffee should be ground pretty fine – if your granules are large, crush them up a bit.
6. Once risen, punch down the dough (literally punch it – it’s satisfying!) and roll it out on a floured surface into a roughly 16×20 inch rectangle. Don’t worry about perfect edges – just aim for an even thickness of about 1/4 inch.
7. Spread the softened butter all over the dough, leaving about a 1/2-inch border around the edges. Sprinkle your coffee-cinnamon-sugar mixture evenly over the butter, patting it down gently so it sticks.
8. Starting from the long side, roll the dough up tightly – like you’re rolling a sleeping bag. Keep it snug but don’t pull so hard that you stretch the dough. Pinch the seam to seal it.
9. Cut into 12 equal pieces using dental floss or a sharp knife (about 1.5 inches each). To use floss, slide it under the roll, cross the ends over the top, and pull – this gives you clean cuts without squishing the rolls.
10. Place the rolls in a greased 9×13-inch baking pan, leaving some space between each one. Cover and let rise again for about 30 minutes, or until they’re puffy and touching each other.
11. Preheat your oven to 375°F while they’re doing their second rise. Bake for 20-25 minutes, until they’re golden brown on top and a thermometer inserted into the center roll reads 190°F if they’re browning too quickly, tent with foil.
12. For the glaze, whisk together the powdered sugar, strong coffee, cream, vanilla, and salt until smooth. It should be thick but pourable – add more coffee or cream if needed, just a teaspoon at a time.
13. Let the rolls cool for about 5 minutes (they should still be warm but not hot), then pour the glaze over them. The warmth will help the glaze seep into all the nooks and crannies.

These are best eaten warm while the glaze is still gooey, but they’ll keep covered at room temperature for a couple of days. Just pop them in the microwave for 15-20 seconds to recreate that fresh-baked magic.
🔍 Recipe Notes & Tips
- Don’t kill your yeast! Milk should feel like warm bath water – if it’s too hot to touch, it’s too hot
- Sticky dough is good dough – resist adding too much flour while kneading
- No warm spot for rising? Turn the oven on for 1 minute, turn it off, then put the dough in there
- Dental floss trick is a game-changer for clean cuts – just don’t use mint flavored!
- Room temp eggs and butter blend easier than cold ones
- Measure flour by spooning into cups, not scooping – prevents dense rolls
🍽️ Serving Suggestions
- Balance the sweetness with black coffee or espresso
- Cold brew on ice works great in summer
- A glass of milk for kids or non-coffee folks
- Add fresh fruit on the side to cut the richness
🎯 Make it Work for
- Brunch: Prep dough the night before, and do the final rise in morning
- Potluck: Transport unglazed, warm up & glaze on-site
- Holiday morning: Shape rolls & refrigerate overnight
- Bake sale: Package individually in clear wrap
- Weekend treat: Make full batch, freeze half for later
📦 Storage & Leftovers
- Room temp: 2-3 days in an airtight container
- Fridge: Up to 1 week, but texture gets drier
- Freezer: 3 months max, freeze before glazing
- Reheat individual rolls: 15-20 seconds in microwave
- To refresh day-old rolls: Sprinkle with water, warm in the oven for 5 mins

Coffee Cinnamon Rolls
Ingredients
Dough:
- 4 cups all-purpose flour
- 1/4 cup granulated sugar
- 2 1/4 teaspoons active dry yeast 1 packet
- 1 teaspoon salt
- 1 cup warm milk
- 1/3 cup unsalted butter melted
- 2 large eggs
- 1 tablespoon instant coffee granules
Filling:
- 1/3 cup unsalted butter softened
- 1 cup brown sugar
- 2 tablespoons ground cinnamon
- 1 tablespoon instant coffee granules
Coffee Glaze:
- 2 cups powdered sugar
- 2 tablespoons strong brewed coffee
- 2 tablespoons heavy cream
- 1/2 teaspoon vanilla extract
- Pinch of salt
Instructions
- Start by dissolving 1 tablespoon of instant coffee in the warm milk. Give it a good stir until the coffee completely dissolves. This usually takes about 30 seconds of stirring.
- In a large mixing bowl, combine 2 cups of the flour, sugar, yeast, and salt. Add your coffee-milk mixture, melted butter and eggs. Mix with a wooden spoon until everything’s well combined.
- Gradually stir in the remaining flour, about 1/2 cup at a time. Once it gets too hard to stir, turn it out onto a floured surface. The dough will still be slightly sticky – that’s exactly what you want. Knead for about 8-10 minutes until it feels smooth and elastic. If you press your finger into it, it should slowly spring back.
- Place the dough in a lightly greased bowl, cover with a damp cloth, and let it rise in a warm spot for about 1 hour.
- While the dough rises, mix your filling. Combine the brown sugar, cinnamon, and instant coffee granules in a bowl. The coffee should be ground pretty fine – if your granules are large, crush them up a bit.
- Once risen, punch down the dough (literally punch it – it’s satisfying!) and roll it out on a floured surface into a roughly 16×20 inch rectangle.
- Spread the softened butter all over the dough, leaving about a 1/2 inch border around the edges. Sprinkle your coffee-cinnamon-sugar mixture evenly over the butter, patting it down gently so it sticks.
- Starting from the long side, roll the dough up tightly – like you’re rolling a sleeping bag. Keep it snug but don’t pull so hard that you stretch the dough. Pinch the seam to seal it.
- Cut into 12 equal pieces using dental floss or a sharp knife (about 1.5 inches each). To use floss, slide it under the roll, cross the ends over the top, and pull – this gives you clean cuts without squishing the rolls.
- Place the rolls in a greased 9×13 inch baking pan, leaving some space between each one. Cover and let rise again for about 30 minutes, or until they’re puffy and touching each other.
- Preheat your oven to 375°F while they’re doing their second rise. Bake for 20-25 minutes, until they’re golden brown on top and a thermometer inserted into the center roll reads 190°F. If they’re browning too quickly, tent with foil.
- For the glaze, whisk together the powdered sugar, strong coffee, cream, vanilla, and salt until smooth. It should be thick but pourable – add more coffee or cream if needed, just a teaspoon at a time.
- Let the rolls cool for about 5 minutes (they should still be warm but not hot), then pour the glaze over them.