Mini Sausage Rolls
Mini sausage rolls are one of those party foods that disappear in minutes, and for good reason. They combine buttery puff pastry with well-seasoned sausage meat for the perfect two-bite snack. I’ve been making these for years and they’re dead simple – just roll, fill, fold and bake.

The beauty is you can prep them ahead and freeze them raw, then bake straight from frozen when you need them. They work brilliantly for buffets and casual gatherings since people can grab them with one hand while holding a drink in the other. And unlike full-size sausage rolls, these minis give you the perfect ratio of flaky pastry to meaty filling in each bite.
What you need for Mini Sausage Rolls
Ingredients You’ll Need For This Recipe
- 2 sheets of puff pastry, thawed
- 500g pork sausage meat (or remove meat from casings)
- 1 small onion, finely diced
- 1 carrot, finely grated
- 1 tablespoon fresh sage, chopped
- 1 tablespoon fresh parsley, chopped
- 1/2 cup breadcrumbs
- 1 egg, beaten (for egg wash)
- Salt and pepper to taste
- Sesame seeds (optional, for topping)
How to make Mini Sausage Rolls
1. Start by getting your puff pastry out of the freezer about 30 minutes before you need it – you want it thawed but still cool to touch. Cold pastry is much easier to work with and will give you better results.
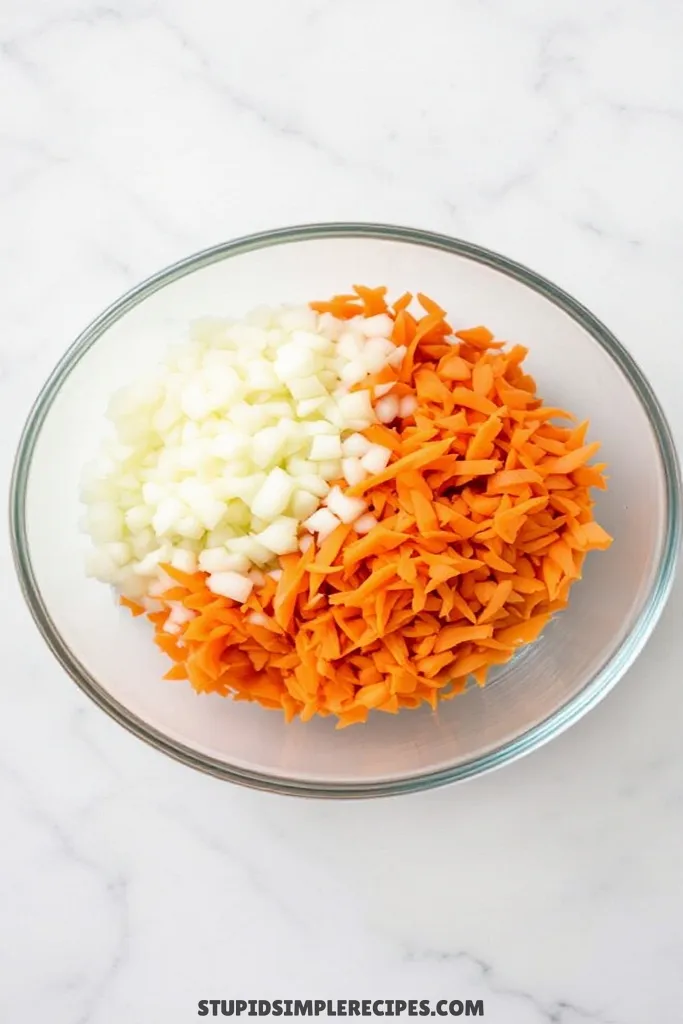
2. While the pastry’s thawing, finely dice your onion and grate the carrot – I find using the small holes on a box grater works best. You want the vegetables really fine so they cook through and blend seamlessly into the filling.
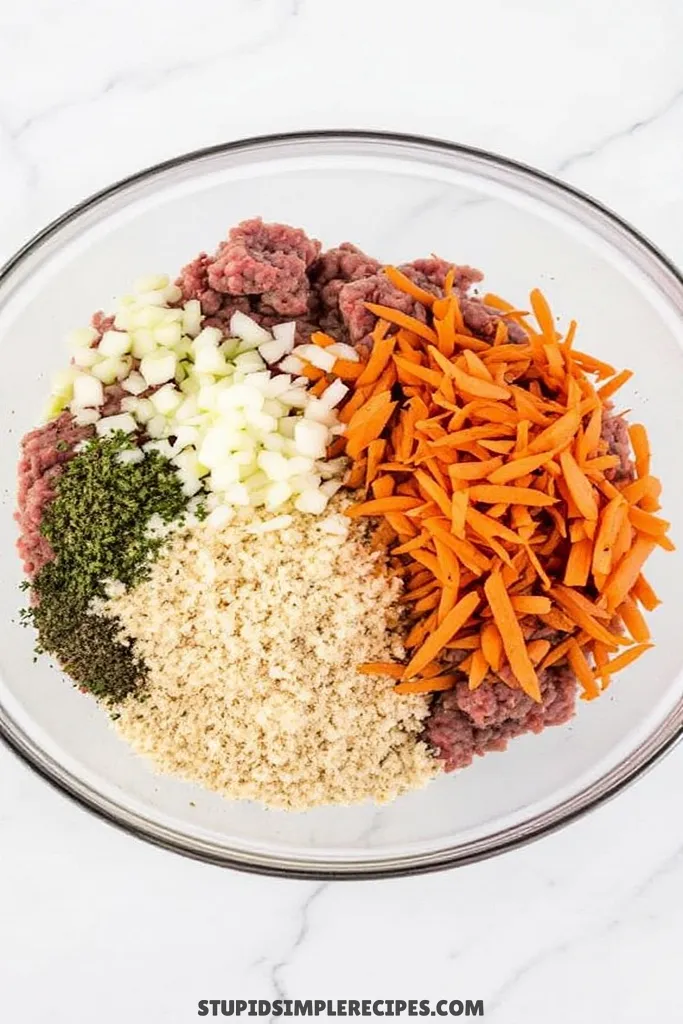
3. In a large bowl, mix together your sausage meat, diced onion, grated carrot, chopped herbs, and breadcrumbs. Get your hands in there and really work it all together until everything’s evenly distributed. Season well with salt and pepper – I usually do about 1 teaspoon of salt and 1/2 teaspoon of pepper.
4. Preheat your oven to 200°C (400°F) and line two baking sheets with parchment paper. Beat your egg in a small bowl with a fork and set aside.
5. Once your pastry is thawed but still cool, lay it out on a lightly floured surface. Cut each sheet in half lengthwise so you have four long rectangles. Working with one rectangle at a time, spoon the sausage mixture down the center, forming a long sausage shape about 3cm (1 inch) in diameter, leaving about 2cm of pastry clear on either side.
6. Brush one long edge of the pastry with beaten egg, then carefully lift the other edge and roll it over the filling, sealing it where you brushed the egg. The seal should be on the bottom. The pastry should overlap slightly – if it doesn’t, your filling line might be too thick.
7. Cut each long roll into pieces about 5cm (2 inches) long. Make three small diagonal cuts on top of each roll – this lets steam escape and look pretty. Brush the tops with beaten egg and sprinkle with sesame seeds if using.
8. Place the rolls on your prepared baking sheets, leaving some space between each one as they puff up. Bake for 20-25 minutes – you’re looking for a rich golden brown color and the pastry should be visibly layered and crisp. If you lift one up, the bottom should be golden too, not pale.
9. Let them cool on the tray for about 5 minutes before moving – the filling will be extremely hot when they first come out. You’ll know they’re ready to eat when you can hold one comfortably in your hand.

Remember, if your pastry starts feeling soft or sticky at any point while you’re working, pop it in the fridge for 10 minutes to firm up. This will give you much neater rolls with better layers.
🔍 Recipe Notes & Tips
- Always use cold ingredients – warm pastry = greasy, flat sausage rolls
- No sausage meat? Use ground pork + 1 tsp sage + 1/2 tsp thyme
- Food processor makes quick work of the veggies
- Don’t skip the egg wash – it’s what gives that golden shine
- Score the tops before baking or they might split randomly
- Line your trays! These can leak a bit of fat while cooking
🍽️ Serving Suggestions
- Hot: Brown sauce or HP Sauce is a classic
- Room temp: Whole grain mustard
- Drinks: Beer, cider, or tea work great
- Make it a meal with a simple green salad
- Kids love them with ketchup – no judgment!
🎯 Make it Work for
- Party size: Cut smaller (3cm) for finger food
- Picnics: Wrap individually in foil, serve room temp
- Lunch boxes: Perfect cold the next day
- Game day: Double batch, serve with dips
- Christmas: Add cranberries to the filling for a festive twist
📦 Storage & Leftovers
- Fridge: 3-4 days in an airtight container
- Freezer: Up to 3 months (freeze before baking)
- Reheat: 180°C/350°F for 5-8 mins until hot through
- Don’t microwave (pastry goes soggy)
- Can be eaten cold straight from the fridge

Mini Sausage Rolls
Ingredients
- 2 sheets of puff pastry thawed
- 500 g pork sausage meat or remove meat from casings
- 1 small onion finely diced
- 1 carrot finely grated
- 1 tablespoon fresh sage chopped
- 1 tablespoon fresh parsley chopped
- 1/2 cup breadcrumbs
- 1 egg beaten (for egg wash)
- Salt and pepper to taste
- Sesame seeds optional, for topping
Instructions
- Start by getting your puff pastry out of the freezer about 30 minutes before you need it – you want it thawed but still cool to touch.
- While the pastry’s thawing, finely dice your onion and grate the carrot. You want the vegetables really fine so they cook through and blend seamlessly into the filling.
- In a large bowl, mix together your sausage meat, diced onion, grated carrot, chopped herbs, and breadcrumbs. Season well with salt and pepper with about 1 teaspoon of salt and 1/2 teaspoon of pepper.
- Preheat your oven to 200°C (400°F) and line two baking sheets with parchment paper. Beat your egg in a small bowl with a fork and set aside.
- Once your pastry is thawed but still cool, lay it out on a lightly floured surface. Cut each sheet in half lengthwise so you have four long rectangles. Working with one rectangle at a time, spoon the sausage mixture down the center, forming a long sausage shape about 3cm (1 inch) in diameter, leaving about 2cm of pastry clear on either side.
- Brush one long edge of the pastry with beaten egg, then carefully lift the other edge and roll it over the filling, sealing it where you brushed the egg. The seal should be on the bottom. The pastry should overlap slightly – if it doesn’t, your filling line might be too thick.
- Cut each long roll into pieces about 5cm (2 inches) long. Make three small diagonal cuts on top of each roll – this lets steam escape and looks pretty. Brush the tops with beaten egg and sprinkle with sesame seeds if using.
- Place the rolls on your prepared baking sheets, leaving some space between each one as they’ll puff up. Bake for 20-25 minutes – you’re looking for a rich golden brown color and the pastry should be visibly layered and crisp. If you lift one up, the bottom should be golden too, not pale.
- Let them cool on the tray for about 5 minutes before moving.